Microscope Measurement Tools: Calibration Made Simple
By Mei Lin • 3rd Nov
When you're peering into the microscopic world, the right microscope parts and precise measurement tools transform casual observation into meaningful discovery. Yet many hobbyists struggle with inconsistent results, not because of flawed equipment, but because they've skipped a critical step: calibration. I remember timing a session photographing pond algae; once I adjusted my setup for comfort, two hours felt like twenty minutes, and my image clarity improved dramatically. That's when I realized comfort is performance when the session runs long, and calibration is the silent partner ensuring every minute counts. Let's make long sessions feel short by demystifying how to achieve reliable measurement accuracy without overwhelm.
Why does calibration matter for hobbyists?
You might wonder: "Do I really need to calibrate if I'm just exploring?" Absolutely. Without calibration, your stage micrometer readings won't translate correctly to real-world measurements. I've seen hobbyists excitedly share "50-micron" findings, only to realize later their 100x objective was reporting 65 microns due to uncalibrated eyepiece scales. This isn't just academic. It erodes confidence in your discoveries. Calibration ensures:
- Consistent scale across magnifications
- Reliable sharing of observations in online communities
- Trust in your documentation (like those stunning diatom photos)
Think of it as tuning an instrument: no musician expects perfect harmony without checking their pitch. For a deeper walkthrough, see our step-by-step calibration guide. For microscopy, calibration is your tuning ritual.
What are the essential calibration tools?
You don't need a lab full of gear. Every hobbyist should own:
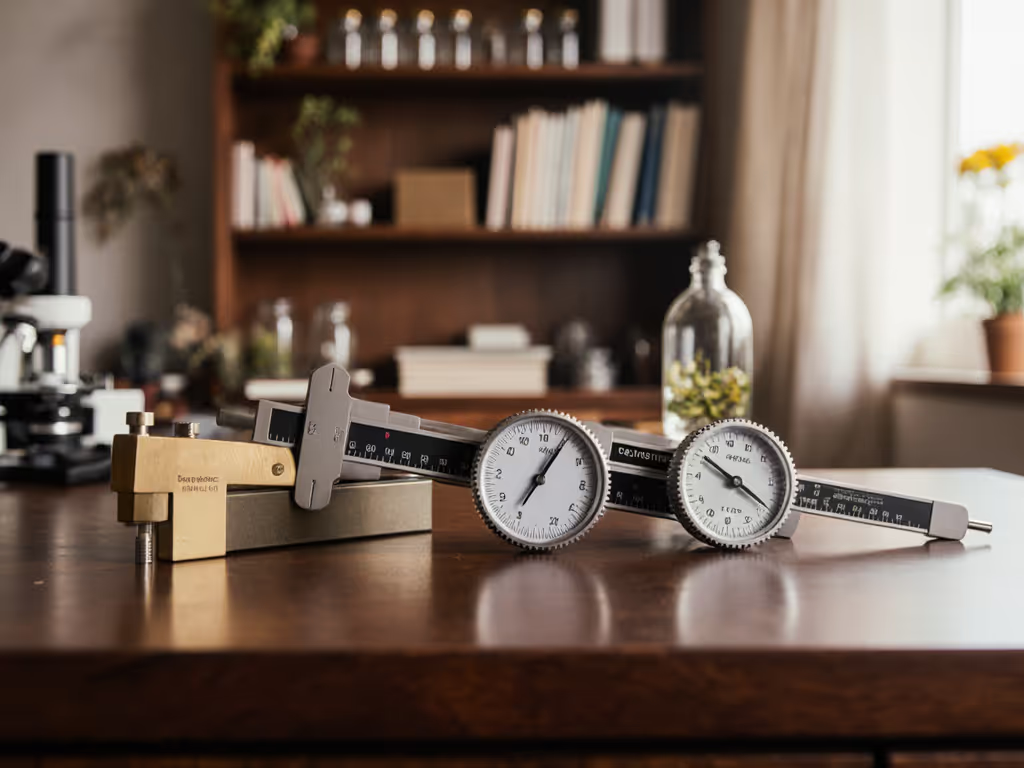
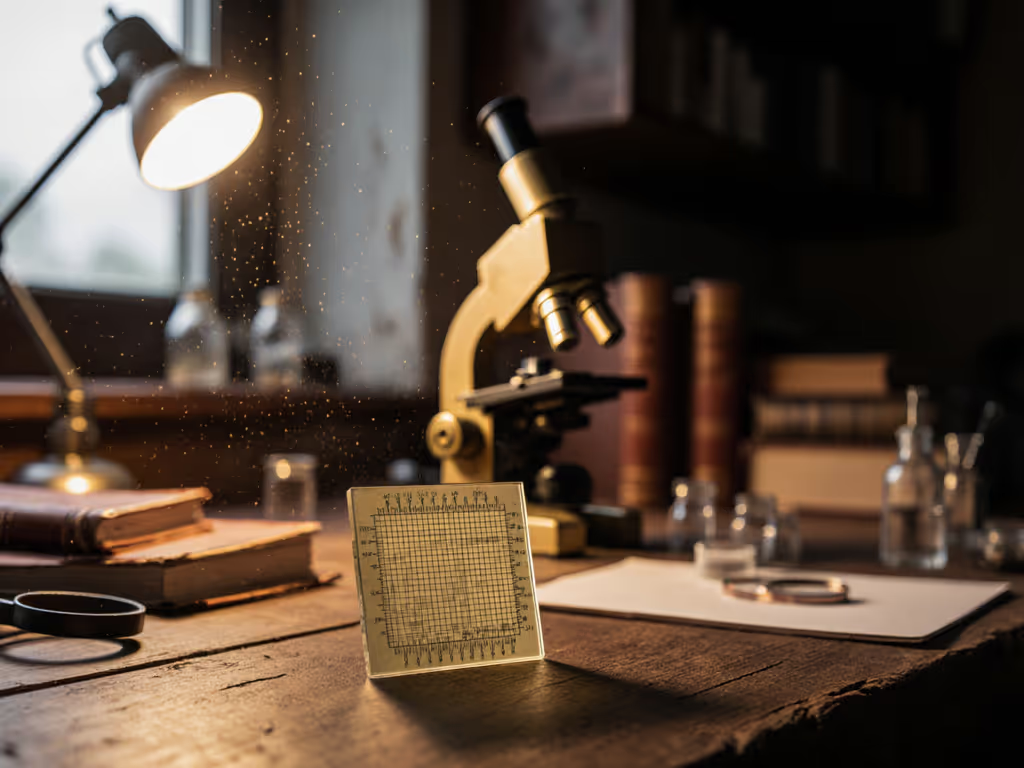
- Stage micrometer: A precision slide with a 1mm scale divided into 100 parts (each 10μm). This is your gold standard.
- Ocular scale (reticle): The graticule inside your eyepiece. Without calibration, its "units" are meaningless.
- Basic calculator: For the ratio math (simpler than it sounds!)
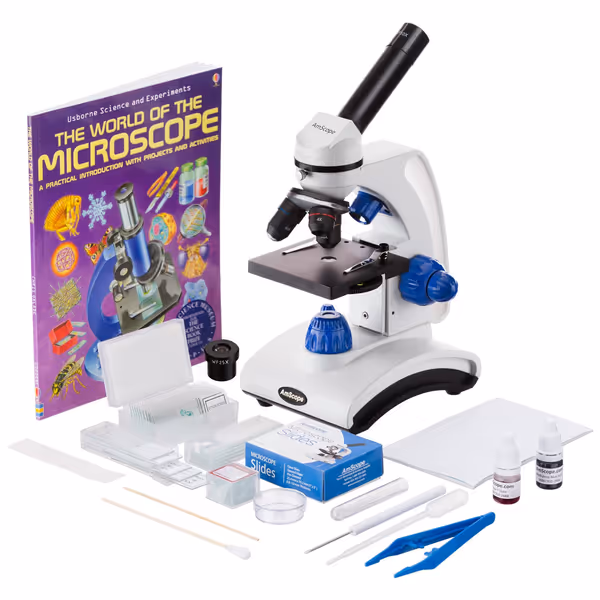
AmScope M162 Series Portable Student Microscope
Unlock the microscopic world with clear, versatile viewing for young explorers.
$174.99
Magnification40X-1000X
Magnification40X-1000X
Pros
Captures clear, high-resolution images.
Dual LED for versatile specimen viewing.
Cons
Bottom lamp may fail early.
Customers find this microscope to be of good quality, solidly built, and easy to use, making it a great present for learning kids and wonderful for grade school children. The microscope offers a very clear view, and customers consider it good value for money.
Customers find this microscope to be of good quality, solidly built, and easy to use, making it a great present for learning kids and wonderful for grade school children. The microscope offers a very clear view, and customers consider it good value for money.
If you own an AmScope M162-series microscope (a popular starter scope), check if your kit included a stage micrometer, it's often bundled in student sets. If not, basic versions cost under $20.
How to calibrate manually: A gentle pacing checklist
Forget intimidating technical manuals. Here's a stress-free calibration procedure adapted from McCrone Group protocols:
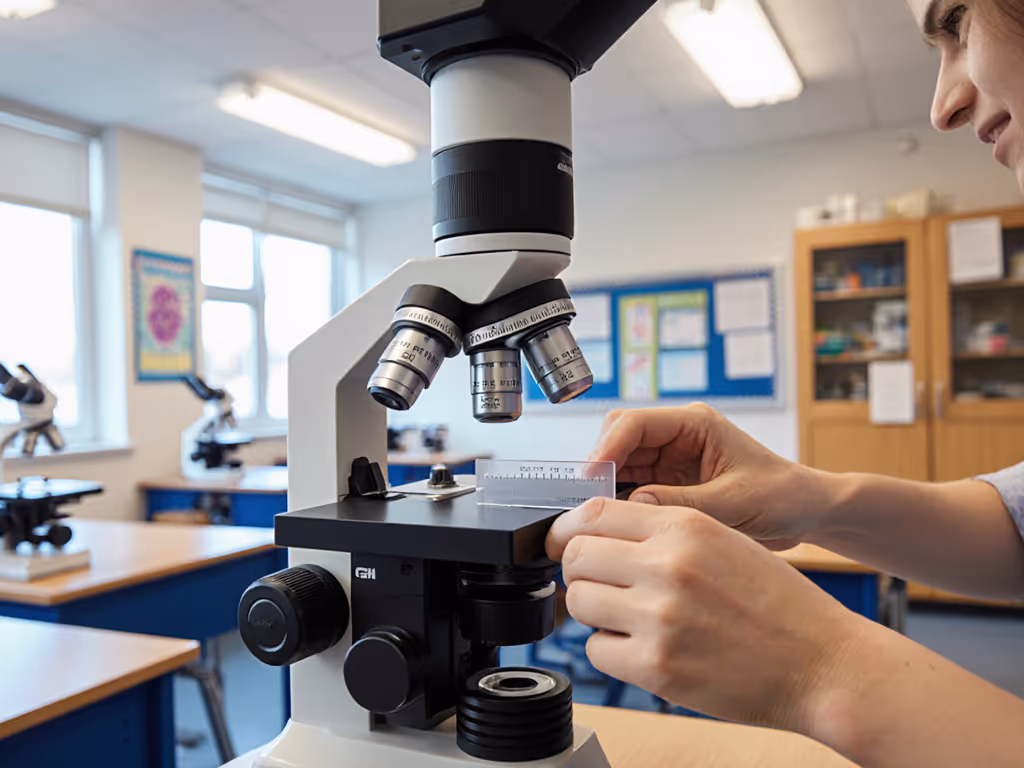
- Align zeros: Place your stage micrometer on the slide holder. Focus until both the stage scale and your ocular scale are visible. Line up their zero marks.
- Find convergence: Scan right until the lines overlap again (e.g., at the 30th ocular division). Tip: Larger overlaps (20+ units) reduce error.
- Calculate ratio: If stage divisions = 10μm each, and 20 stage divisions span 30 ocular units:
10μm × 20 stage units ÷ 30 ocular units = 6.67μm per ocular unit - Label & record: Note this value for each objective (e.g., "10x: 6.67μm/unit").
This works because magnification changes distort scale relationships. A 40x objective might show 25μm per ocular unit, while 400x shows 2.5μm, yet your ocular scale looks identical. Skipping recalibration per objective is the #1 error I see.
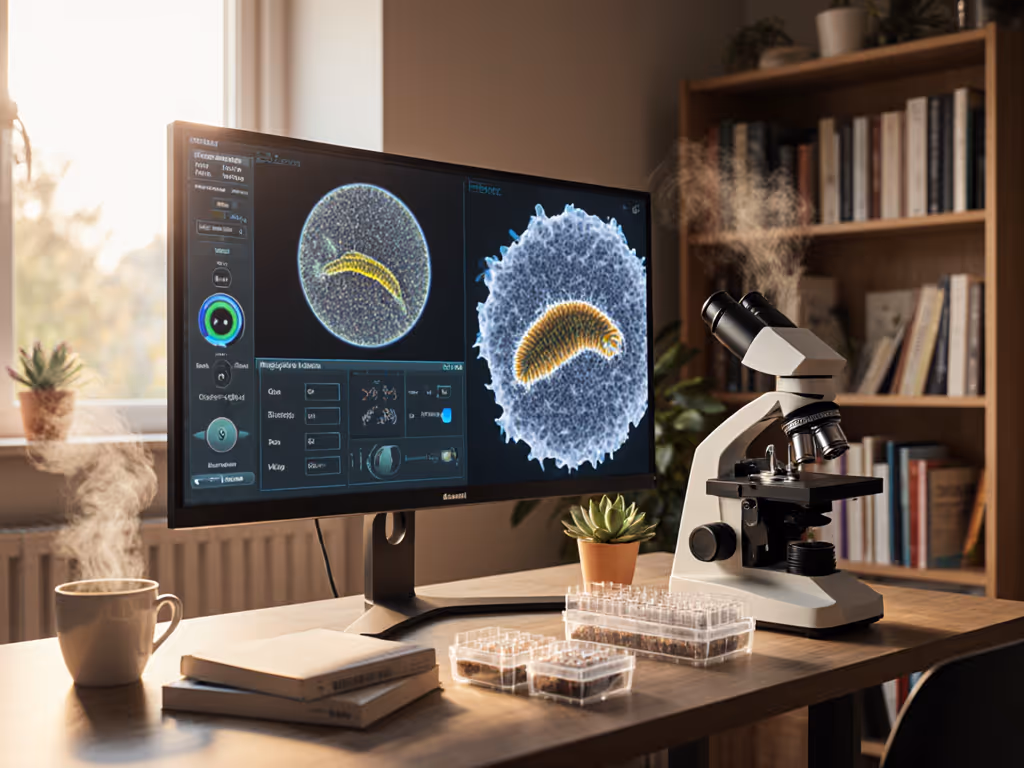
Can I calibrate digitally without extra tools?
Yes! If you use a camera (like the entry-level USB models many hobbyists own), free software like ImageJ/Fiji with its "Microscope Measurement Tools" plugin simplifies this. Here's the workflow:
- Capture a stage micrometer image at your desired magnification
- Open it in Fiji → Analyze → Set Scale
- Draw a line across known divisions (e.g., 100μm)
- Input the known distance → Save the calibration
This embeds scale data directly into images, perfect for sharing findings online. For end-to-end tools that streamline acquisition, analysis, and sharing, explore our microscopy workflow software guide. No complex math; just point-and-click. Note: Always calibrate per objective/magnification, as digital sensors don't auto-adjust.
How often should I recalibrate?
Life happens: knobs get bumped, objectives swap, seasonal humidity shifts optics. Recalibrate when:
- Switching objectives (essential!)
- After microscope transport or cleaning
- Every 3–6 months for steady-state setups
I keep a laminated chart taped inside my microscope cabinet. For cleaning routines that protect optics and prevent drift, see our microscope maintenance guide. No more frantic recalibration mid-discovery. Measurement accuracy isn't a one-time task; it's part of your workflow hygiene.
Troubleshooting common calibration headaches
"My measurements still look wrong!"
- Check focus first: Blurry images distort scale alignment. Refocus the stage micrometer before calibrating.
- Verify lighting: Glare on glass creates optical illusions. Use diffused LED illumination (never direct sunlight).
"The lines never align neatly!"
- Rotate your eyepiece reticle until scales run parallel. Most oculars unscrew for adjustment.
- If using a camera, ensure the sensor isn't tilted relative to the optical axis.
Remember: calibration compensates for your specific system. A Nikon objective on a Swift microscope behaves differently than on a Leica. Generic charts fail where personalized calibration excels.
Wrapping up: Precision as your foundation
Calibration isn't busywork, it's the bedrock of trustworthy exploration. When you dial in your measurement tools, you free mental energy for wonder instead of second-guessing scale. That pond algae session taught me something enduring: comfort is a prerequisite for sustained focus and better results. Properly calibrated equipment removes friction, letting curiosity flow longer and deeper.
Your actionable next step: This week, spend 10 minutes calibrating your most-used objective (likely 10x or 40x). Jot the value on a sticky note beside your scope. Notice how it changes your confidence in what you see. When you're no longer wrestling measurements, you'll find yourself staying at the microscope longer, eyes relaxed, mind engaged. After all, let's make long sessions feel short.
Related Articles