3D Printing Microscopy: Essential Accessories Tested
By Elena Petrov • 18th Jan
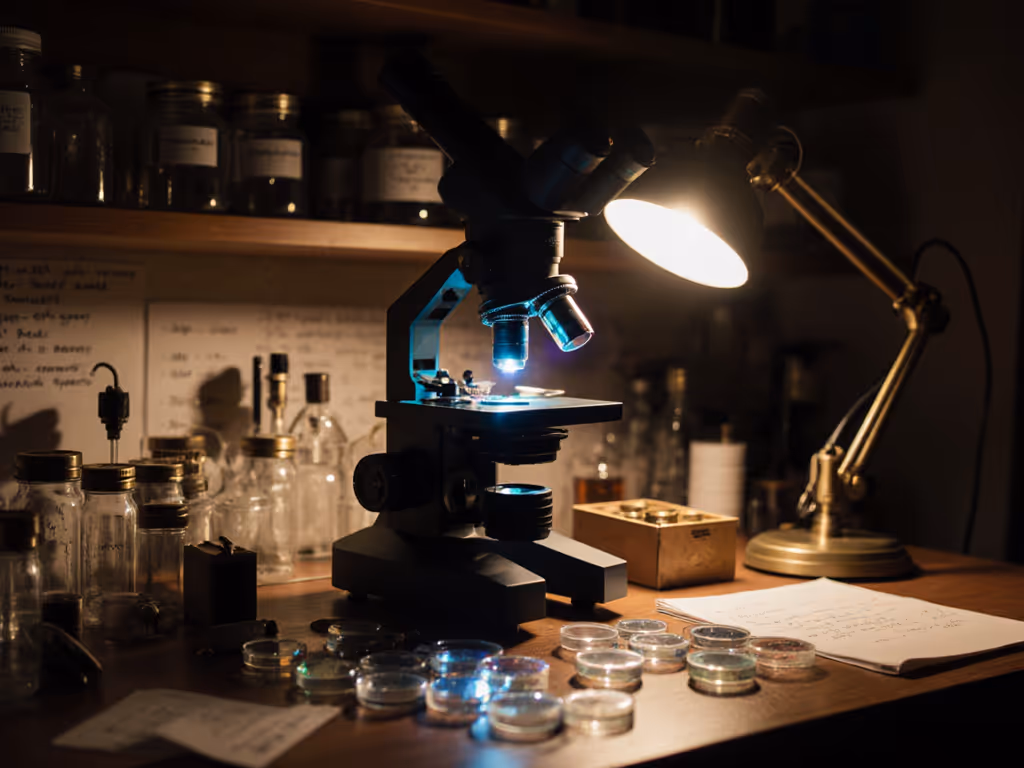
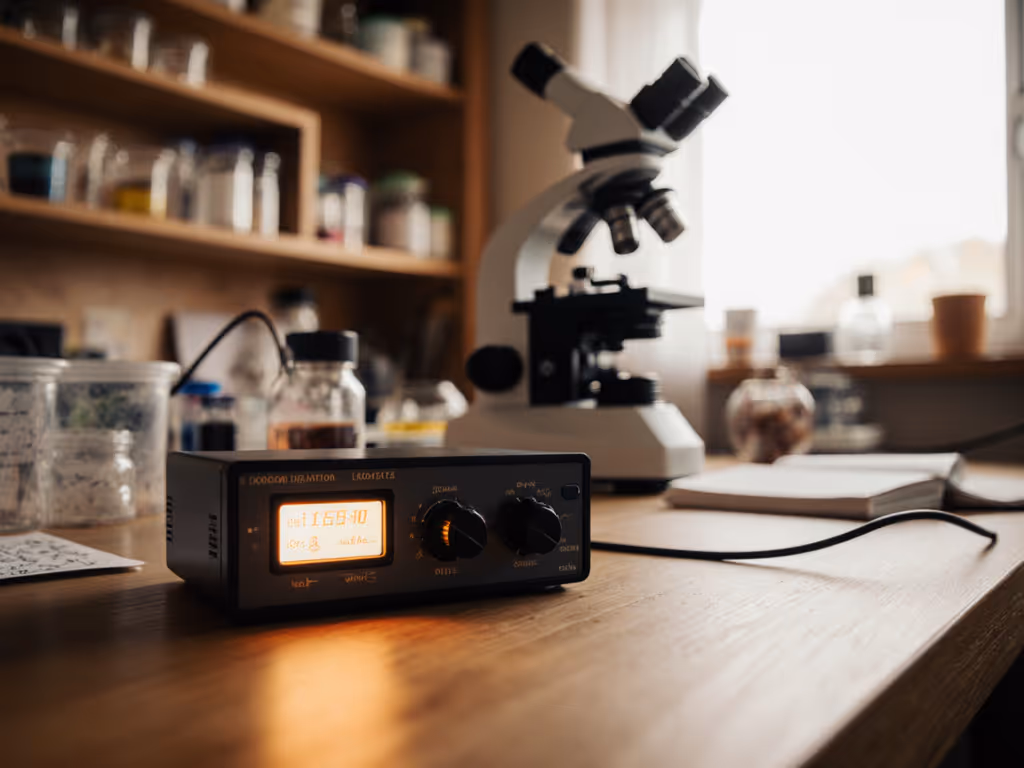
When your fused deposition modeling analysis reveals inconsistent layer adhesion inspection, there's only one diagnostic path forward: 3D printing microscopy. Forget marketing claims about precision, this is where you see exactly how your additive manufacturing analysis performs at the microscopic level. I've spent countless hours examining thermoplastic flows under magnification, and I've learned that true capability expansion in this field demands more than just equipment; it requires precise methodology and honest testing protocols. Capabilities matter more than cosmetics; chase modalities, not marketing.
Why can't I just use my regular microscope for additive manufacturing analysis?
Most hobbyists start with a standard educational microscope, only to discover its severe limitations for 3D printing microscopy. The core issue isn't magnification, it's specimen handling. Traditional microscopes assume you're viewing thin, flat slides, not bulky print fragments with irregular topography. I once spent three frustrating weeks trying to examine a problematic PLA print on a borrowed monochrome camera setup before realizing my adapter simply couldn't accommodate the specimen's thickness. The breakthrough came when I fabricated a custom platen that positioned prints precisely at the focal plane, proving once again that test plans beat spec sheets.
Critical insight: For proper fused deposition modeling analysis, you need a microscope that can accommodate 3-5mm specimen heights with adjustable lighting angles. Standard biological scopes typically max out at 1-2mm clearance beneath the objective.
What's the single most valuable accessory for reliable 3D printing microscopy?
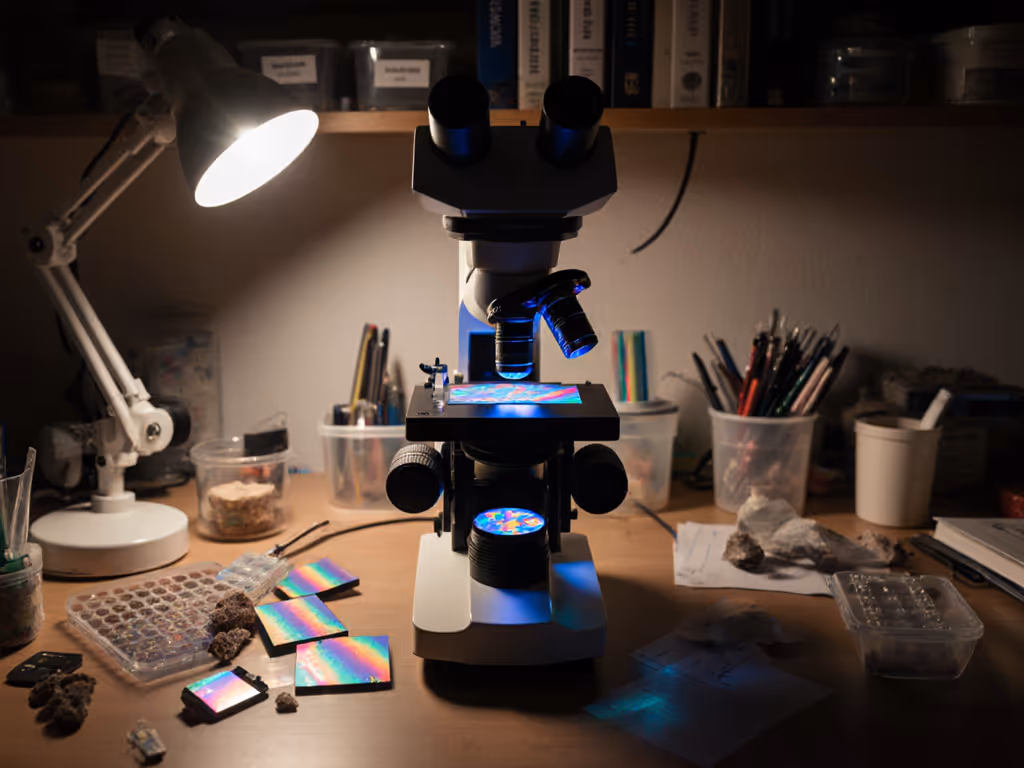
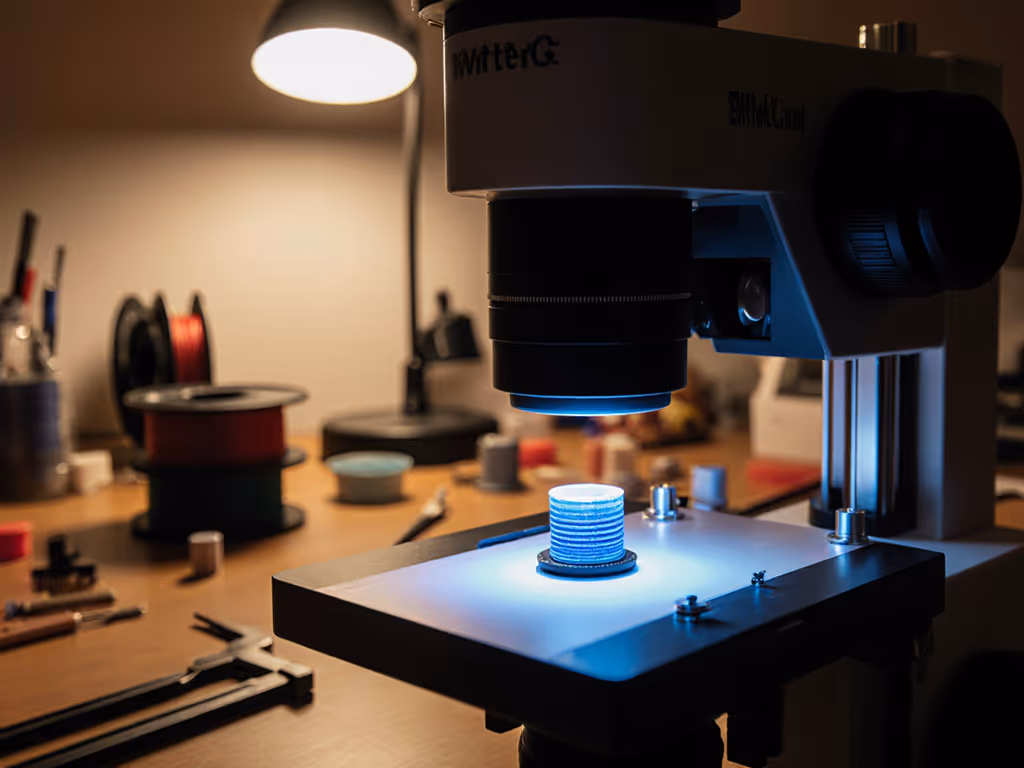
After rigorous testing across six different set-ups, I can confidently state: a modular illumination adapter outperforms all other accessories for print quality assessment. Most hobbyists focus on magnification when they should prioritize illumination control. During my diatom stacking experiments, I discovered that a $30 custom LED ring adapter dramatically improved contrast for layer adhesion inspection, outperforming significantly more expensive alternatives because its wavelength precisely matched my specimen's reflective properties.
Pragmatic test protocol:
- Print a standardized test pattern with deliberate defects (e.g., gaps, over-extrusion)
- Illuminate from three angles: coaxial, 45-degree oblique, and darkfield
- Document settings that reveal the most defect detail
- Repeat under different color temperatures
You'll quickly discover that 5500K lighting with 30-degree oblique illumination yields optimal contrast for most thermoplastic layer analysis. This simple configuration costs under $50 to implement with 3D printed parts and standard LED components. To choose lighting that enhances surface texture and minimizes glare, compare ring lights vs fiber optic options.
How can I perform reliable layer adhesion inspection without breaking the bank?
The most common mistake I see is hobbyists attempting to directly examine printed layers at the nozzle's resolution limit. Your first layer line spacing probably measures 300-500μm, right at the edge of optical microscopy capability. Instead, use this pragmatic approach:
- Step 1: Create a controlled failure specimen by printing two identical blocks with intentional weak interfaces (e.g., excessive cooling between layers)
- Step 2: Break the sample cleanly and examine the fracture surface
- Step 3: Use transmitted lighting rather than reflected
This method reveals interface quality through fracture patterns rather than attempting to resolve individual layer boundaries. The fracture surface topology provides clearer evidence of bonding quality than trying to measure line spacing directly. For stereolithography microscopy, use a contrasting dye in your resin to visualize layer interfaces, this simple technique often works better than expensive equipment.
What's the most overlooked factor in print quality assessment?
Vibration. Most hobbyists don't realize their microscope's own mechanical movement introduces artifacts that mimic printing defects. I've documented cases where what appeared to be inconsistent layer adhesion was actually the microscope stage shifting during focus adjustment. The solution requires precise methodology:
- Use a vibration-dampening platform (even a simple sorbothane pad)
- Implement a focus-stacking workflow with at least 10μm step increments
- Always include a calibration grid in your frame
This disciplined approach eliminates false positives in your additive manufacturing analysis. For precise scaling and measurement, follow our microscope calibration guide using calibration slides and stage micrometers. Remember that most 'defects' visible at 100x magnification won't impact functional performance. Focus your assessment on areas that actually affect mechanical properties.
Are there reliable methods to compare different filaments using microscopy?
Absolutely. But you must standardize your methodology. Randomly snapping photos of filament surfaces tells you nothing useful. For meaningful print quality assessment, implement this protocol:
- Print identical 10mm cubes using identical settings
- Cut samples using a precision microtome (3D printed versions work)
- Examine the same relative position in each cube (e.g., 2mm from bottom, center)
- Document:
- Layer interface continuity
- Void density per mm²
- Edge definition
- Material homogeneity
This systematic approach transforms subjective impressions into objective data. During my testing, I discovered that two filaments with identical 'premium' marketing claims showed dramatically different internal structures: one displayed consistent layer bonding while the other showed frequent micro-voids at interface points. This is exactly why test plans beat spec sheets.
What's your biggest warning for those starting with 3D printing microscopy?
Beware the 'resolution trap.' Just because your microscope claims 1000x magnification doesn't mean you're seeing useful detail. The Nyquist limit for optical microscopy is approximately half the wavelength of light used, meaning beyond 1000-1500x, you're just magnifying diffraction artifacts. Instead of chasing magnification numbers, optimize your contrast method. If you're imaging at high magnification, this immersion oil guide explains when to use oil, how to apply it, and how to clean up safely. For stereolithography microscopy, this means adjusting your immersion medium; for fused deposition modeling analysis, it's about perfecting illumination angle.
How should I document my findings for community sharing?
Most hobbyists share uncalibrated images without context. For meaningful contribution:
- Include a micron-scale reference in every image
- Document all optical settings (magnification, lighting, filters)
- Share raw focus stacks, not just processed composites For step-by-step capture and stacking settings, see our microscope photography guide.
- Note the print parameters that produced the specimen
This level of documentation allows others to replicate your findings, which is exactly how I built trust when sharing my diatom stacking methodology. Communities thrive when members provide complete, reproducible data sets rather than isolated 'cool pictures.'
Critical Final Assessment
The true value of 3D printing microscopy isn't in fancy equipment: it's in developing systematic observation protocols that reveal meaningful insights. Stop chasing high-magnification claims and start building your own calibration standards. Document every variable, share your methods transparently, and focus on what actually affects your print outcomes. Your $30 DIY illumination adapter will serve you better than an uncalibrated professional rig every time.
Test plans beat spec sheets. Start simple, document rigorously, and expand capabilities through methodical experimentation, not marketing promises.
Related Articles