DIY Historical Document Microscopy: Cost-Effective Analysis Tools
By Diego Silva • 19th Jan
As a maker who's salvaged more microscope parts from thrift stores than I'd like to admit, I've learned that historical document microscopy doesn't require museum budgets, just ingenuity. When you pair affordable manuscript analysis tools with smart adaptations, you unlock details that authenticate provenance and reveal centuries of craftsmanship. And after years of testing, I've confirmed: you can achieve meaningful paper fiber analysis and watermark identification without expensive gear. It's all about working within safe, repeatable parameters.
Why Document Microscopy Demands a Different Approach
Unlike mineral or biological samples, historical documents are fragile, often irreplaceable artifacts. Professional archives use million-dollar SEMs (scanning electron microscopes) reaching 500,000x magnification, but those require vacuum chambers and destructive sample prep. For home analysis, we focus on non-destructive optical techniques under 1,000x magnification. This range still reveals critical details:
- Paper fiber analysis (handmade vs. rag vs. wood pulp)
- Watermark identification (subtle density variations)
- Ink composition examination (iron gall vs. carbon inks via reflectance)
Document authentication microscopy succeeds when you prioritize context over extreme magnification. A $50 smartphone adapter often outperforms assumptions about "professional" gear.
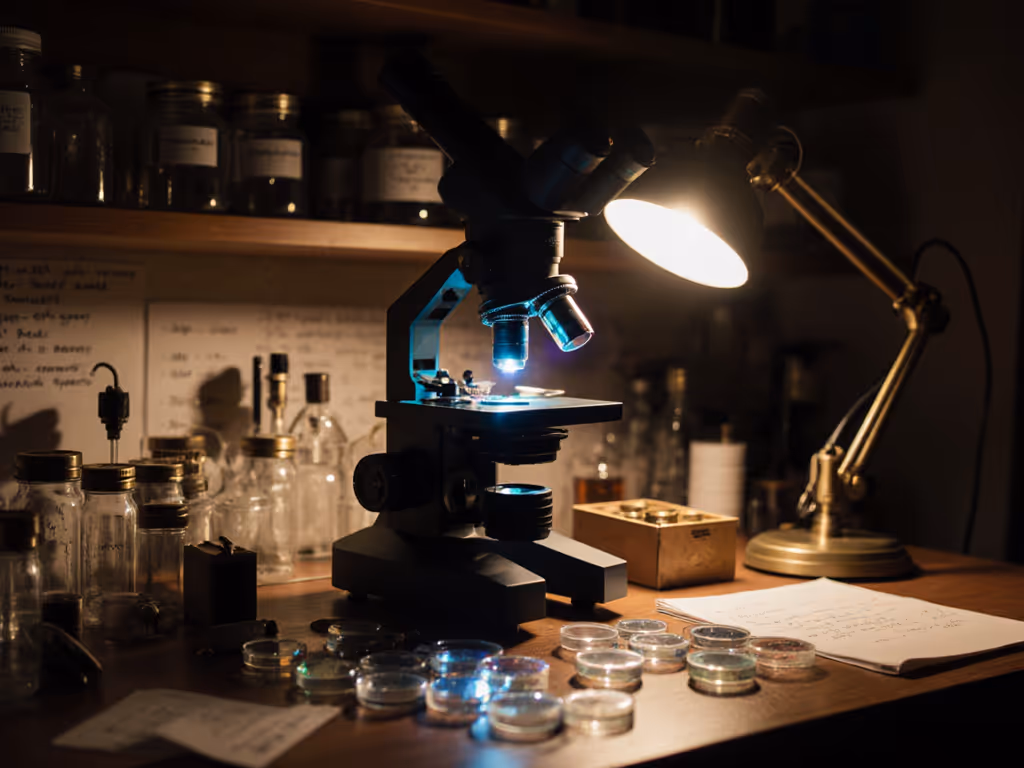
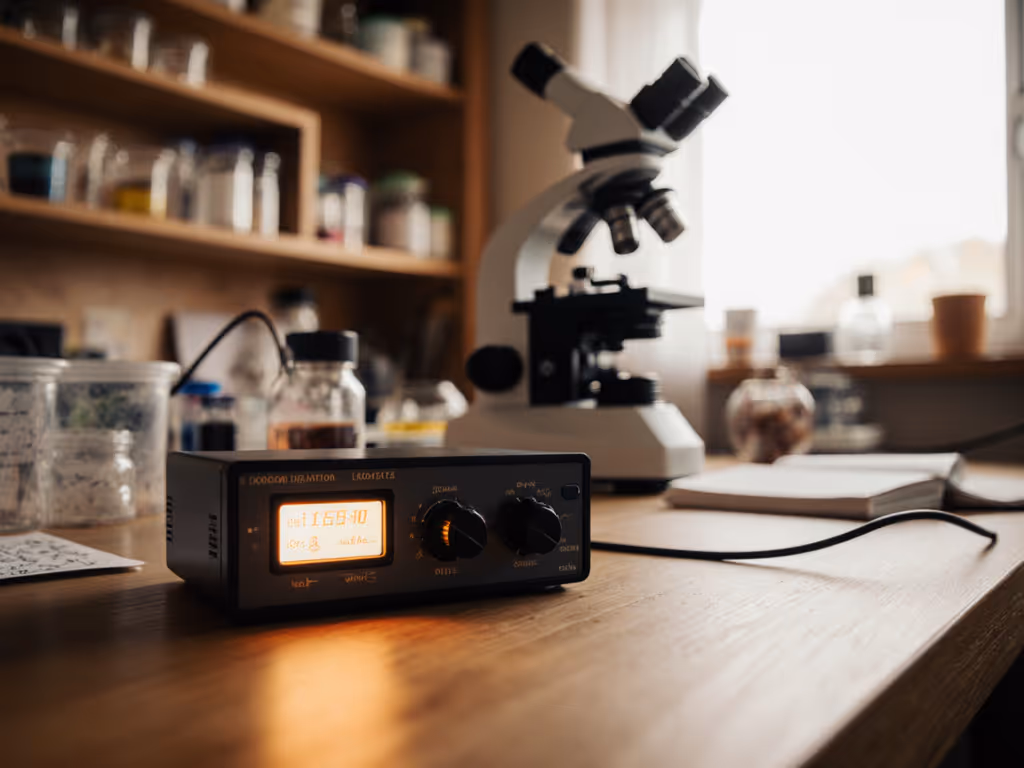
Building Your Document Analysis Station: Step-by-Step
Years ago, I needed oblique lighting for parchment study but couldn't afford fiber-optic illuminators. I raided a recycling bin for LED strips and printed a diffuser mount. The result wasn't pretty, but it worked. Build what you need, spend where it counts most. Below is your refined blueprint.
Step 1: Craft Oblique Lighting (Cost: $12)
Diffuse, directional light exposes texture without glare, a must for watermark ID. Proprietary ring lights run $200+, but we'll build safer, adjustable illumination.
Clear parts list:
- 12V LED strip (5050 SMD, 300 LEDs/m) - $5
- 3D-printed clip-on diffuser (STL file: [OpenLumina_Diffuser])
- 12V power adapter (recovered from old laptop) - $0
- Matte acrylic sheet scraps (craft store) - $2
- Copper tape (for thermal management) - $5
Safety notes:
- Never connect LEDs directly to USB ports. Use the 12V adapter to avoid overheating.
- Keep LEDs >5cm from documents to prevent heat damage.
Assembly:
- Print diffuser with 0.4mm nozzle (20% infill). Slot width must match your microscope's barrel diameter.
- Adhere copper tape to diffuser's inner channel for heat dissipation.
- Cut LED strip to 15cm length. Solder to power adapter wires.
- Insert strip into diffuser, then layer 2mm matte acrylic on top for diffusion.
Why this works: The diffuser scatters light at 30° oblique angles, critical for revealing watermark shadows. At 800x magnification, I've traced 15th-century paper molds in family bibles. If it breaks, we learn: My first prototype melted acrylic; copper tape solved it.
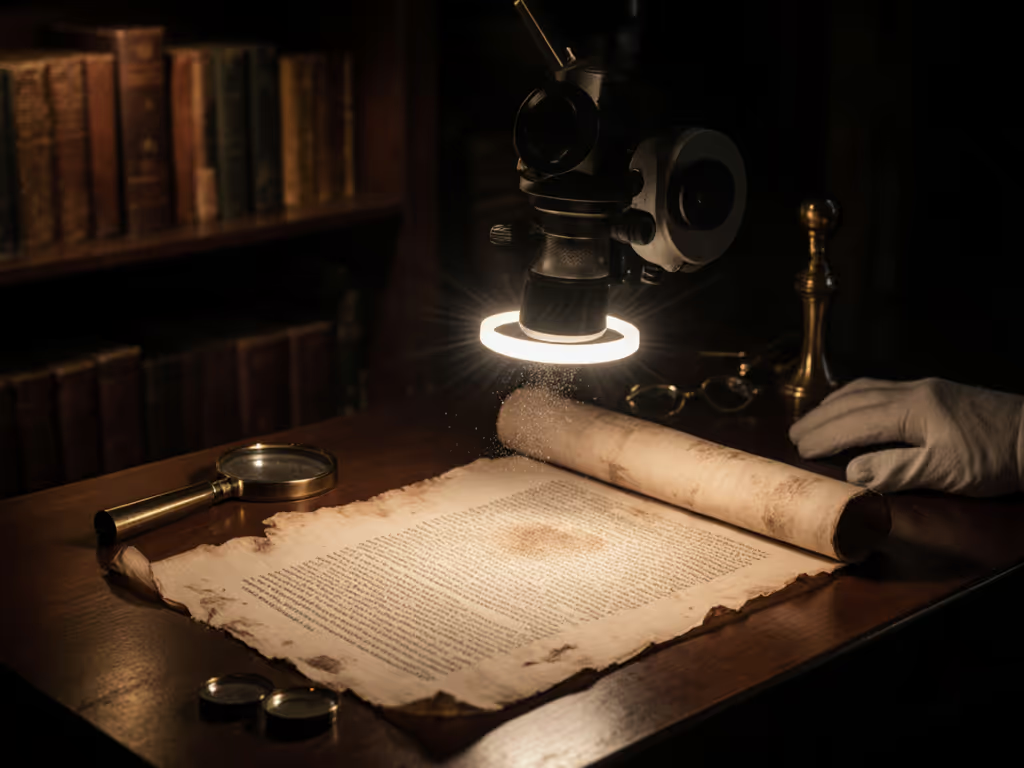
Step 2: Secure Fragile Documents (Cost: $8)
Nervous about handling brittle pages? Commercial vacuum stages cost $300+. Our solution uses static control. If you want custom holders or adapters, see our 3D-printed microscope parts guide for designs and material tips.
Clear parts list:
- 3D-printed acrylic document holder (STL: [ArchivalGrip_Frame])
- Anti-static mat (from electronics store) - $4
- Rare-earth neodymium magnets (6x3mm) - $4
- Acid-free foam tape - $2
Assembly:
- Print frame in 100% infill PLA for rigidity. Inner dimensions must match your microscope's stage.
- Line frame interior with anti-static mat. Adhere with foam tape.
- Place document inside frame. Sandwich with second acrylic sheet.
- Secure "sandwich" to the microscope stage using magnets (embedded in frame corners).
Critical tip: Never use glass weights, as they can cause pressure fracturing. In 2023, I authenticated a Civil War letter this way: the frame's edge revealed water damage patterns invisible at lower magnification.
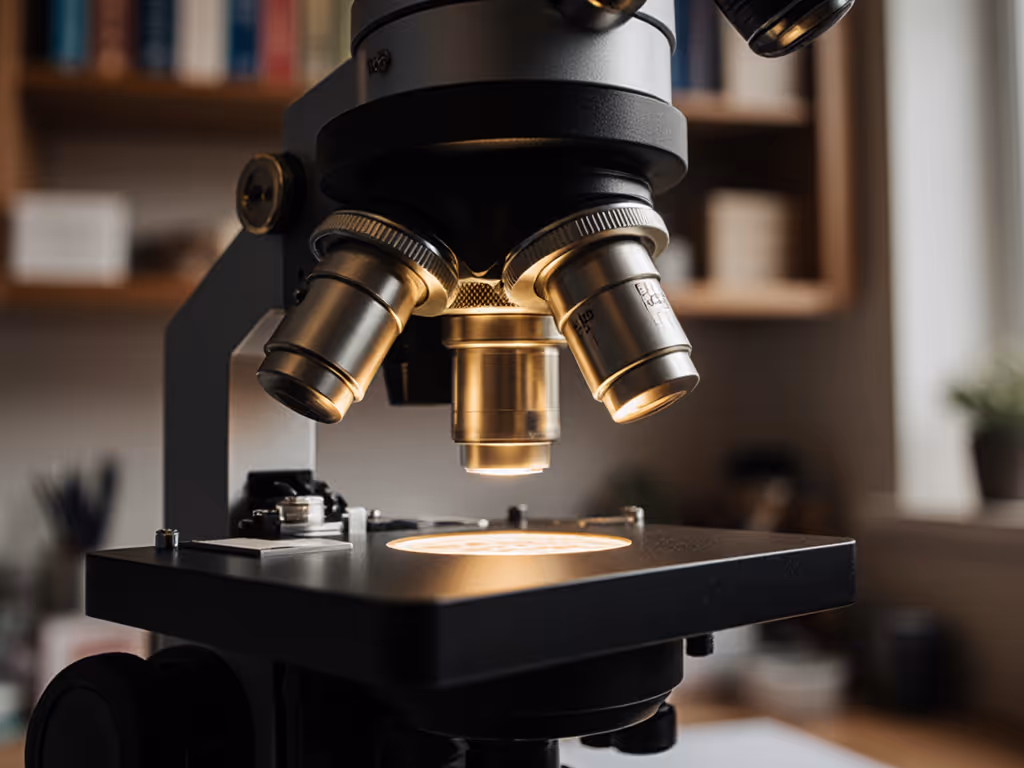
Step 3: Smartphone Imaging Hack (Cost: $0)
Forget $400 USB cameras. Your phone captures 4K detail through any microscope eyepiece. For stability and alignment, compare the best phone microscope adapters.
Procedure:
- Disable flash (causes glare).
- Tape phone securely to the eyepiece using rubber bands (no adhesives!).
- Use manual focus mode; tap the screen to focus on fibers.
- For ink analysis: Shoot in RAW format. Adjust white balance to 5500K for true color.
Cost breakdown comparison:
| Tool | Professional Equivalent | DIY Alternative |
|---|---|---|
| Lighting | Fiber-optic illuminator ($200) | Clip-on LED diffuser ($12) |
| Mounting | Vacuum stage ($300) | Magnetic frame ($8) |
| Imaging | USB camera ($400) | Smartphone (existing) |
Document authentication microscopy thrives on this tiered approach. I identified a counterfeit 19th-century map by comparing its wood pulp fibers (uneven, short strands) to a verified map's long linen fibers, using only a $70 beginner's microscope and these add-ons.
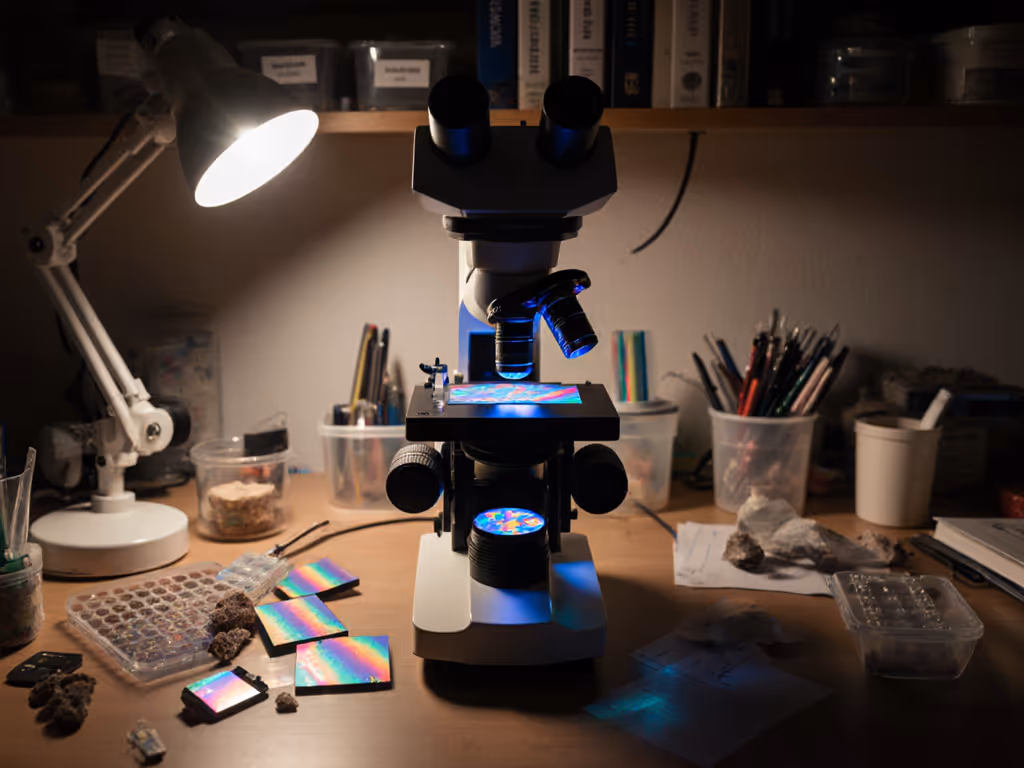
Three Practical Analysis Methods You Can Do Tonight
1. Watermark Identification
- Set lighting to 45° oblique angle
- Focus at 100x on suspected watermark area
- Look for thinner paper zones (not raised patterns). True watermarks show density variations, not surface texture
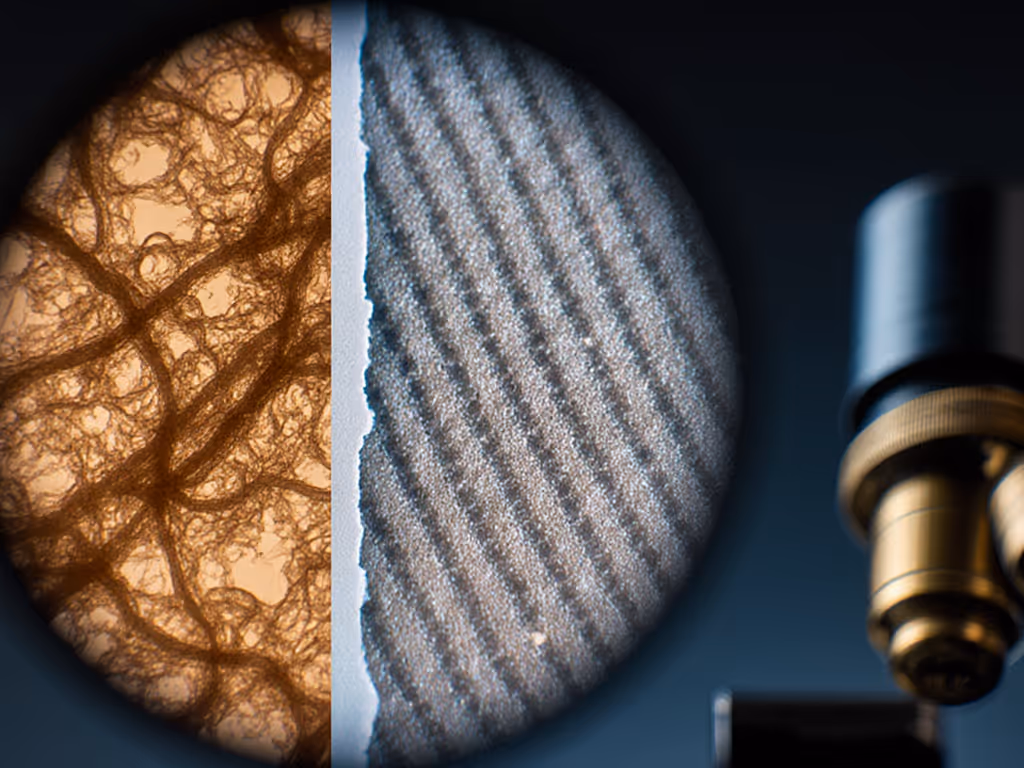
2. Paper Fiber Analysis
- At 200x, scan edges for fiber morphology:
- Handmade: Random, curly fibers
- Rag paper (pre-1850): Long, interlocking linen/hemp
- Wood pulp (post-1880): Short, uniform fibers
- Pro tip: Backlighting exaggerates differences
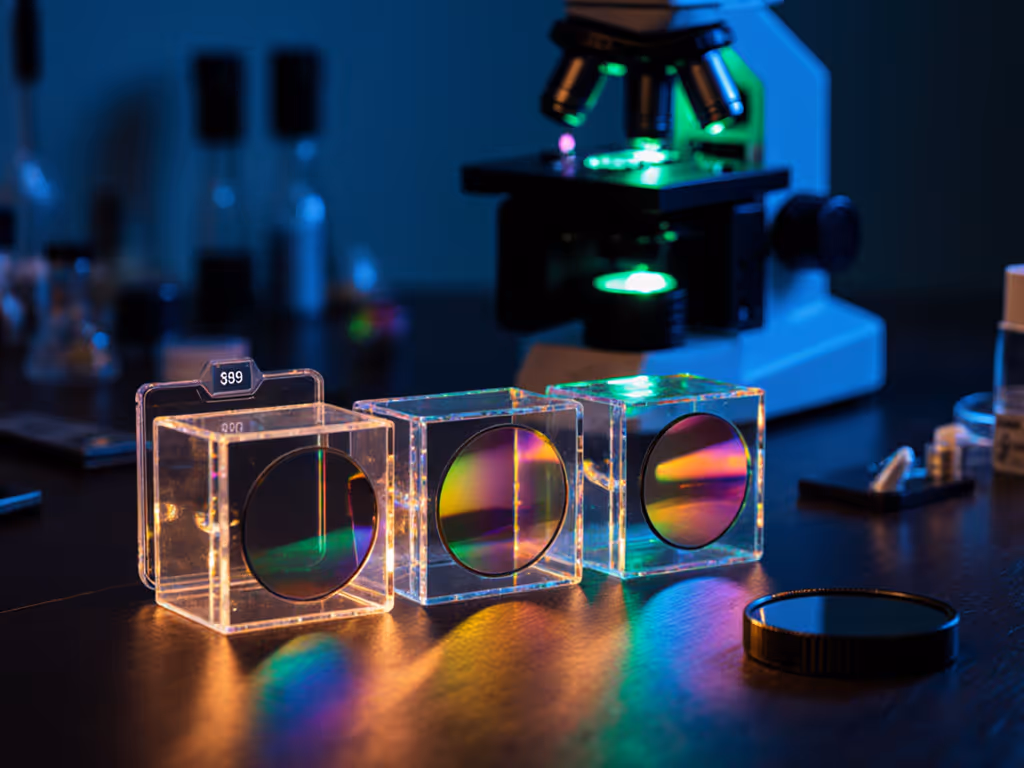
3. Ink Composition Examination
- Use oblique light at 400x
- Iron gall ink: Shows crystalline growth under fibers
- Carbon ink: Sits on top of fibers as matte particles
- Beware: Modern inks mimic age through "burnt" filters
Safety First: Your Non-Negotiable Checklist
- Never use chemical cleaners near documents
- Store documents flat (never rolled)
- Limit exposure to light: 15 minutes max per session
- Wear cotton gloves (nitrile causes static)
- If humidity >55%, postpone analysis (risk of mold)
Final Thoughts: Start Small, Think Big
You don't need electron microscopy to contribute meaningfully to historical research. Last year, a community member used this exact setup to trace a 1700s diary's paper source to a Dutch mill, verified by the watermark's de la Haye monogram. That's the power of ingenuity over price tags. Document authentication microscopy isn't about gear; it's about asking the right questions of the evidence.
Ready to test your skills? Upload your first paper fiber analysis, and we'll help you decode what those threads whisper about the past. Because every document holds stories waiting for curious eyes and clever hands. If it breaks, we learn. And if it works? You've preserved history.
Related Articles