Your Electron Microscope Accessories Checklist
By Omar Haddad • 25th Nov
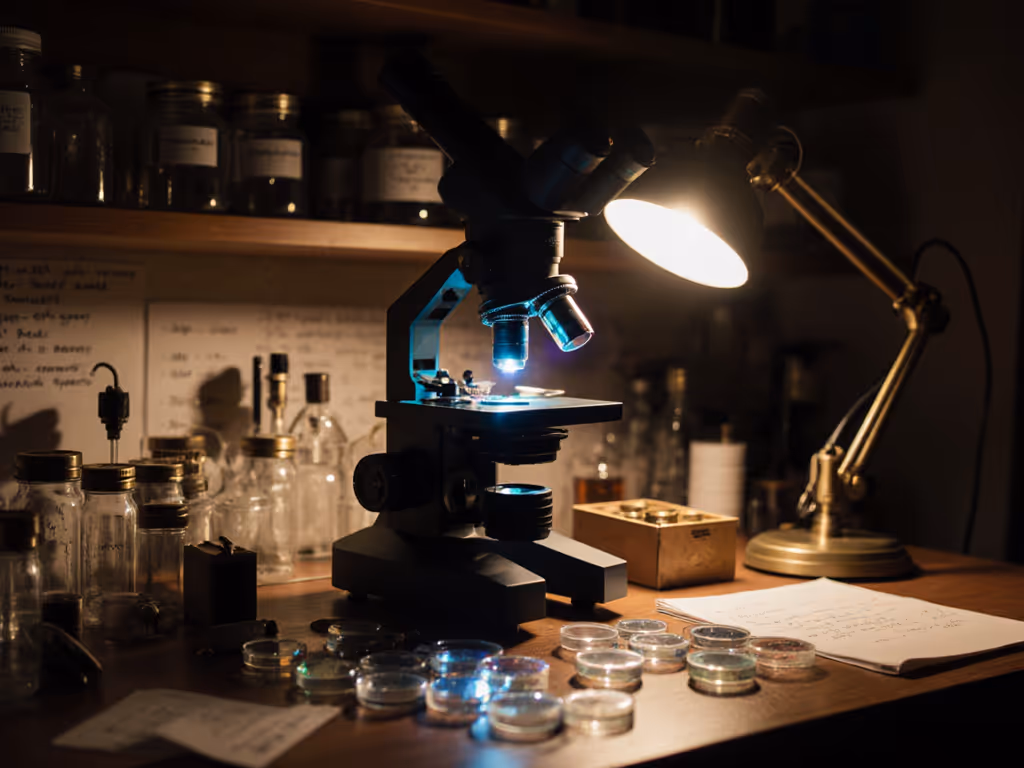
If you're exploring the world of electron microscope accessories for the first time, you're not alone in feeling overwhelmed. The truth is, even professional SEM accessories lists can make beginners freeze, but your journey doesn't need expensive gear to begin. I've watched countless hobbyists skip straight to complex setups and burn out before they see their first crisp image. That's why we're focusing on essential, budget-friendly tools that actually work with your entry-level SEM. Forget lab-grade complexity; let's build confidence with gear that turns frustration into those "aha!" moments you crave.
Why This Checklist Isn't What You Expect
You won't find exotic reagents or cryo-EM kits here. My community education work taught me that electron microscope accessories shine when they simplify your workflow, not complicate it. Early on, I saw a nine-year-old spot tardigrades using a $2 pipette, plastic slide, and pure patience. No fancy filters, no gold sputter coaters. That smile? It came from repeatable discovery, not expensive tools. For beginners, specimen preparation is your secret weapon, and it is shockingly affordable.
Let's tackle your real pain points with a practical FAQ. No jargon. Just clear steps.
Your Top 4 Electron Microscope Accessories Questions, Answered
1. "I'm drowning in options, what is truly essential for starting SEM work?"
Start with these three non-negotiables:
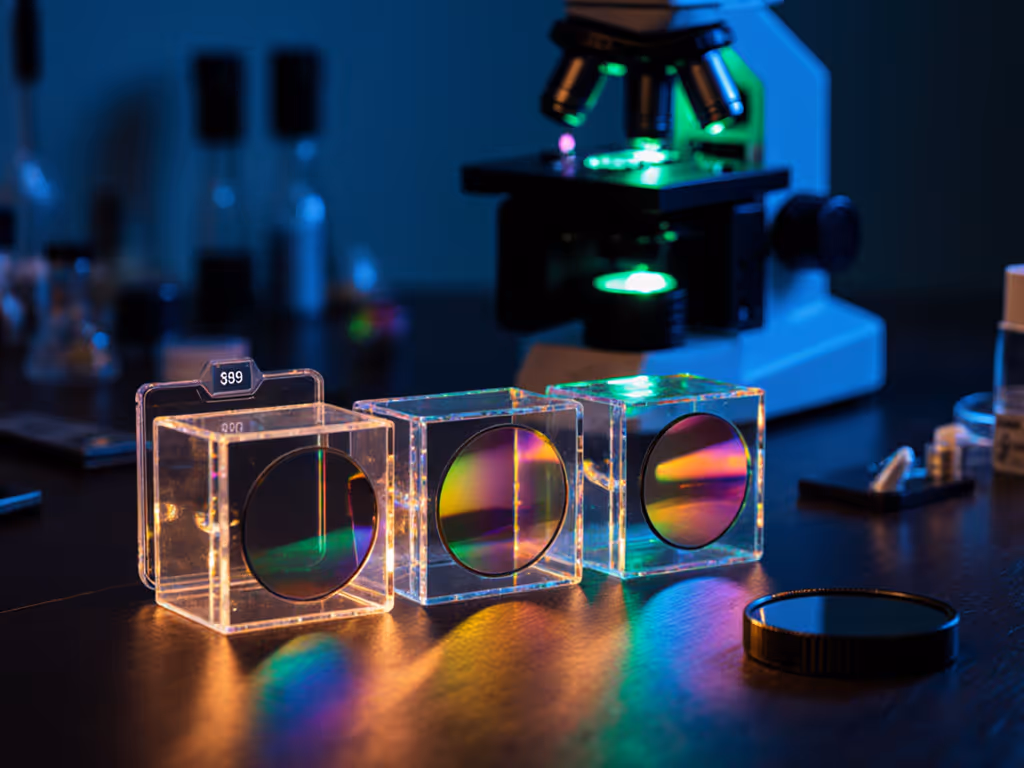
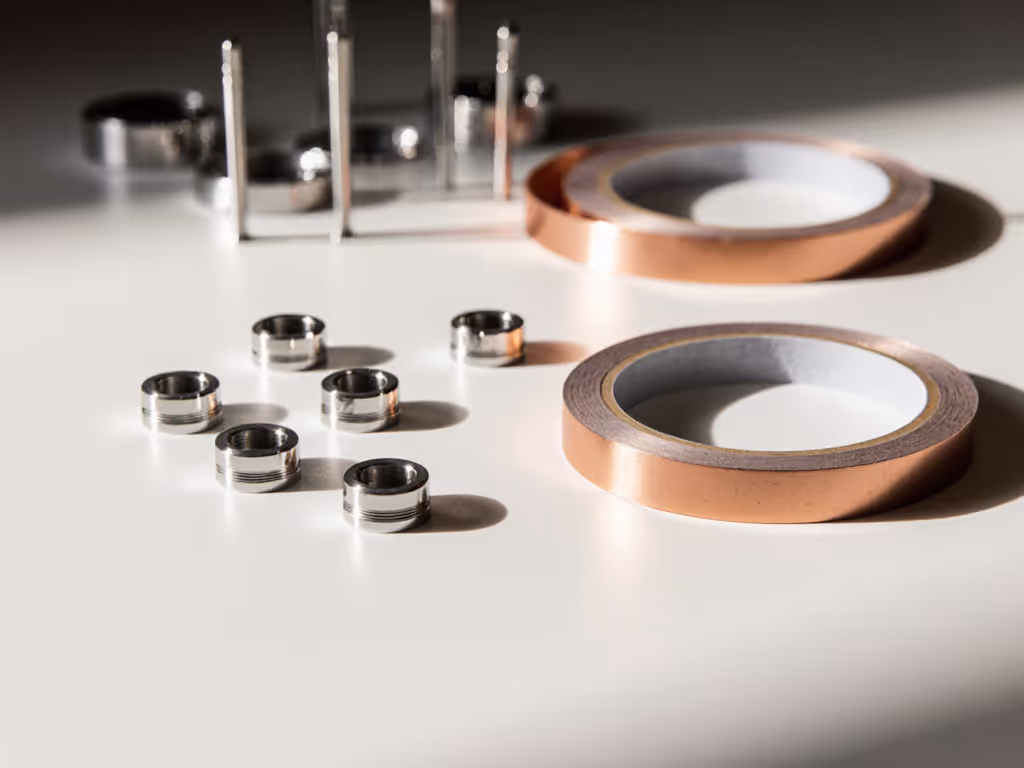
- Conductive tape (like carbon-coated variants): Stops static ruining your image. Why it matters: Your sample floats in the specimen chamber like a balloon in wind. Tape grounds it, no more blurry patches.
- Sample stubs: Tiny metal platforms ($3 to $8 each) that hold slides securely. Beginner tip: Match the stub size to your SEM's specimen stage. Measure first!
- Basic tweezers: Anti-static, fine-tip models prevent finger oils from contaminating specimens.
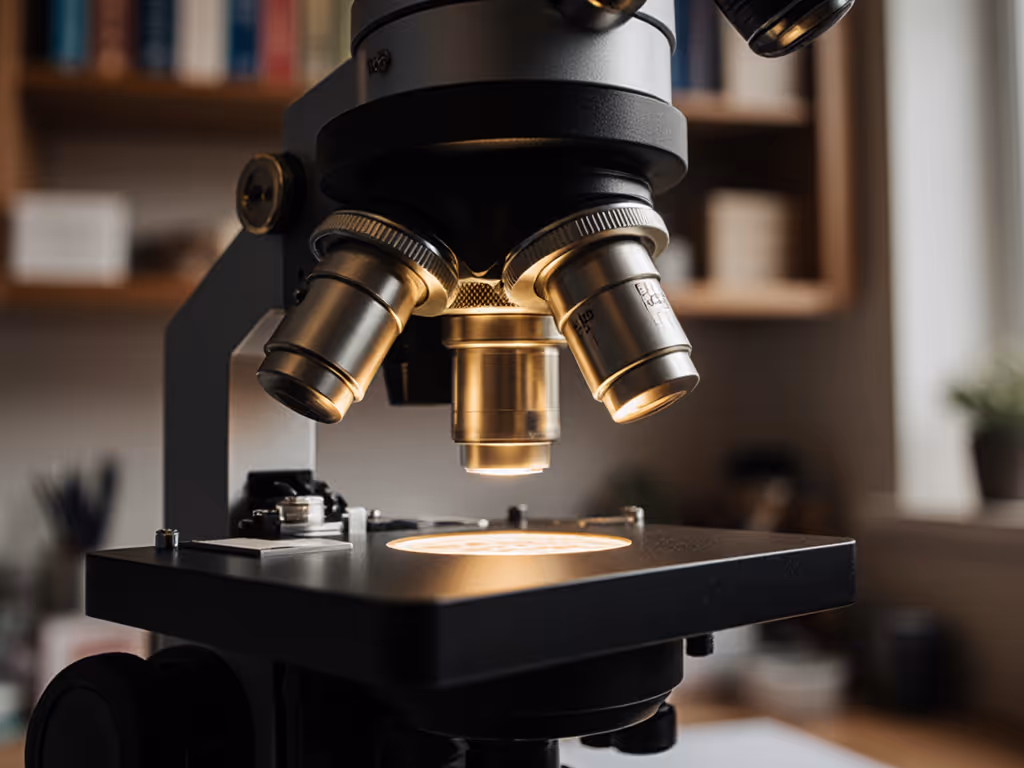
Skip costly extras like specialized lenses or electron optics tuners. Your SEM's built-in vacuum systems and magnetic lenses work fine for 90% of hobbyist work. I've had students skip straight to gold sputter coaters, only to realize their images failed because they'd skipped stubs. Scaffold your steps: Master mounting before modding. If you're building a starter kit, start with our essential microscope accessories guide.
Curiosity scales with confidence. Start where you are, not where you think you should be.
2. "How do I avoid buying incompatible parts for my SEM?"
Compatibility chaos is fixable. For model-by-model tips, see our microscope accessory compatibility guide. Most beginners assume they need microscope-specific parts, but SEM accessories like carbon tape or sample holders work across brands. Here's your cheat sheet:
- Check your specimen chamber size (in your manual). Generic stubs fit 95% of entry-level SEMs if they are 12 to 25 mm diameter.
- Ignore "TEM components" for now. TEM requires ultra-high vacuum and different prep (not for beginners). Stick to SEM specimen prep.
- Test one sample first: Buy a $5 stub pack before committing to a 50-pack.
I curate forgiving tools because missteps shouldn't derail you. When a student bought incompatible adhesive tabs, we improvised with copper tape from a hobby store. It worked. Your gear should bend to you (not vice versa).
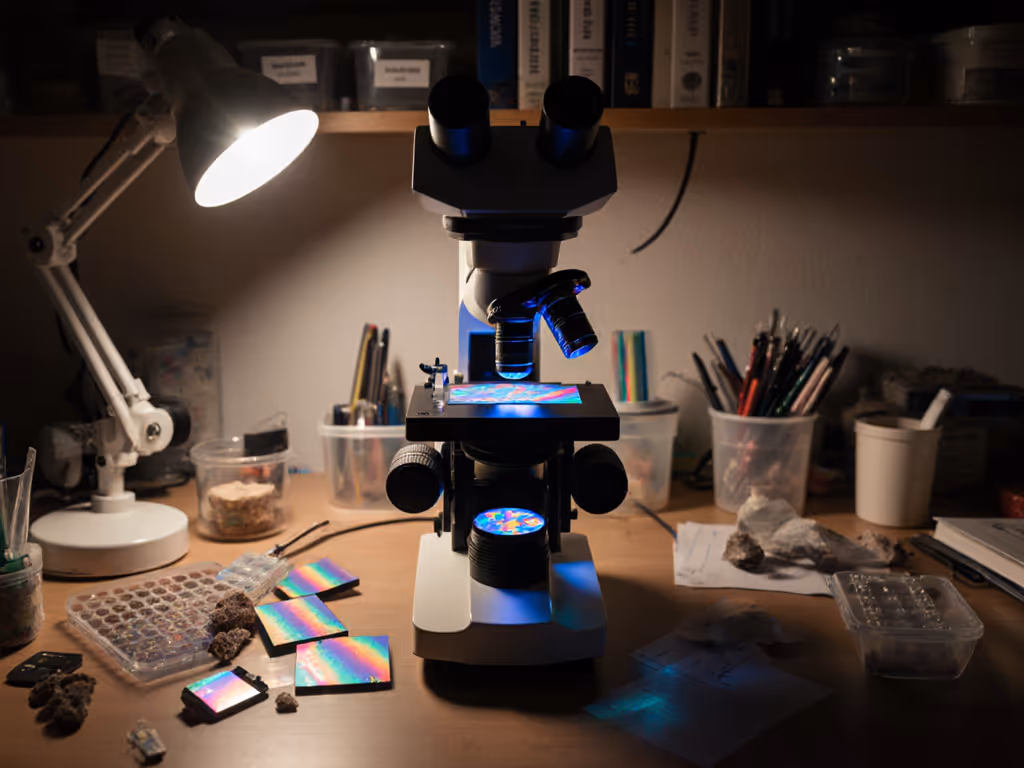
3. "Why do my images stay blurry even with 'good' accessories?"
9 times out of 10, it is specimen preparation, not the microscope. SEMs magnify imperfections. Fix these silently:
- Poor grounding: Dust or oils insulate your sample. Fix: Wipe stubs with 90% isopropyl alcohol.
- Thick samples: SEMs see surfaces. Fix: For biological samples, use critical-point drying (CPD) kits under $50 (not chemical drying).
- Vacuum leaks: Listen for hissing. Fix: Check O-rings; replace them yearly ($2/pair). For a quick upkeep routine that prevents blurry images, follow our microscope maintenance guide.
Skip advanced vacuum system add-ons. Most entry-level SEMs maintain stable vacuum if you:
- Vent only when necessary
- Store samples fully dry
- Clean the specimen chamber monthly with lint-free wipes
A patient gardener once showed me pollen crystals after fixing her stub grounding. Her words? "Small wins today grow into tomorrow's confident discoveries."
4. "How can I document findings without expensive cameras?"
Your phone is your best tool. Most SEMs have basic screen outputs. Do this:
- Darken the room
- Use a phone mount ($10) to stabilize shots of the SEM screen Not sure which adapter to buy? See our top phone microscope adapters tested for stability.
- Adjust screen brightness to reduce glare
Avoid: Cheap USB capture cards; they lag and distort. For sharper images, learn basic SEM parameter tweaks:
- Lower kV for surface detail (e.g., 5 kV for insects)
- Increase working distance to reduce charging
Your Next Step: Prep > Perfection
You don't need NASA-grade SEM accessories to start. Focus on repeatable specimen prep, not chasing specs. Buy one stub, one roll of carbon tape, and practice mounting salt crystals or insect wings. See that crisp edge? That's your win. Build from there.
Free resources to try tonight:
- Watch MyScope's 10-minute "SEM Basics" videos (no login)
- Join the "Hobbyist SEM" subreddit, they will troubleshoot your setup
The microscope isn't the magic. It is the scaffolded steps that turn "I can't" into "I did." Your next discovery is closer than you think, probably in your backyard. Grab that pipette. Be patient. And watch for the wriggle.
Related Articles