Clear Microscope Slides: Cover Slip Setup Simplified
By Omar Haddad • 22nd Sep
You've got your microscope, you've gathered your sample, but that first peek through the eyepiece reveals blurry edges and frustrating air bubbles. The culprit? Often it's not your microscope at all, it is how you've prepared your microscope slides and applied those tiny cover slips. The right technique transforms murky confusion into crystal-clear wonder, and I've seen countless beginners (including an awestruck nine-year-old spotting tardigrades with a plastic pipette) experience that magic moment when patience meets proper preparation.
Curiosity scales with confidence, and nothing builds confidence faster than nailing the fundamentals of slide preparation. Forget intimidating lab jargon, I'm here to walk you through the gentle art of cover slip application with scaffolded steps that turn "I can't" into "I did!" Let's tackle your most pressing questions.
Why can't I just skip the cover slip?
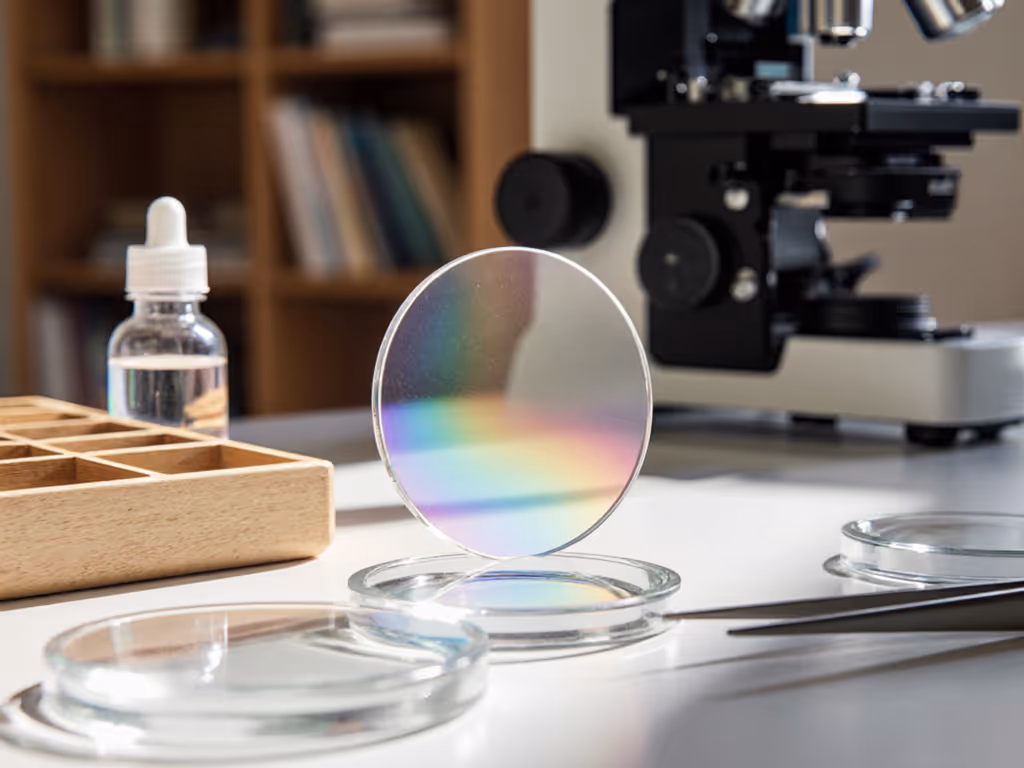
I get this question often from beginners trying to cut corners. Cover slips aren't just optional extras, they're the unsung heroes of sharp microscopy. These ultra-thin glass squares (typically 0.13 to 0.17 mm thick) serve three critical functions:
- They flatten specimens for even focus across the field
- They protect delicate samples from contamination
- Most importantly, they create the precise optical path your microscope's objective lenses are designed for
Without a cover slip, high-magnification views (above 40x) turn into blurry messes because the lens can't properly resolve the specimen. Think of it like trying to read through water that's rippling versus perfectly still.
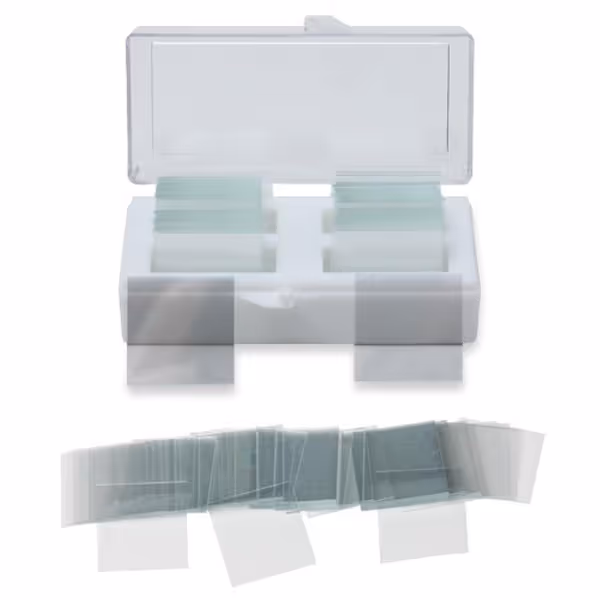
Standard Microscope Cover Slips
Crystal clear cover slips for distortion-free, enhanced microscopic viewing.
$8.24
Thickness0.13 - 0.16 mm
Thickness0.13 - 0.16 mm
Pros
Superb clarity and flatness
Minimizes fogging and sticking
Cons
Inconsistent pre-cleaning reports
Customers find these microscope cover slips to be of excellent quality, crystal clear, and good value for money. They work well for their intended purpose, with one customer noting they're particularly suitable for fecal tests.
Customers find these microscope cover slips to be of excellent quality, crystal clear, and good value for money. They work well for their intended purpose, with one customer noting they're particularly suitable for fecal tests.
Wet mount vs. dry mount: Which technique is right for my sample?
This is where many beginners get stuck, so let's demystify these two core approaches:
Wet mount technique works for liquid or semi-liquid specimens like pond water, cheek cells, or plant sap. It's your go-to method for living specimens. Here's how to do it right:
- Place a single drop of water or mounting medium in the slide's center
- Add your specimen to the droplet
- Angle your cover slip at 45 degrees and slowly lower it like a trapdoor
- Gently press edges to eliminate air bubbles (but don't squash your sample!)
Dry mount method suits solid, non-liquid specimens like insect wings, pollen, or textile fibers. It's simpler but requires more precision:
- Place specimen directly on slide
- Carefully position cover slip over (not on) the specimen
- Use mounting tape or adhesive dots at the corners to secure it
Pro tip: Always label slides with specimen name and date before adding your cover slip (writing on glass is impossible afterward!)
If you want a deeper foundation in slide types and prep, explore our comprehensive slide preparation guide.
"Why do I keep getting air bubbles?" (The #1 Beginner Frustration)
Ah, the dreaded air bubble! That circular distortion that follows your specimen like a microscopic moon. This happens when you drop the cover slip flat instead of angling it. Let's fix it with gentle encouragement:
The newspaper fold technique (my favorite for beginners):
- Place your specimen drop slightly off-center
- Fold a corner of newspaper over your fingertip
- Use this as a mini-handle to grip the cover slip's edge
- Touch one edge of the cover slip to the liquid
- Slowly release the newspaper fold, letting surface tension pull the liquid across
This method gives you perfect control without fingerprints. If bubbles persist, tap the cover slip lightly with a pencil eraser, they will migrate toward the edge. Remember, small wins today grow into tomorrow's confident discoveries.
How do I keep my samples from drying out?
Many beginners don't realize most wet mounts last only 10 to 15 minutes before evaporation ruins the view. Instead of rushing your observation:
- For short-term viewing: Seal edges with clear nail polish (dries in 60 seconds)
- For longer viewing: Apply petroleum jelly around the cover slip perimeter before sealing
- For repeated viewing: Store slides upright in a slide box with damp cotton balls
I've had students observe the same pond water sample for three days using this jelly-seal method (plenty of time to document their discoveries!)
What's the right way to clean and store slides?
Slide preparation continues after observation. Proper cleaning prevents future blurry images:
- Soak used slides in warm soapy water for 5 minutes
- Gently scrub with lens paper (never paper towels, they scratch!)
- Rinse with distilled water to avoid mineral deposits
- Air-dry vertically in a slide rack
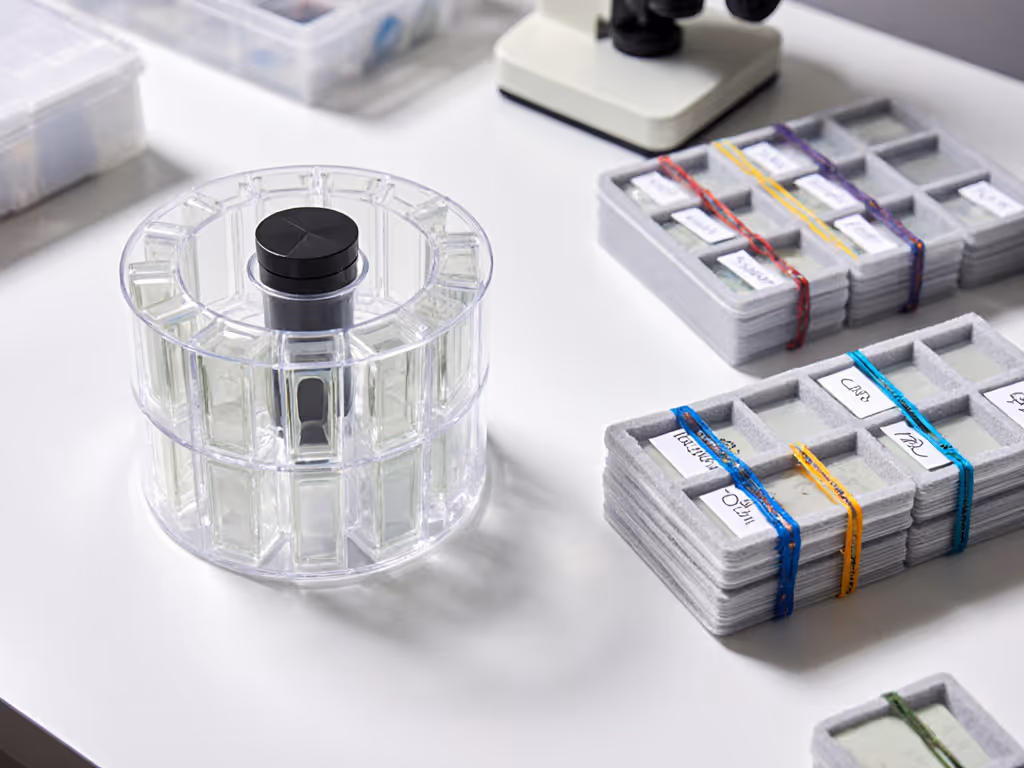
For slide storage solutions, try these accessible options:
- Repurposed CD spindle cases (holds 50+ slides vertically)
- Craft store divided storage boxes with foam lining
- DIY solution: Rubber bands around slide stacks with index card labels
"My cover slips keep shattering!" (Safety First)
Those thin glass squares feel fragile, but with proper handling they're remarkably durable. Avoid these common mistakes:
- Never apply pressure directly to the center (always press edges)
- Store cover slips in original container with dividers
- Use plastic forceps (metal can nick edges)
- Keep them away from temperature extremes
When I first started, I broke three cover slips before learning to handle them like playing cards (by the edges, with both hands). Now I teach beginners to practice placement on blank slides first.
Putting It All Together: Your First Successful Slide
Let's walk through creating your first perfect slide with pond water:
- Clean slide and cover slip with alcohol wipe
- Add a single drop of pond water to slide center
- Angle cover slip at 45 degrees using newspaper fold method
- Seal edges with clear nail polish
- Observe at 40x, then 100x
That moment when you see your first paramecium gliding smoothly? That's when microscopy shifts from hobby to passion. I still remember the smile on that nine-year-old's face when she spotted tardigrades with nothing but a $2 pipette and proper cover slip technique.
Plain language, scaffolded steps, and gentle encouragement, these are the tools that transform uncertainty into understanding. Every microscope journey begins with mastering these fundamentals, where repeatable success builds the confidence to explore deeper.
Ready to explore further? Try documenting your first three successful slides with quick sketches or phone-camera captures through the eyepiece. Notice how each small win makes the next technique easier to master. And if you're looking for quality cover slips that won't shatter during practice, look for pre-cleaned options with consistent thickness, they will make your learning curve much gentler. What microscopic wonder will you discover first?
Related Articles