Integrated Screen Microscopes: Built-in vs Attachable Guide
By Omar Haddad • 12th Nov
You've probably stared at microscope listings wondering: should I get one of those handy microscopes with screens, or is a basic model with an attachable digital camera better? It's a frustrating crossroads that stops many curious beginners before they even collect their first slide. When I work with new explorers, I see how this simple choice can feel overwhelming, like needing to solve a puzzle before you're allowed to play the game. But here's what I've learned after years helping families and adults take their first steps: the right display setup isn't about specs or brands. It's about finding the path that lets you see results immediately. That's why today we're cutting through the confusion around built-in display microscopes versus attachable options. Because once you bypass this early hurdle, you're free to focus on what really matters: that magical moment when you first see hidden worlds come alive.
Small wins today grow into tomorrow's confident discoveries.
Why Your Screen Choice Makes or Breaks the Beginner Experience
Let's be honest: nothing kills curiosity faster than wrestling with cables when all you want is to see what's on that leaf you just scraped. I've watched beginners light up the moment they spot moving critters in pond water, but only when the tech got out of their way. That's why we're tackling this as a gentle FAQ. No jargon, no lab-coat pressure. Just practical answers that match how real people actually use these tools at home.
FAQ 1: What's the real difference between built-in and attachable screens?
Q: I keep seeing "built-in display microscopes" and "digital microscope cameras" thrown around. What actually separates them?
A: Think of it like this:
-
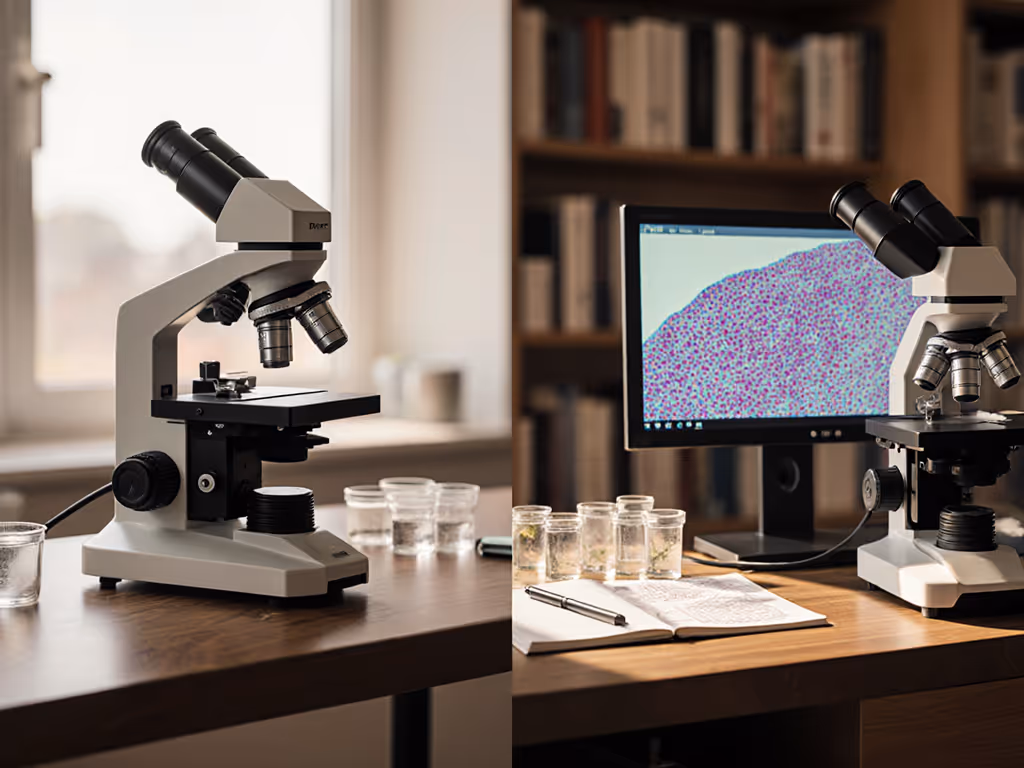
Built-in display microscopes (or standalone microscope displays) are all-in-one units. The screen, camera, and optics live inside one device. Turn it on, point it at your sample, and boom... image appears. Many run on batteries and feel like a handheld tablet with a lens.
-
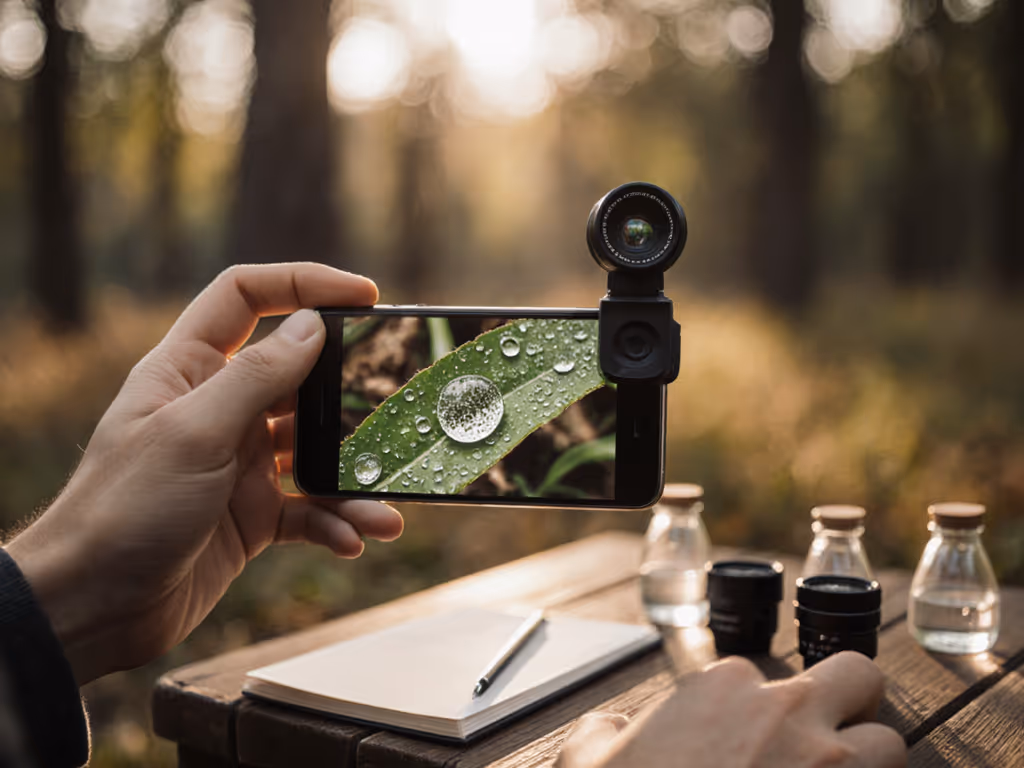
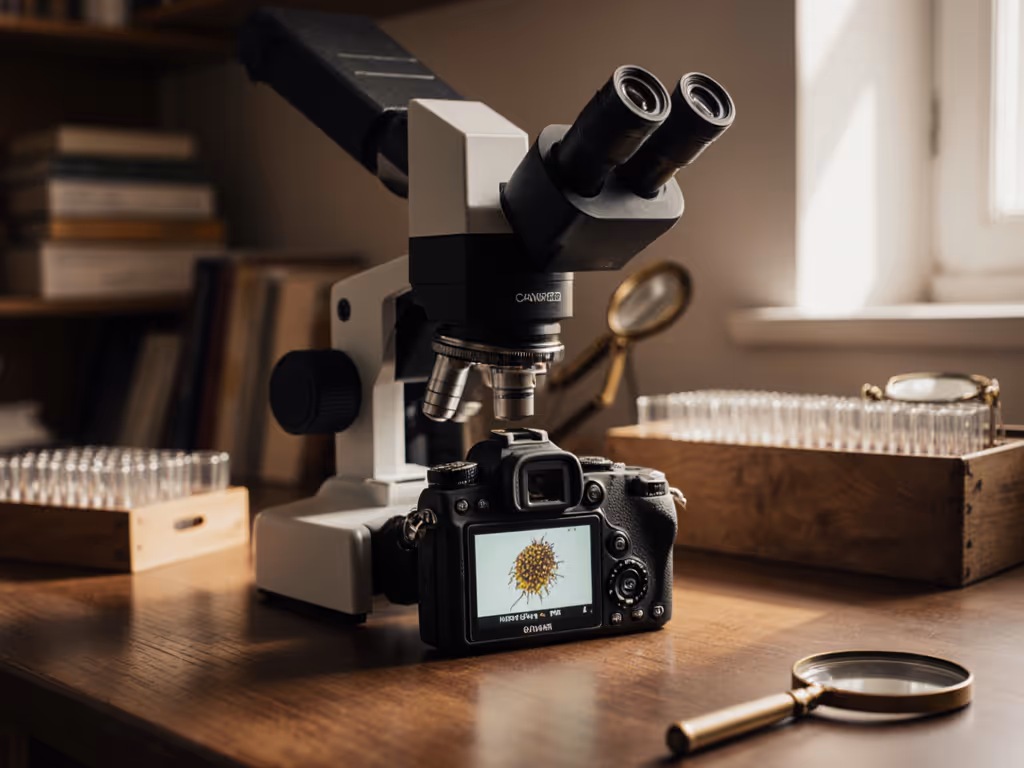
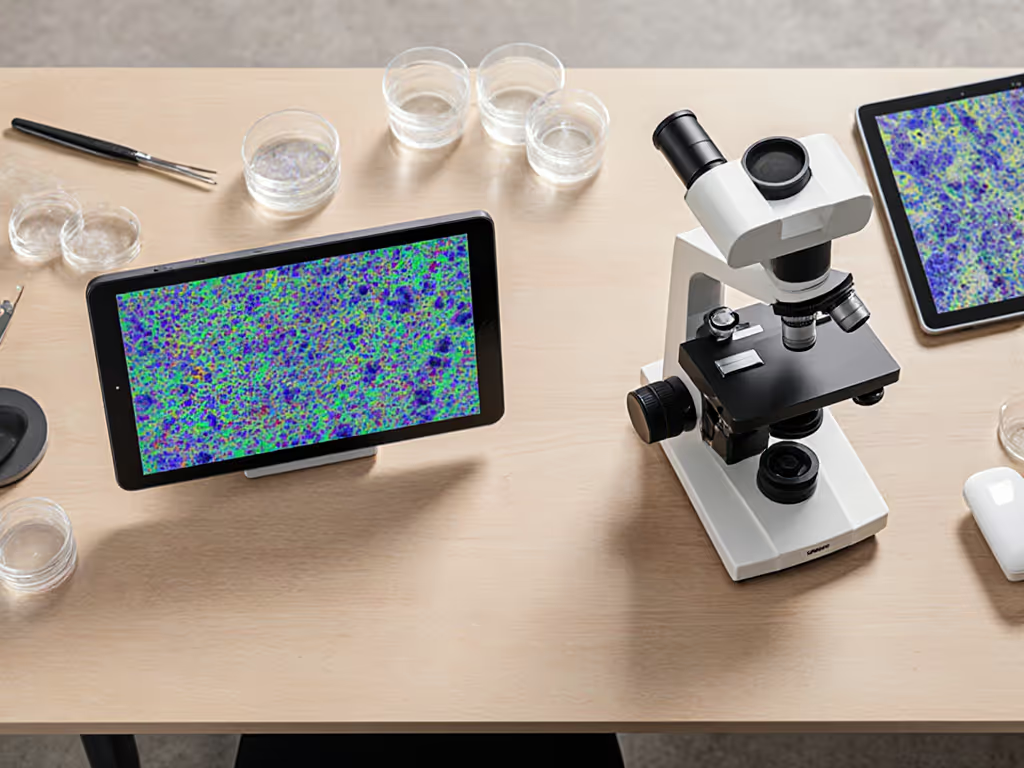
Attachable options (like digital microscope cameras) clip onto traditional eyepieces or replace them entirely. You'll need a separate screen, usually your phone, tablet, or computer, to see the image. Some even create wireless microscope screen setups via Wi-Fi. Not sure whether to use your phone or a dedicated camera? See our smartphone vs digital microscope cameras guide.
The beginner-friendly takeaway: Built-in screens skip the "why won't it connect?!" frustration. Attachable cameras offer more flexibility if you already own a microscope. For absolute starters, I lean toward built-in because they remove setup barriers. Remember my favorite workshop moment? That nine-year-old found tardigrades because we eliminated every possible "no" (no drivers, no cables, no waiting). Just pipette, slide, and wow.
FAQ 2: Which type actually saves me money and hassle?
Q: I'm worried about wasting cash on something too complicated or low-quality. How do I avoid buyer's remorse?
A: You're not alone. This is the #1 pain point I hear. Let's break it down:
| Feature | Built-in Display Microscopes | Attachable Digital Microscope Cameras |
|---|---|---|
| Upfront Cost | $$-$$$ (All-in-one price) | $-$$ (Camera only; need separate screen) |
| Setup Time | ⏱️ 30 seconds (power on & go) | ⏱️ 5-15 mins (drivers, app installs) |
| Compatibility Worries | None (self-contained) | High (will it work with my phone/OS?) |
| Best For | Total beginners, kids, portability | Existing microscope owners, tinkerers |
Key insight from real beginners: That "built-in display" advantage isn't just convenience, it's psychological. If you're worried about whether a camera or adapter will fit your scope, bookmark our microscope accessory compatibility guide. When your first 10 minutes involve troubleshooting drivers instead of discovery, curiosity dies. I've seen students give up because their $50 attachable camera wouldn't pair with their school tablet. Meanwhile, the $120 built-in units? They spent those first 10 minutes gasping at pollen grains.
Pro tip: Ignore inflated magnification claims like "1600x!" on cheap units (a fact confirmed by multiple teardown videos). At beginner-friendly prices, 50x-200x is realistic. Focus on image clarity at 40x. That's where you'll spend 80% of your time observing insects, fabric fibers, or plant cells.
FAQ 3: What limitations should I realistically expect?
Q: YouTube reviews show amazing images, but mine look blurry. Am I doing something wrong?
A: First: no, this isn't your fault. Digital microscopy has honest limits beginners rarely get warned about:
-
Working distance shrinks at high zoom: That "60x-250x" Gooseneck microscope? At 250x, the lens is practically touching your slide. Great for static objects, impossible for layered samples like soil.
-
"Screen-integrated microscopy" lighting is tricky: Built-in LEDs often cast harsh shadows. Pro move: Place a small flashlight beside (not behind) your sample for even illumination. No extra gear needed! For a deeper dive into light sources and shadow control, see our microscope illumination guide.
-
Battery life varies wildly: Some units last 4 hours; others barely 45 minutes. Always check real-user comments for "battery life" before buying.
My gentle reality check: Even pro labs use multiple tools. Your first microscope won't do everything. But it can do something amazing right now, like showing how salt crystals form. That's why I stress scaffolded steps: Master clear images at 40x before chasing 200x.
FAQ 4: What actually works for total beginners?
Q: I just want to start observing today without frustration. What's the simplest path?
A: Based on workshops with 500+ beginners, here's my no-fail starter strategy:
- Skip complex setups: If you own no microscope yet, choose a built-in display microscope under $150. Look for:
- Rechargeable battery (no AA hunt mid-discovery)
- At least 4.3" screen (smaller strains eyes)
- Real user reviews mentioning "easy for kids"
- If you own a traditional microscope: Add a basic USB digital microscope camera (like the plug-and-play models from Celestron). But only if:
- Your microscope has a standard eyepiece diameter (usually 23.2mm or 30mm)
- You're comfortable installing one small app
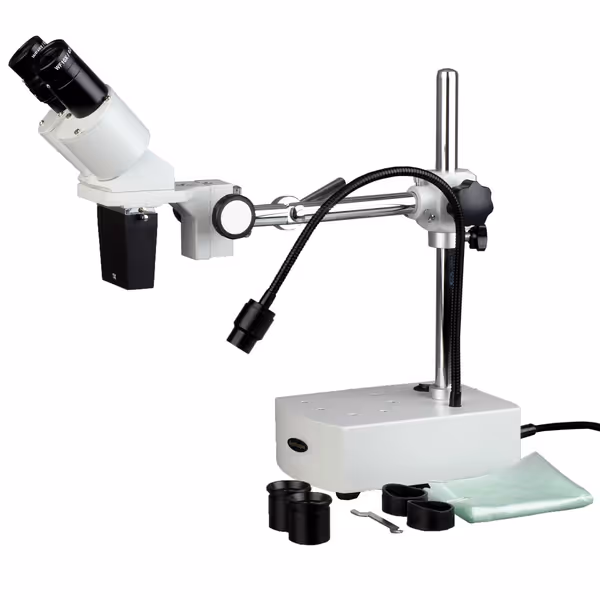
AmScope SE400-Z Stereo Microscope
Professional-grade stereo microscope perfect for detailed electronic repair.
$291.99
Working Distance9 inches
Working Distance9 inches
Pros
High-resolution optics for clear images.
Boom-arm stand for large item manipulation.
Cons
Fixed 1X objective limits magnification options.
Customers find this microscope to be a high-quality device that offers excellent value for electronic repair work, particularly for soldering surface mount components.
Customers find this microscope to be a high-quality device that offers excellent value for electronic repair work, particularly for soldering surface mount components.
This is where versatile workhorses like the AmScope SE400-Z stereo microscope shine (they're designed for real-world tinkering). Their sturdy boom arm holds position while you adjust focus, and the LED light stays put without glare. Many beginners later add a digital camera to units like this once they're comfortable with the basics. But again: if you're starting from zero, don't layer complexity. Get images first, learn mechanics later.
Your Turn to Discover (Without the Overwhelm)
Here's what I want you to remember: That hesitation you feel? It's not about screens or specs. It's about protecting your spark of curiosity, the same one that made you click this article. When we remove setup friction, wonder becomes repeatable. And repeatable wonder builds skills faster than any spec sheet ever could.
Your starter mission (do this now!): Grab your phone's front camera. Hold it 1-2 inches from a leaf vein or fabric thread. Notice how close you have to get for details to pop? That's your first lesson in working distance! Now imagine a microscope doing this for you, with better light and no shaky hands. That's the magic waiting on the other side of a simple choice.
Start simple, learn fast.
Next steps that won't cost you a dime:
- Join our free [Beginner's Slide Prep Checklist] (we'll email it, no fluff, just 5 foolproof sample tricks)
- Watch my 10-minute "Clear Images in One Try" tutorial (uses household items only) When you're ready to capture stable photos and video, use our steady microscope photography guide.
- Try the "Penny Test": Place a coin under any microscope. If you see minting lines clearly at 40x, you've got a winner.
Because your first discovery isn't about tardigrades or perfect focus. It's about realizing: I can do this. And once you see that truth? Everything else follows.
Related Articles