Microscope Illumination Guide: LED Halogen for Clear Specimen Views
By Mei Lin • 9th Sep
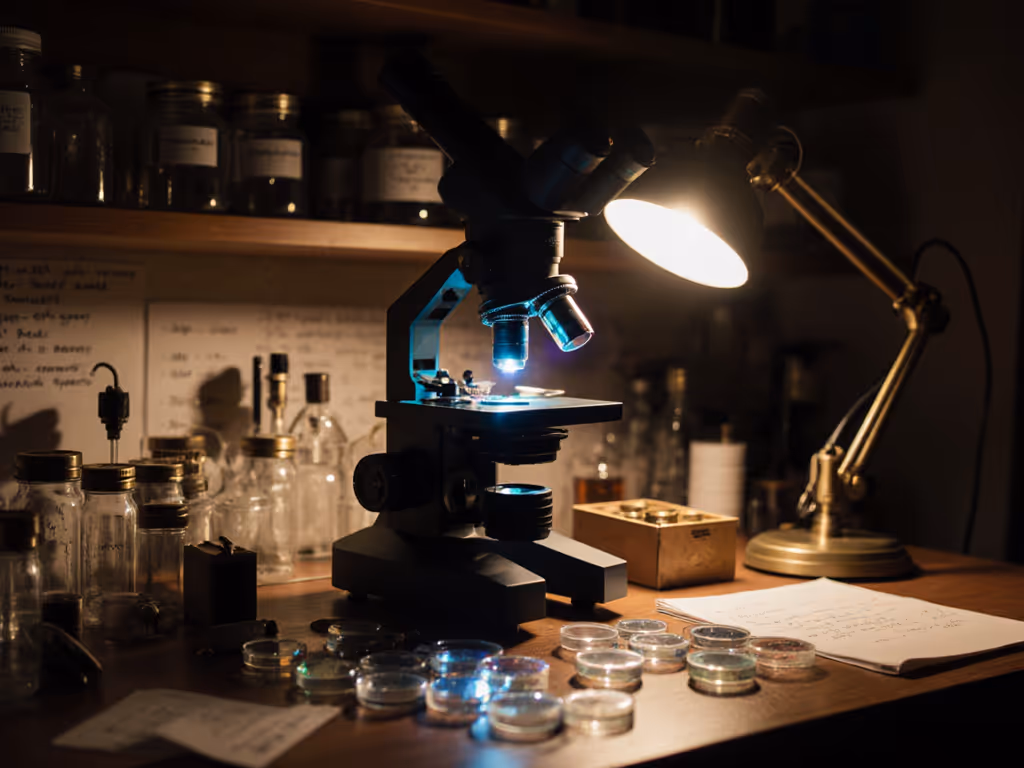
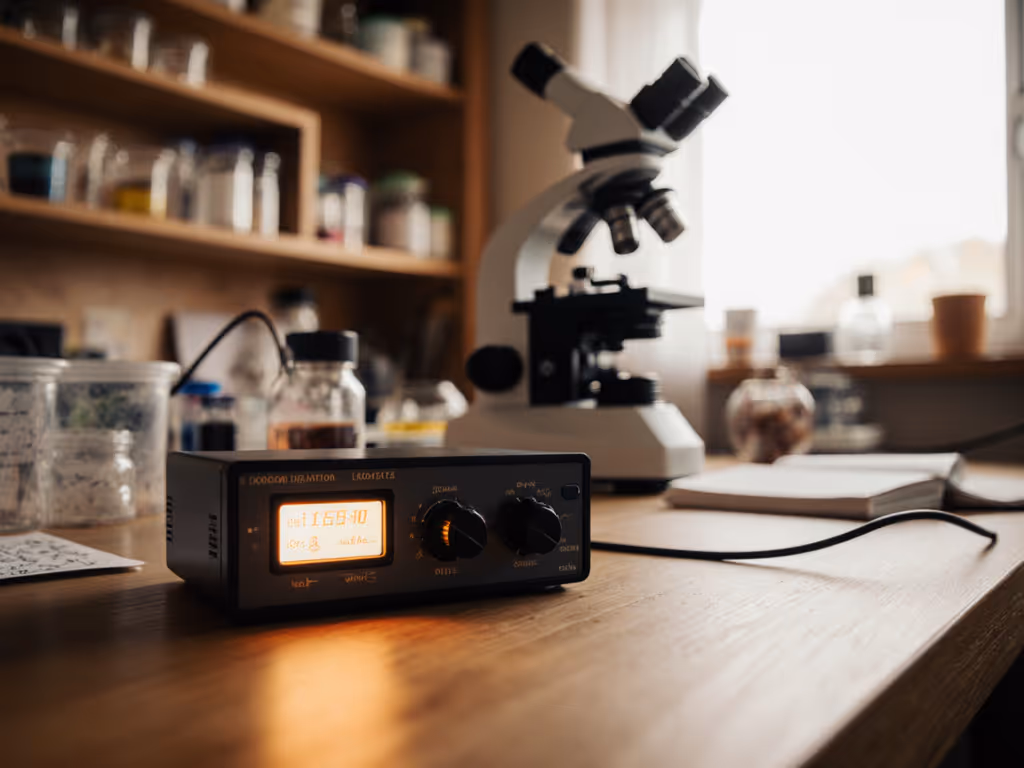
When seeking specimen details that seem just beyond reach, it's easy to blame your eyepiece or objective lens. More often than not, the culprit lies in inadequate microscope illumination (the foundation of all your viewing experiences). Understanding the right lighting types for your specific specimens and workspace can transform indistinct shapes into revealed wonders. I've seen countless hobbyists overlook lighting while chasing resolution, only to discover that proper illumination reveals more detail at lower magnifications than poor lighting at maximum power. Comfort is performance when the session runs long, and today we'll explore how the right light source creates those immersive moments where two hours feel like twenty minutes. Let's make long sessions feel short.
The Foundation of Clear Views: Why Illumination Matters
"Poor lighting isn't just about visibility, it's the difference between seeing a cell and seeing the dynamic process happening inside it."
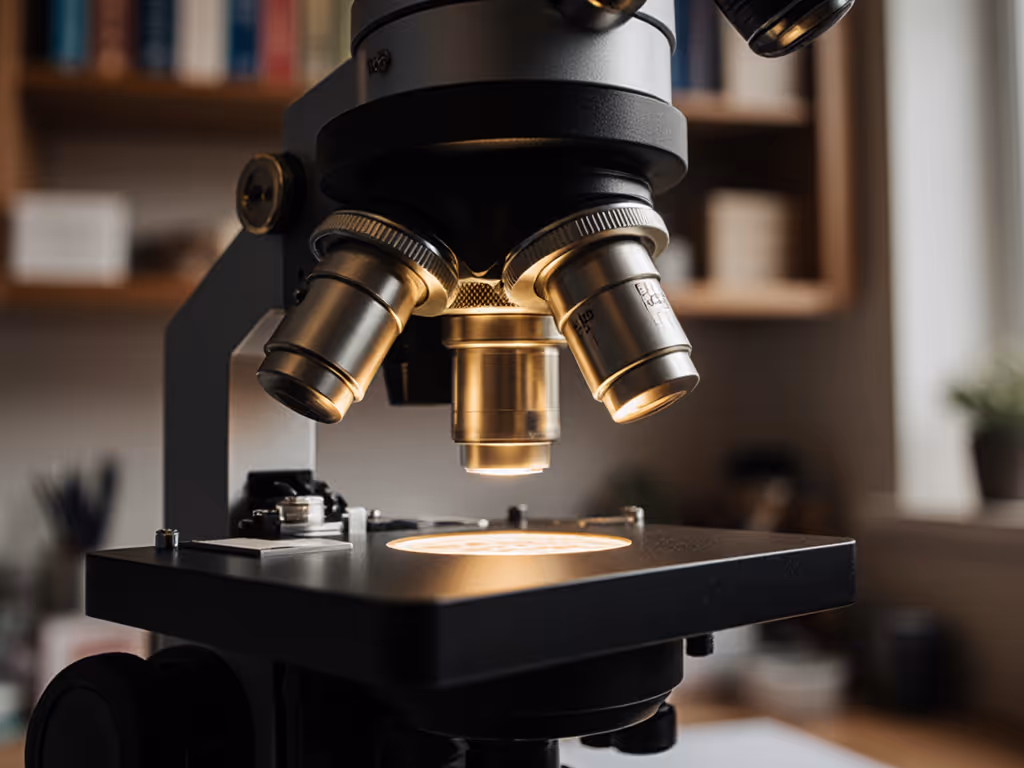
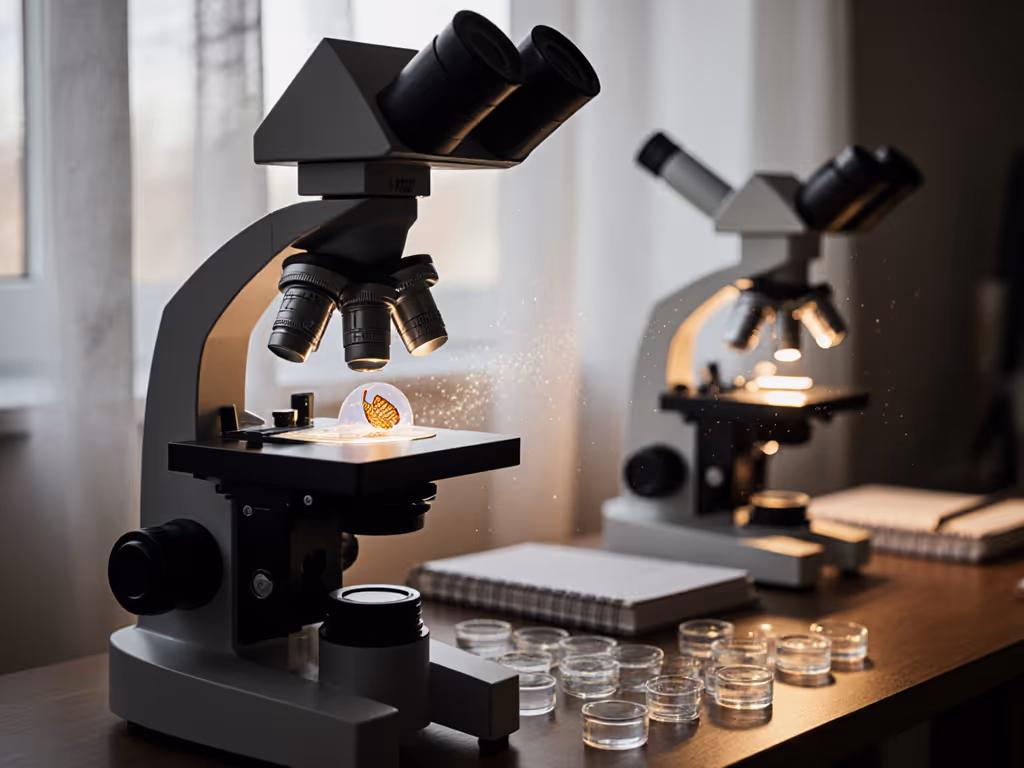
Microscopy isn't merely magnification; it's revelation. Without proper illumination, even the highest quality optical components deliver disappointing results. The light reaching your specimen determines contrast, enhances specific structures, and reveals details invisible under suboptimal conditions.
Consider a tiny diatom under your scope. With transmitted light alone, it might appear as an indistinct smudge. But with oblique illumination (not light coming straight through but angled from the side), you might suddenly see intricate silica patterns once hidden in the background noise. Kohler illumination, while more complex to set up, provides uniform lighting across your field view, perfect for critical examination of tissue sections. To master Kohler and condenser adjustments, see our condenser light control guide.
Each lighting technique serves a purpose:
- Transmitted light illuminates specimens from below (ideal for thin, transparent samples)
- Oblique illumination reveals surface texture and contours through angled lighting
- Darkfield creates dramatic contrast for low-contrast specimens
- Kohler illumination delivers even lighting across the specimen field (essential for photography)
I remember a quiet afternoon timing myself photographing pond algae. With better illumination adjusted, those two hours studying microscopic life felt like minutes, eye strain gone, focus effortless, and most importantly, the quality of what I captured improved dramatically because I wasn't rushing to finish before discomfort set in.
Light Source Face-Off: LED vs Halogen
Beyond Brightness: A Feature Comparison
When choosing between LED vs halogen light sources, brightness alone doesn't tell the full story. It's about consistent performance through an entire viewing session and beyond. Let's examine what truly matters to your hobby experience.
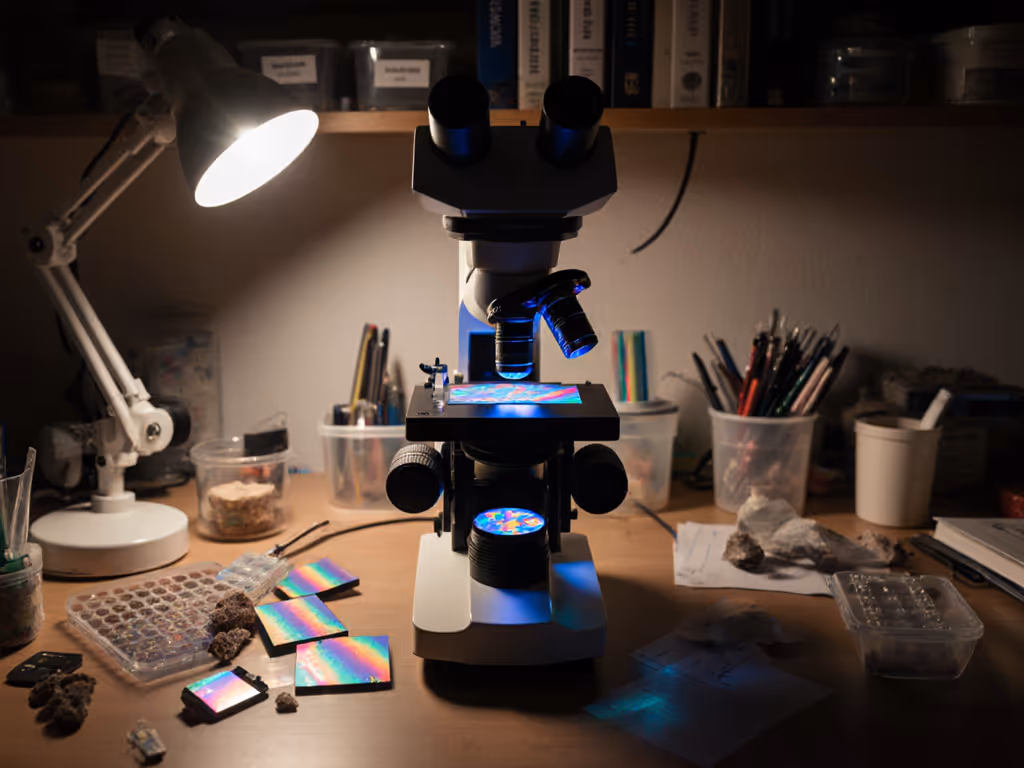
Lifespan difference is staggering: Halogen bulbs typically last 500-2,000 hours before dimming significantly (a fact confirmed by multiple studies on microscope lighting sources). In contrast, quality LED systems deliver 50,000+ hours of consistent output. For the hobbyist who uses their scope 5 hours weekly, that difference translates to swapping bulbs every 2-4 years versus potentially never replacing an LED during the microscope's lifetime.
Heat generation matters more than you might think. Halogen bulbs operate at high temperatures, creating hot spots under your stage that can distort delicate specimens like live pond water samples. More importantly for comfort-driven users like us, that heat rises into your workspace, making extended sessions physically taxing. LED's cooler operation prevents both specimen damage and that uncomfortable warmth on your face after 30 minutes at the eyepiece.
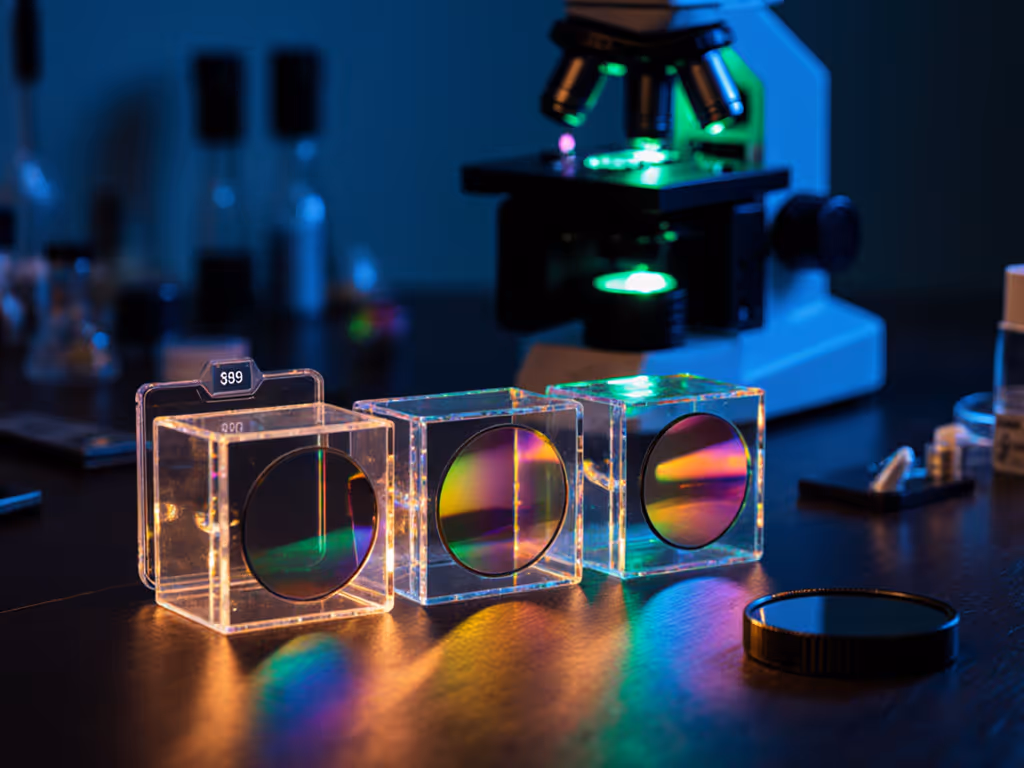
Color temperature stability is where LEDs provide a silent advantage. Earlier LED technology suffered from inconsistent color temperature when adjusting brightness, but modern options maintain perfect color fidelity regardless of intensity, a detail confirmed by The Pathologist magazine's review of contemporary microscopy lighting. Halogens shift toward warmer (yellower) tones as brightness decreases, requiring constant re-adjustment of white balance for photography and causing additional eye fatigue as your pupils continuously adapt.
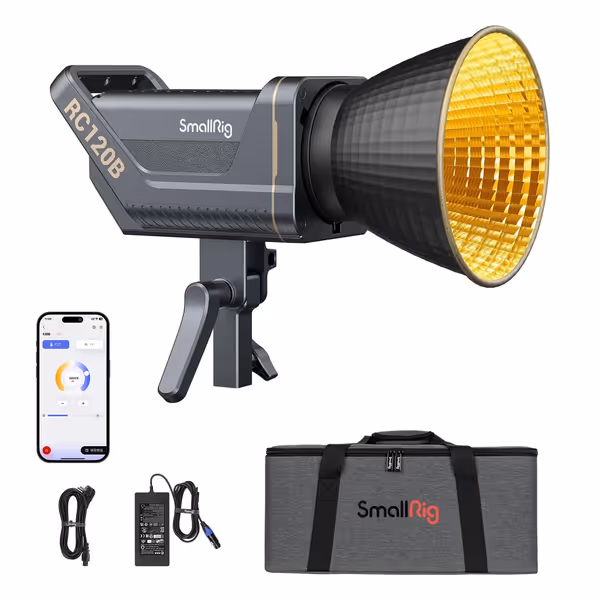
SMALLRIG RC 120B 120W Bi-Color Cob Video Light
Powerful, versatile bi-color COB light for professional-grade video production.
$259
Max Brightness52,800 Lux@1M (with reflector)
Max Brightness52,800 Lux@1M (with reflector)
Pros
High brightness and wide color temperature range (2700K-6500K)
Silent cooling fan mode for quiet shooting environments
Cons
Silent mode reduces power output
Customers find the video light powerful and easy to set up, with great build quality and a nice carry case included. They appreciate its versatility, with one customer noting it holds every modifier, and consider it good value for money. The light level receives mixed feedback - while many say it works great, some report issues with the fan not turning on.
Customers find the video light powerful and easy to set up, with great build quality and a nice carry case included. They appreciate its versatility, with one customer noting it holds every modifier, and consider it good value for money. The light level receives mixed feedback - while many say it works great, some report issues with the fan not turning on.
Making Your Choice Work For You
Factors That Matter Most to Hobbyists
Practical experience teaches us that lighting decisions aren't just technical, they're about matching your natural rhythm of exploration. True compatibility with your specific microscope model should be your first checkpoint before comparing specifications.
Budget consideration: It's true that quality LED systems often cost more upfront. But consider your microscope as a 10+ year companion, LED's longevity actually delivers better value over time. Halogens may save $30-50 initially, but the cumulative cost of replacements plus electricity often exceeds LED's initial premium within 2-3 years.
Sample interaction: Do you frequently examine heat-sensitive specimens like living cultures? LED's minimal heat output preserves natural behavior. Working with already-mounted slides? Halogen's heat is less critical, though overall concentration suffers in warmer workspaces.
Photography needs: If you capture images or video (as many hobbyists now share discoveries online), LED's stable color temperature prevents frustrating post-processing adjustments when lighting levels change. Your captures will maintain color consistency throughout your collection.
Optimizing Your Lighting System: A Practical Checklist
Simple Adjustments for Clearer Views
No matter your light source choice, proper adjustment unlocks hidden detail. Following these steps regularly ensures you're seeing specimens at their best:
Essential Lighting Checklist
- Clean your optical path weekly: Dust on condenser lenses or slides creates distracting artifacts
- Position your light correctly: Is your microscope's light source aligned with the optical axis?
- Match intensity to magnification: Lower power needs less light; excessive brightness washes out detail
- Check color temperature settings: 5500K typically matches daylight for most biological specimens
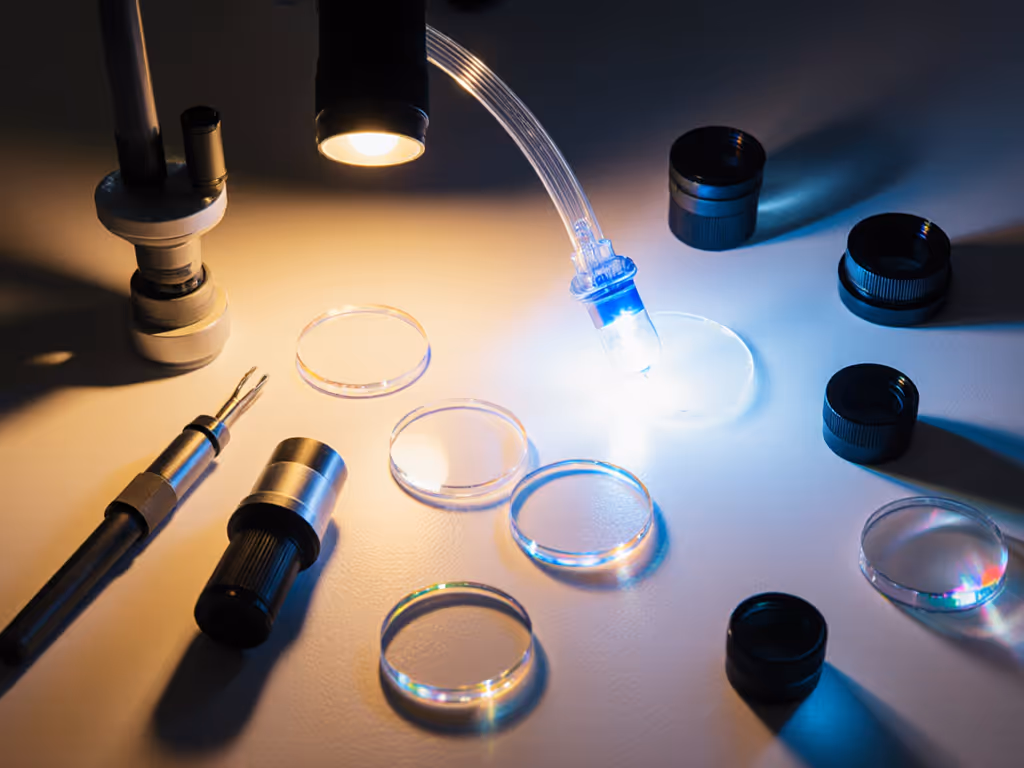
- Test alternative techniques: Try oblique illumination for transparent specimens by partially blocking central light
- Verify even illumination: Rotate your stage, if brightness shifts dramatically, your setup needs adjustment
I occasionally employ external lighting when examining specimens requiring specialized angles, like when studying feather barbules or insect wing structures that reveal different details under directional lighting. The ability to adjust brightness via app control lets me maintain focus without constant physical adjustment, a small detail that adds up during extended sessions.
Final Reflections: Light as Your Observation Partner
Your microscope's illumination deserves as much attention as its magnification capabilities. The right lighting choice creates those quiet moments of discovery where time seems to stand still, not because you're forcing concentration, but because discomfort has disappeared. When I first raised my microscope to proper height, softened glare conditions, and optimized my lighting, something shifted: I spent more time examining specimens rather than fighting the equipment, and the results reflected that shift in attention.
Don't assume your current lighting setup is performing optimally just because "it works." Take five minutes right now to apply our essential lighting checklist to your microscope. Notice the difference in specimen contrast, circle one improvement you've made, and continue your exploration with renewed clarity. That small adjustment might be what transforms your next session from a necessary setup chore to that magical flow state where curiosity takes over completely.
Let's make long sessions feel short.
Related Articles