USB Microscope Applications: No-Jargon Practical Guide
By Mei Lin • 20th Jan
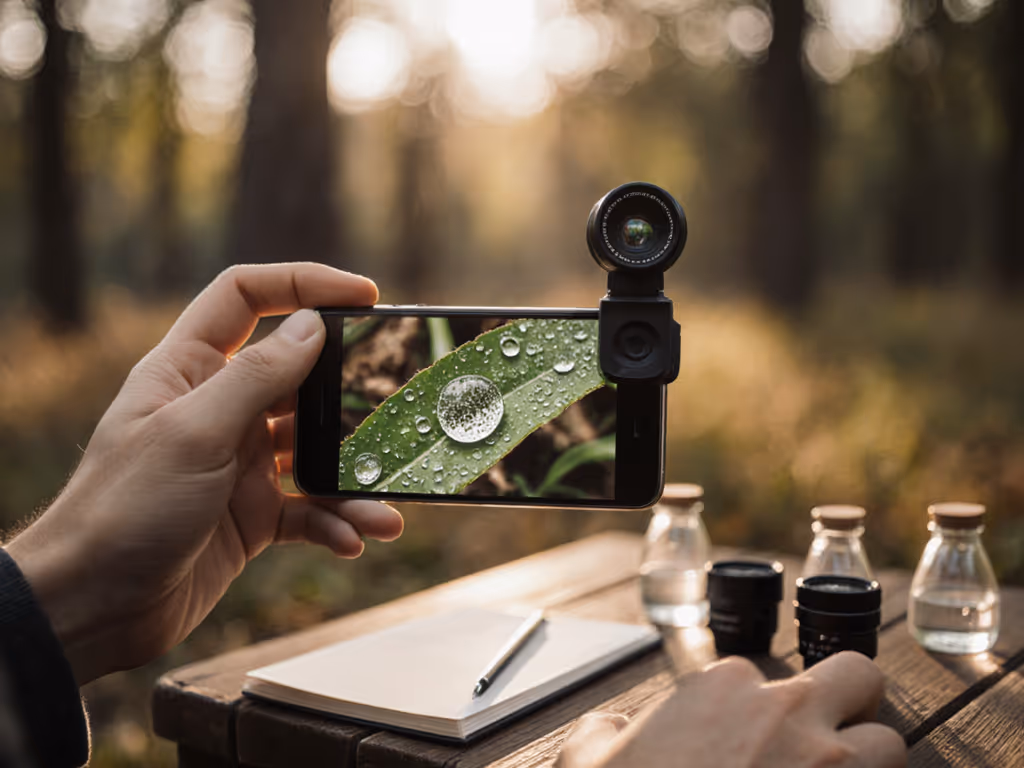
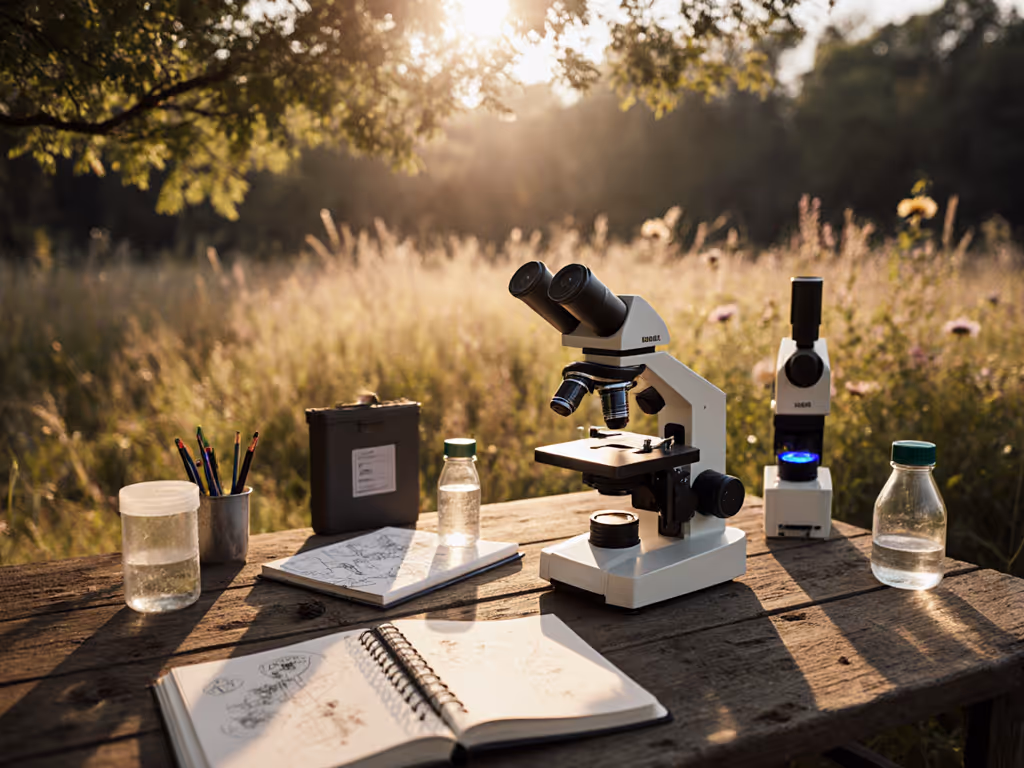
As a hobbyist who's spent countless hours examining the miniature worlds hidden in plain sight, I've discovered that USB microscope applications extend far beyond simple magnification. These accessible digital cameras for microscopy transform how we interact with the microscopic realm, turning what might seem like a simple gadget into a gateway for discovery. Whether you're examining the crystalline structure of salt or the intricate patterns on an insect's wing, understanding practical applications helps you get the most from your equipment without unnecessary complexity.
Let's explore some frequently asked questions that address real challenges faced by fellow enthusiasts.
What Are the Most Practical USB Microscope Applications for Hobbyists?
Forget the technical jargon, let's focus on what matters in your living room or workshop. USB microscope technology excels at:
- Textile and fabric analysis: Examining weave patterns, thread quality, or identifying vintage textile types
- Stamp and coin collecting: Verifying authenticity marks and wear patterns invisible to the naked eye
- Circuit board inspection: Troubleshooting electronics projects without expensive professional equipment
- Botanical exploration: Studying plant cells, pollen structures, or leaf venation patterns
- Mineral and rock identification: Observing crystal formations and inclusions in your geology collection
A fact confirmed by industry reports shows that over 65% of hobbyist USB microscope users leverage them for multiple applications rather than a single purpose. The beauty of computer-connected microscopy is its versatility (you're not limited to one specialty).
How Do I Overcome Common USB Microscope Limitations for Better Results?
Every tool has boundaries, and acknowledging USB microscope limitations is the first step to working around them. The most frequent challenges include:
- Limited depth of field at higher magnifications: Solution: Take multiple images at different focal points and blend them using free focus-stacking software
- Reflection issues with shiny specimens: Solution: Position your light source at a 45-degree angle or turn off the microscope's built-in LEDs in favor of ambient room lighting For a deeper dive into lighting choices and when to use them, see our microscope illumination guide.
- Resolution constraints: Solution: Work within your equipment's sweet spot (typically 40-100X for most affordable units) rather than pushing to maximum magnification
I once spent an afternoon photographing pond algae, not realizing my squinting and rushing had compromised my images until I raised the scope, softened glare, and organized my workspace. The transformation wasn't just in the photos; it was in my ability to stay engaged with the subject.
What Simple Adjustments Improve Image Quality Without Expensive Accessories?
You don't need a professional lab to capture remarkable images. These checklist-driven adjustments deliver immediate improvements:
- Stability first: Secure your microscope to a stable surface. Many users overlook how slight movements degrade image quality
- Lighting matters: Natural north-facing window light often outperforms built-in LEDs for many specimens
- Calibration conscientiously: Spend five minutes calibrating your software with a standard ruler before important observations
- Background contrast: Place specimens against dark backgrounds for translucent objects, light backgrounds for dark specimens
Comfort is performance when the session runs long.
How Can I Comfortably Observe Specimens for Longer Periods?
This is where many enthusiasts unknowingly sabotage their experience. Poor ergonomics turn joyful exploration into a race against discomfort. If comfort is an issue, explore our microscope ergonomic accessories guide. Consider these gentle pacing adjustments:
- Monitor positioning: Your screen should be at or slightly below eye level to prevent neck strain
- Wrist support: Use a simple foam pad to maintain neutral wrist alignment while manipulating specimens
- Lighting ergonomics: Ensure ambient room lighting reduces screen glare without creating specimen reflections
- Session structure: Work in 20-minute intervals with 5-minute breaks to reset your eyes and posture
When I first started, I'd cramp up after 15 minutes, forcing me to rush observations. After implementing ergonomic adjustments, those same sessions became opportunities for deeper investigation. The clarity of my images improved not because of better equipment, but because I could stay present with the subject.
What Are the Best Ways to Document and Share My Microscopic Discoveries?
Documentation transforms casual observation into meaningful exploration. Digital inspection tools excel here:
- Time-lapse sequences: Capture slow processes like crystal formation or plant cell movement
- Measurement overlays: Most free software options include measurement tools once you've calibrated your system
- Annotation features: Draw directly on captured images to highlight specific structures
- Community sharing: Many microscopy forums welcome well-documented findings from hobbyists
Before investing in expensive capture software, explore free options like MicroCapture or ImageJ. To build a smooth pipeline from acquisition to sharing, see our microscopy workflow software guide. Both offer robust features without subscription costs. Many users don't realize their microscope's included software often has underutilized documentation capabilities.
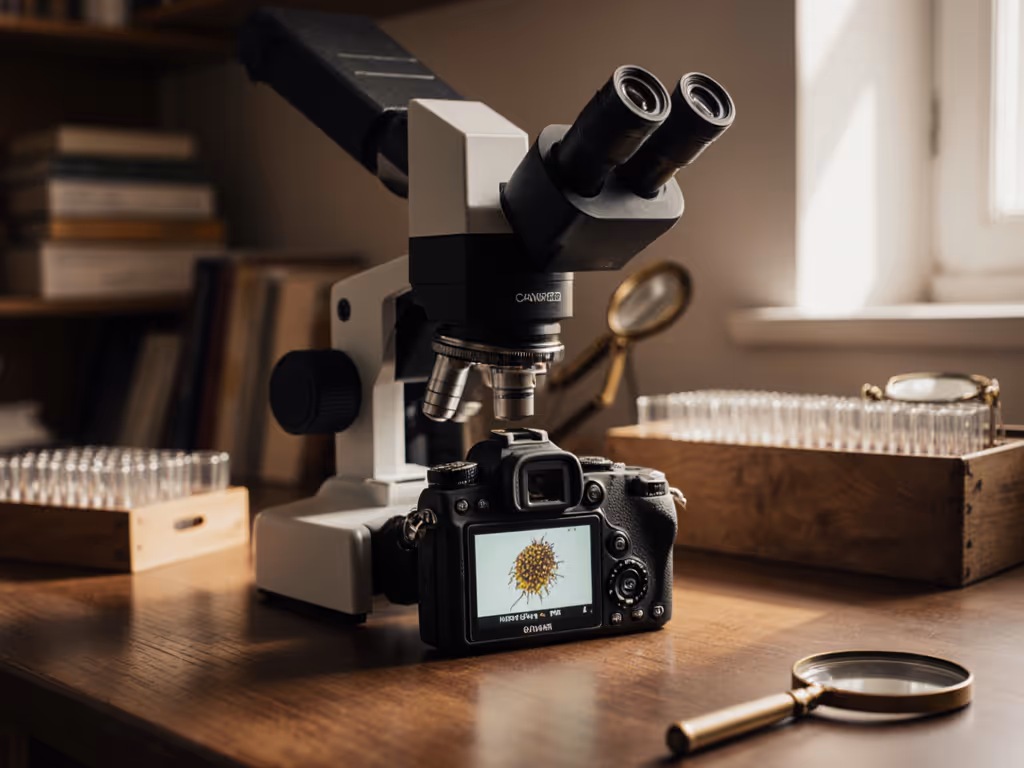
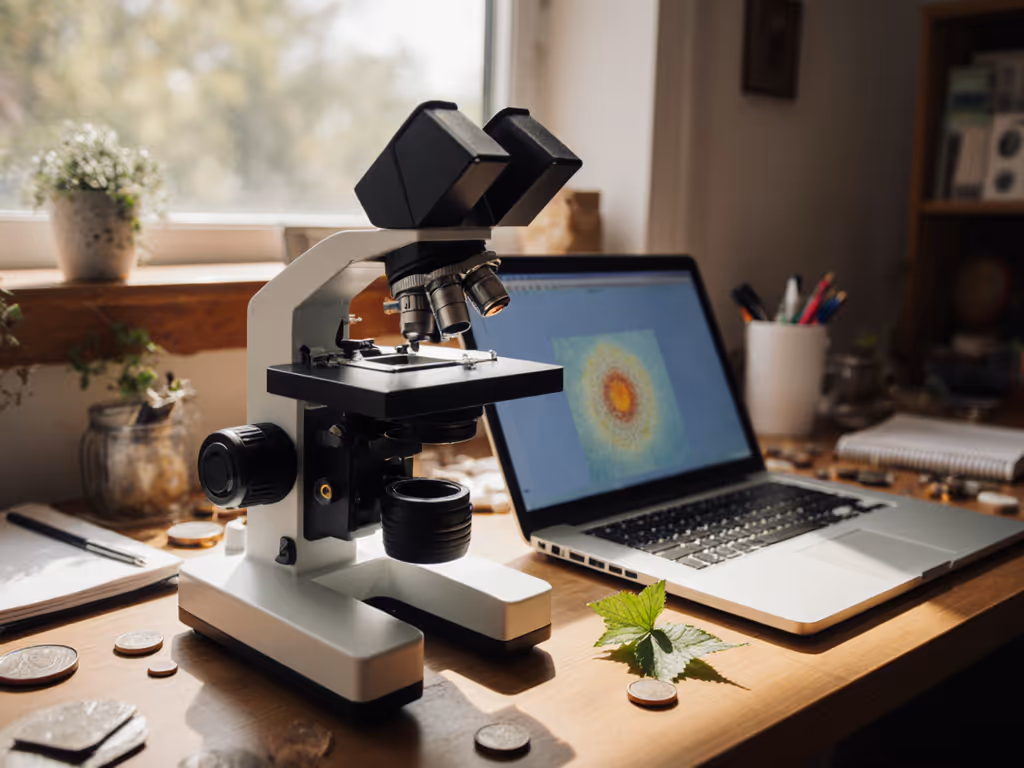
How Does Computer-Connected Microscopy Enhance Traditional Exploration?
The integration of digital cameras for microscopy with our everyday computing devices creates unexpected advantages:
- Collaborative potential: Share your screen with fellow enthusiasts during video calls for real-time consultation
- Educational value: Create simple tutorials for family members or local hobby groups
- Progress tracking: Document changes in specimens over time with precise date-stamped images
- Accessibility: Share discoveries with those who might not have physical access to a microscope
This digital bridge transforms solitary observation into a more connected experience without sacrificing the meditative quality that draws many of us to microscopy in the first place.
Final Checklist: Optimizing Your Setup Today
Before your next session, implement these three immediately actionable steps:
- Check your posture: Sit with feet flat, back supported, and screen at eye level
- Adjust lighting: Position your specimen where natural light illuminates it without glare
- Calibrate quickly: Use a printed ruler to set your software's measurement scale
The most transformative upgrades aren't always technological (they're ergonomic). When you create a space where your body isn't fighting your curiosity, you'll notice details you previously missed. That's when microscopy shifts from a technical exercise to a truly immersive experience.
Let's make long sessions feel short, not by rushing through them, but by designing them so thoughtfully that time becomes irrelevant. Your next discovery awaits in a more comfortable setup than you thought possible.
Related Articles