Food Quality Control Microscope Accessories Simplified
By Mei Lin • 20th Nov
When you're examining food samples under your microscope, the right food quality control microscope accessories can transform frustrating sessions into productive discoveries. As a hobbyist who's spent countless hours studying microscopic worlds, I've learned that proper food science microscopy accessories aren't just luxuries (they're essential tools that directly impact your accuracy in food contaminant identification, texture analysis, and overall safety assessment). In today's guide, I'll help you cut through the noise and identify exactly which accessories will give you the clearest insights into your food samples without overwhelming your budget or bench space.
Why Your Current Setup Might Be Holding Back Your Food Analysis
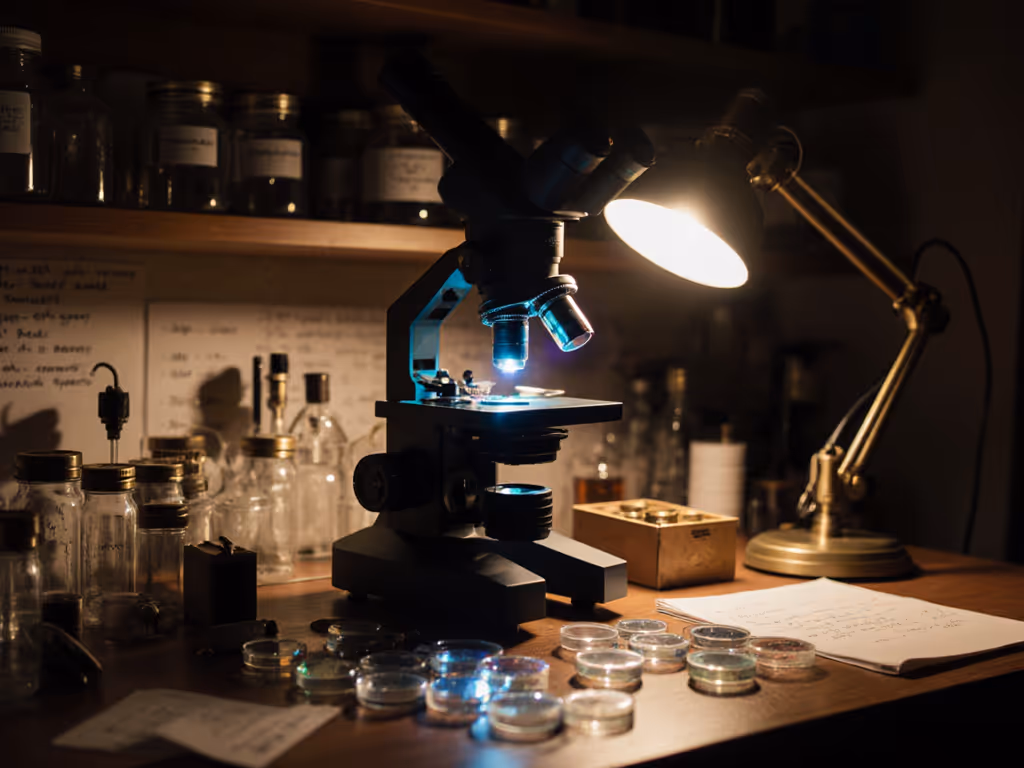
Many food hobbyists and small-scale producers I've spoken with feel discouraged by inconsistent results: grainy images that make food particle examination difficult, or lighting that creates glare on delicate samples like fats or starches. These aren't just technical frustrations; they represent missed opportunities to truly understand what's happening at the microscopic level in your food.
Consider this: food safety microscopy requires seeing what others miss. A speck of foreign material. A subtle shift in crystal structure. These details determine whether your observation leads to meaningful insight or inconclusive guesses. And here's what many beginners don't realize: your physical comfort while observing directly affects your ability to spot these critical details.
Remember that afternoon photographing pond algae? Two hours felt like twenty minutes after I adjusted my setup, and my images improved dramatically. When you're comfortable at the microscope, you stay engaged longer and notice more. Comfort is performance when the session runs long. Your comfort is a performance spec (one that impacts every observation you make).
Lighting: The Unsung Hero of Food Microscopy
In food analysis, lighting makes or breaks your observations. Unlike standard biological samples, food presents unique challenges:
- Reflective surfaces (fats, oils, polished grains)
- Variable textures (from crystalline sugar to fibrous vegetables)
- Translucent components (emulsions, gels)
- Color-sensitive structures (starch granules, pigment distributions)
Standard microscope illumination often creates glare that obscures critical details relevant to food texture analysis. Polarized lighting changes this dynamic completely (it reduces glare while enhancing structural details in crystalline components like fats and starches, which is essential for accurate food safety microscopy).
I've seen hobbyists miss critical food contaminant identification opportunities simply because their standard lighting couldn't reveal subtle differences between natural food particles and potential contaminants.
The Lighting Checklist for Food Analysis
Before purchasing any lighting accessory, verify these essentials for your food microscopy: If you're comparing hardware, our ring lights vs fiber optic illumination guide explains shadow control and glare reduction for tricky food samples.
- Adjustable intensity: Food samples range from highly reflective to nearly transparent
- Polarization capability: Critical for crystal structure analysis in fats and starches
- Cool operation: Heat can alter food samples (especially fats and emulsions)
- Shadow-free illumination: Essential for consistent texture analysis
- Easy mounting: Should integrate with your existing microscope without complex modifications
Evaluating Food Science Microscopy Accessories: What Really Matters
With so many accessories marketed to microscope users, it's easy to waste money on items that won't enhance your food analysis. Let's focus on what delivers genuine value for food quality control work.
Essential Accessories Checklist
- Polarized lighting system: For revealing crystal structures in fats, starches, and salts
- Stage micrometer: For accurate measurement of food particles
- Calibration slides: To maintain measurement accuracy across sessions
- Sample preparation tools: Including specialized cutters for food specimens
- Ergonomic accessories: Comfort enables longer, more productive sessions
I've watched many enthusiasts invest in expensive camera systems before optimizing their basic observation setup, only to capture stunningly clear images of the wrong details. Start with illumination and ergonomics. Your eyes (and your results) will thank you.
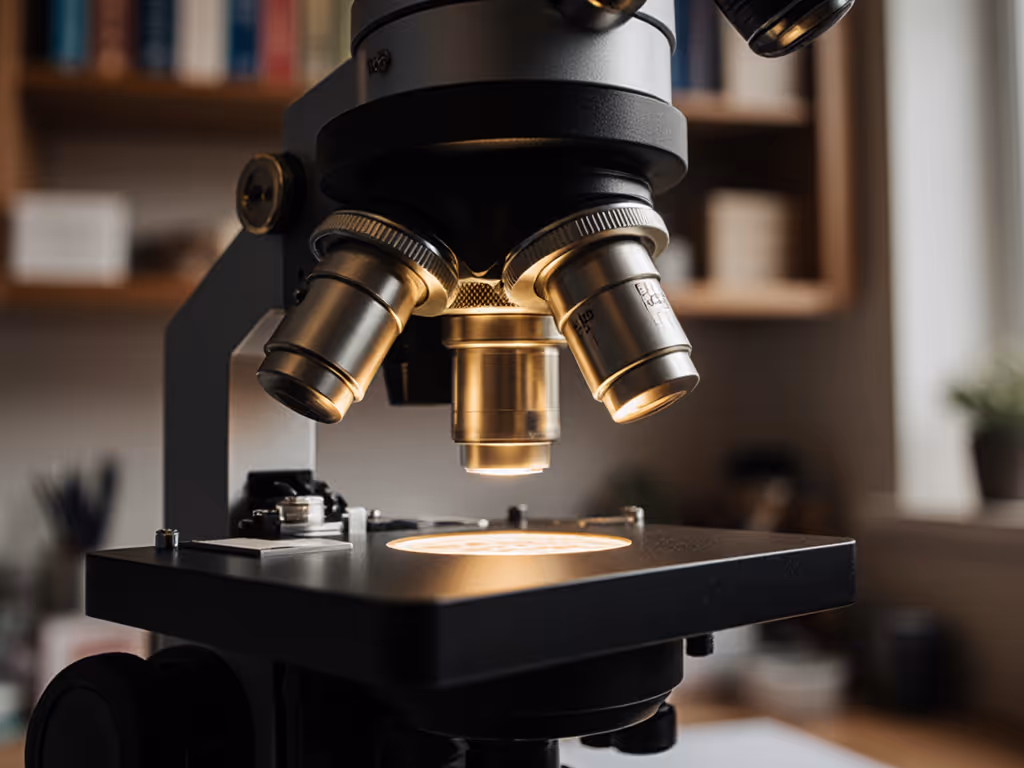
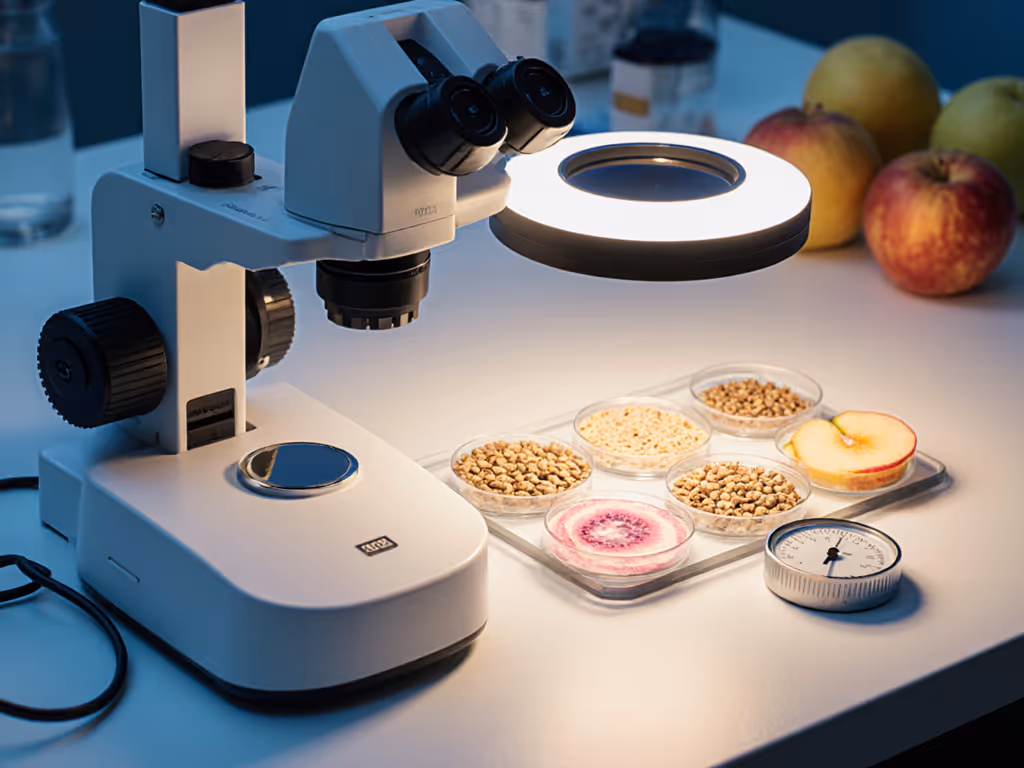
Deep Dive: The Polarized LED Ring Light for Food Microscopy
After testing numerous lighting solutions in my home lab, one accessory consistently delivers exceptional value for food science microscopy accessories: the Polarized LED Ring Light. This isn't just another light source (it's specifically engineered to solve the unique challenges food microscopists face).
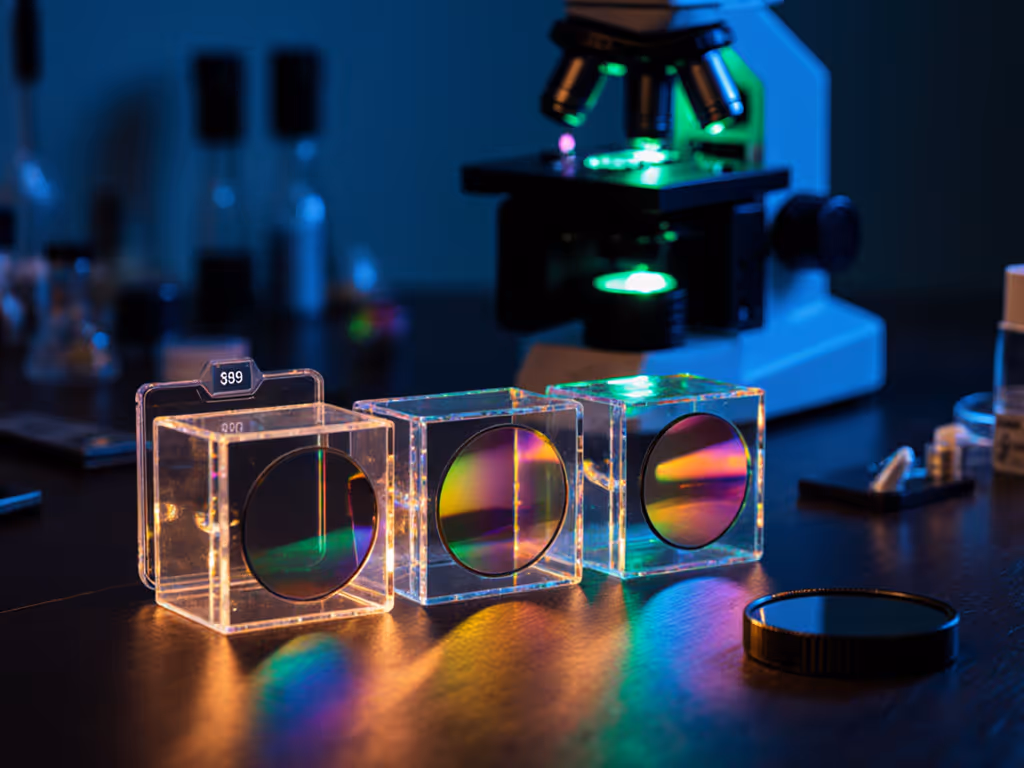
The Gringoo Polarized LED Ring Light addresses multiple pain points I've heard from fellow food microscopy enthusiasts. Its 90-LED configuration provides even illumination that eliminates the hot spots common with standard ring lights, which is crucial when examining delicate food structures. The built-in polarizer is particularly valuable for food texture analysis, as it reveals crystal formations in fats and starches that would otherwise remain invisible.
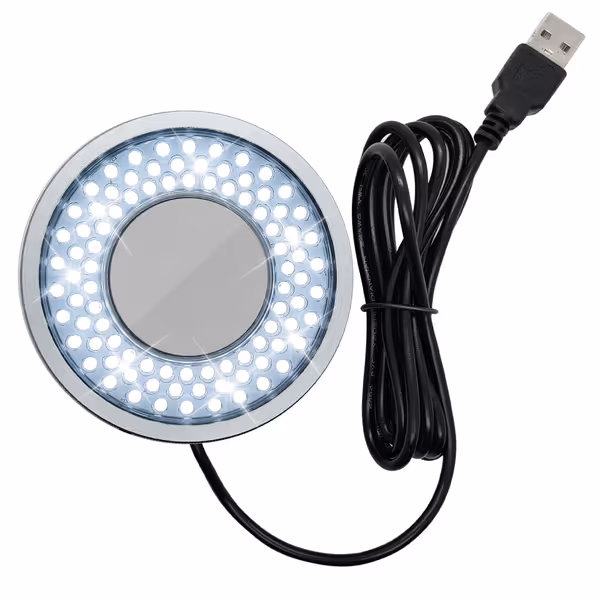
Polarized LED Ring Light for Microscope
Eliminate glare for clear, high-resolution microscope images and videos.
$48.99
LEDs90
LEDs90
Pros
Adjustable polarization and brightness eliminate glare beautifully.
Provides bright, shadow-free illumination for enhanced detail.
Cons
Requires 5V 2A USB adapter (not always included).
Customers find the microscope light illuminator works well, with pure light quality and adjustable brightness. They appreciate the excellent color control for photography, with one customer noting the nice combination of white and warm LEDs. The light fits well, with one customer mentioning it's perfect for their digital microscope.
Customers find the microscope light illuminator works well, with pure light quality and adjustable brightness. They appreciate the excellent color control for photography, with one customer noting the nice combination of white and warm LEDs. The light fits well, with one customer mentioning it's perfect for their digital microscope.
What makes this light stand out for food work specifically:
- Adjustable intensity (0-100%) lets you fine-tune illumination for diverse food samples, from highly reflective oils to opaque grains
- Polarization filter enhances contrast for crystal structure analysis without the complexity of separate polarizing filters
- Cool operation prevents heat damage to temperature-sensitive food samples (critical for fats and emulsions)
- Anti-glare design preserves subtle color variations essential for accurate food safety microscopy
- USB power makes it compatible with virtually any setup, from basic hobbyist microscopes to more advanced systems
Customers consistently report improved results in food contaminant identification after switching to this light. One user noted how it revealed microplastics in a water sample that were completely invisible with their standard illumination. Another shared how the polarized view made starch granule analysis dramatically clearer, which is critical for understanding food texture at the microscopic level.
The compact design (just 4.69 x 3.9 x 1.57 inches) fits comfortably on most microscope stands without crowding your workspace (something I appreciate when arranging multiple food samples for comparison). At $48.99, it delivers professional-grade performance at a hobbyist-friendly price point.
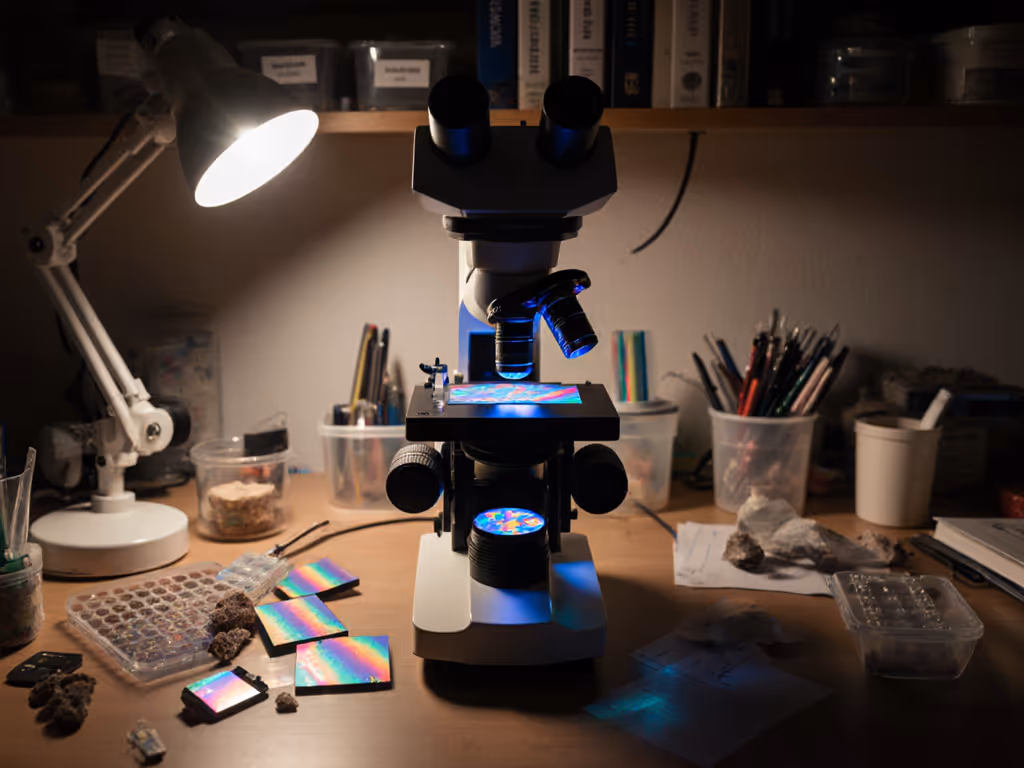
Practical Setup Tips for Food Microscopy Success
Investing in the right accessories is only half the battle. How you implement them determines your actual results. Here's my gentle pacing approach to setting up effective food quality control microscopy:
Step 1: Optimize Your Workspace
Before attaching any new accessory:
- Position your microscope to avoid direct window glare
- Use a neutral-colored background on your workspace
- Ensure adequate clearance around your setup for sample preparation
- Keep commonly used tools within easy reach (following the "one-touch" principle)
Step 2: Integrate Your Lighting System
For the Polarized LED Ring Light:
- Attach the ring light to your microscope's objective housing
- Connect to a 5V 2A USB power source (as recommended for optimal performance)
- Start with medium intensity and adjust gradually
- Rotate the polarizer filter while observing your sample to find optimal contrast
Step 3: Calibration Check
Always verify your measurements: A quick refresher with our microscope calibration guide helps ensure your stage micrometer and calibration slides yield trustworthy particle sizes.
- Use a stage micrometer to confirm magnification settings
- Check lighting consistency across the field of view
- Note any color shifts that might affect food texture analysis
Step 4: Document Your Process
Create a simple log for each food analysis session:
- Sample description and preparation method
- Lighting settings used (intensity, polarizer position)
- Key observations relevant to food safety microscopy
- Time spent observing (to track your sustained focus capability)
This documentation creates a valuable reference that helps you identify patterns across multiple sessions (something professional food labs do but many hobbyists overlook).
Making It Work for Your Food Analysis Goals
Let's translate these accessories into actual food analysis outcomes you care about:
- For food contaminant identification: The polarized lighting makes foreign particles stand out against food matrices. Try it with flour samples to spot husk fragments or other contaminants.
- For food texture analysis: The even illumination reveals subtle structural differences in starch granules after various cooking methods.
- For fat crystal observation: Polarization dramatically enhances visibility of crystal formations critical to texture and mouthfeel.
I've found that when my lighting setup feels intuitive and comfortable, I naturally spend more time with each sample (time that often reveals insights I'd have missed with a less optimal setup). That afternoon with the pond algae taught me that patience born of comfort delivers better science.
Your Next Step to Better Food Microscopy
Don't let inadequate accessories limit your food analysis potential. Start by evaluating your current lighting situation:
- Can you see subtle structural details in fat crystals?
- Does glare obscure important features in your food samples?
- Do you find yourself rushing observations because of discomfort? If so, optimize your posture and setup with our microscope ergonomic accessories guide.
If you answered "no" to any of these, consider trying the Polarized LED Ring Light. At under $50, it's a low-risk investment that addresses multiple food microscopy challenges simultaneously. Better yet, it integrates seamlessly with most microscope setups (no technical expertise required).
As you implement these changes, remember that improving your food quality control microscope setup isn't about accumulating gear. It's about creating conditions where your natural curiosity can thrive. When your equipment works with you rather than against you, those moments of discovery (like spotting that perfect crystal formation or identifying a mysterious particle) become more frequent and more profound.
Your comfort is a performance spec. Honor it, and watch how your food microscopy insights deepen with every session.
Related Articles