Master Microscope Condenser Light Control
By Mei Lin • 9th Sep
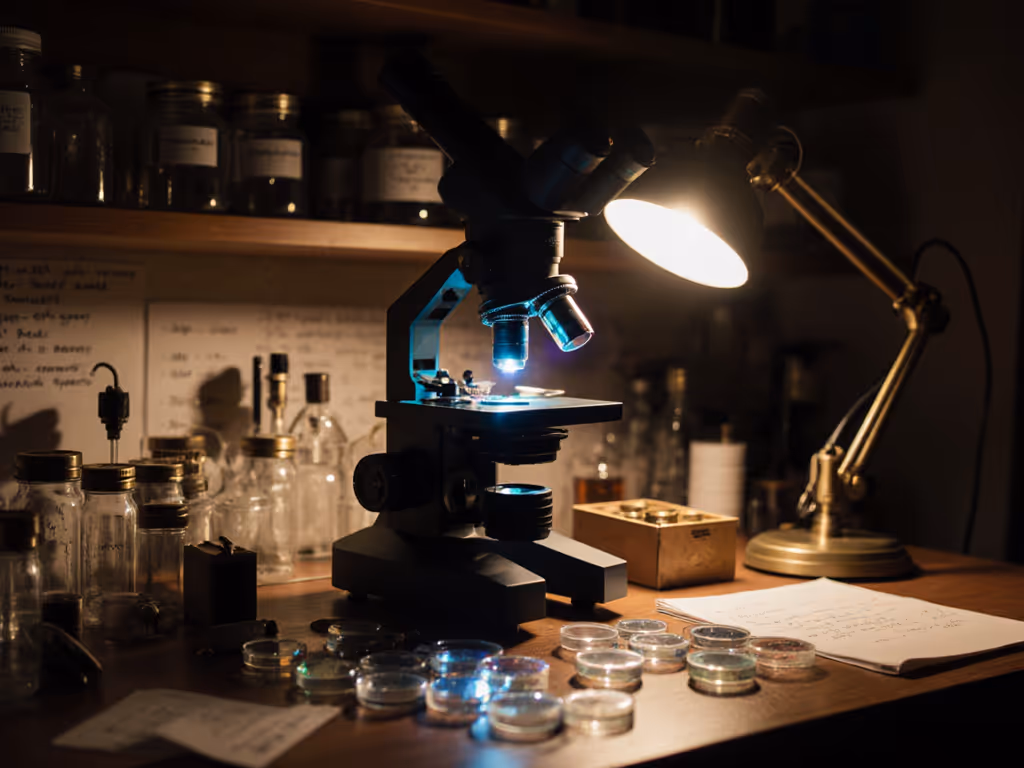
When you're peering through a microscope for more than a few minutes, you quickly realize that proper microscope condenser setup isn't just a technical detail, it is the essence of effective light control. Getting this right transforms frustrating sessions into genuinely enjoyable exploration. Whether you're examining pond water or plant cells, mastering your condenser allows you to see what was previously invisible while making those long observation sessions actually pleasant. Comfort is performance when the session runs long.
Why does my condenser matter more than I thought?
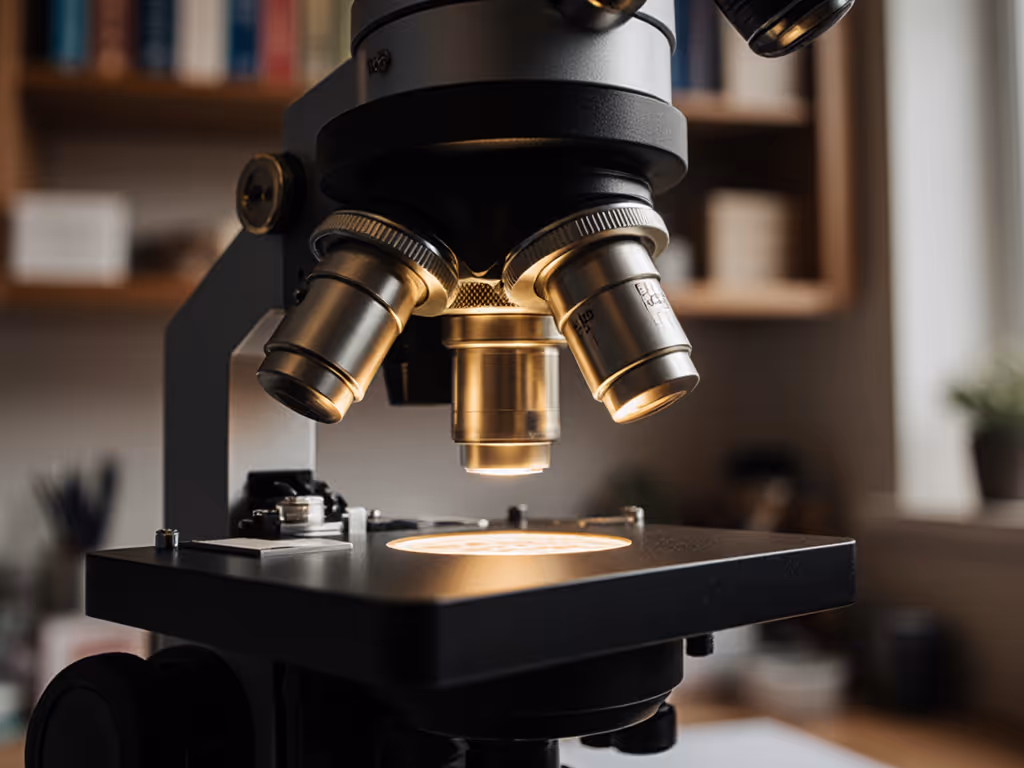
Many hobbyists overlook the condenser, focusing instead on magnification or eyepieces, but this component is your secret weapon for image quality. The condenser directs and concentrates light from your source, creating a precise cone of illumination that interacts with your specimen and objectives.
As a home microscopist who's logged countless hours at the bench, I can tell you that poor light control is often the culprit behind those "something's off" sessions where you strain to see details but continually adjust focus with diminishing returns. That frustration? It's not necessarily your eyes or the specimen, it is often improper condenser light control. A correctly adjusted condenser:
- Increases resolution and contrast dramatically
- Reduces glare that washes out fine details
- Provides even illumination across your field of view
- Maximizes the performance of your existing optics
Gentle pacing with your adjustments prevents that "rushed" feeling when you're trying to see something fleeting.
How do I adjust my condenser for different objectives?
This is the golden question. Each objective requires different illumination settings to perform optimally (a fact confirmed by microscopy standards dating back to the late 19th century). That Abbe condenser you likely have isn't just decoration; it's designed to work with your objectives if properly matched.
The condenser adjustment process is straightforward when broken down:
- Raise the condenser to its highest position (just below the slide)
- Focus on your specimen with your chosen objective
- Close the iris diaphragm slightly
- Defocus the image until you see the diaphragm edges
- Center the light cone using the centering screws (if your condenser has them)
- Refocus the specimen and adjust the diaphragm until you see optimal contrast
Your eyes shouldn't be working harder than necessary (that is when fatigue sets in and small details escape you).
This systematic approach prevents the common mistake of either flooding your specimen with too much light (washed-out images) or restricting it too much (poor contrast). For lower magnifications (4x-10x), you can often use a more open iris setting, while higher magnifications (40x-100x) typically benefit from a partially closed iris diaphragm to increase contrast. This isn't arbitrary; each objective has a specific numerical aperture that must be matched by the condenser's light cone.
What is Kohler illumination and do I need it?
Kohler illumination is the professional standard for microscope lighting, providing even field illumination with maximum resolution and minimal glare. While the term sounds complex, it's fundamentally about proper alignment between your light source, condenser, and objectives.
For hobbyists, full Kohler illumination might seem like overkill, but the basic principles are worth understanding:
- The filament of your light source should be focused in the plane of the condenser's aperture diaphragm
- The condenser's field diaphragm should be focused on the specimen plane
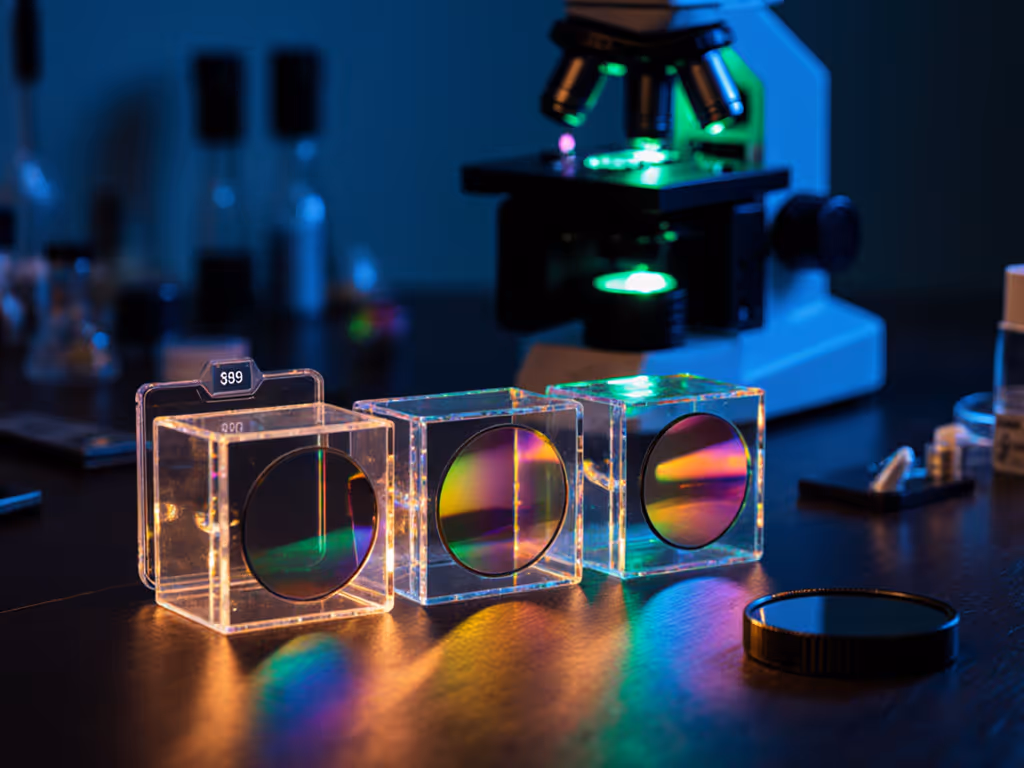
You don't need a laboratory-grade setup to benefit from these principles. Many modern microscopes simplify this with pre-aligned LED sources. To compare LED and halogen options and how they influence condenser alignment, see our microscope illumination guide. For those with traditional halogen illumination, spending five minutes achieving basic Kohler alignment significantly improves image quality. The difference is particularly noticeable when observing transparent specimens like live cells or diatom frustules.
Countless hobbyists report "why didn't I do this sooner" moments after applying these simple light control principles. The clarity improvement isn't subtle, it can reveal structures you previously missed, reducing the need to squint and strain.
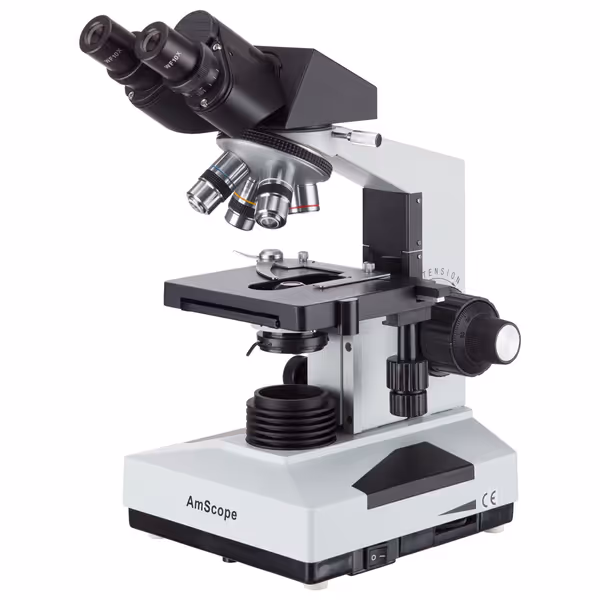
AmScope B490B Compound Binocular Microscope
Explore the micro-world with clear, high-magnification views and robust design.
$384.99
Magnification40X-2000X
Magnification40X-2000X
Pros
High magnification for detailed observations
Durable, well-built metal construction
Cons
Image quality can be mixed
Well-built, easy to assemble, and good value. Suitable for daily use.
Well-built, easy to assemble, and good value. Suitable for daily use.
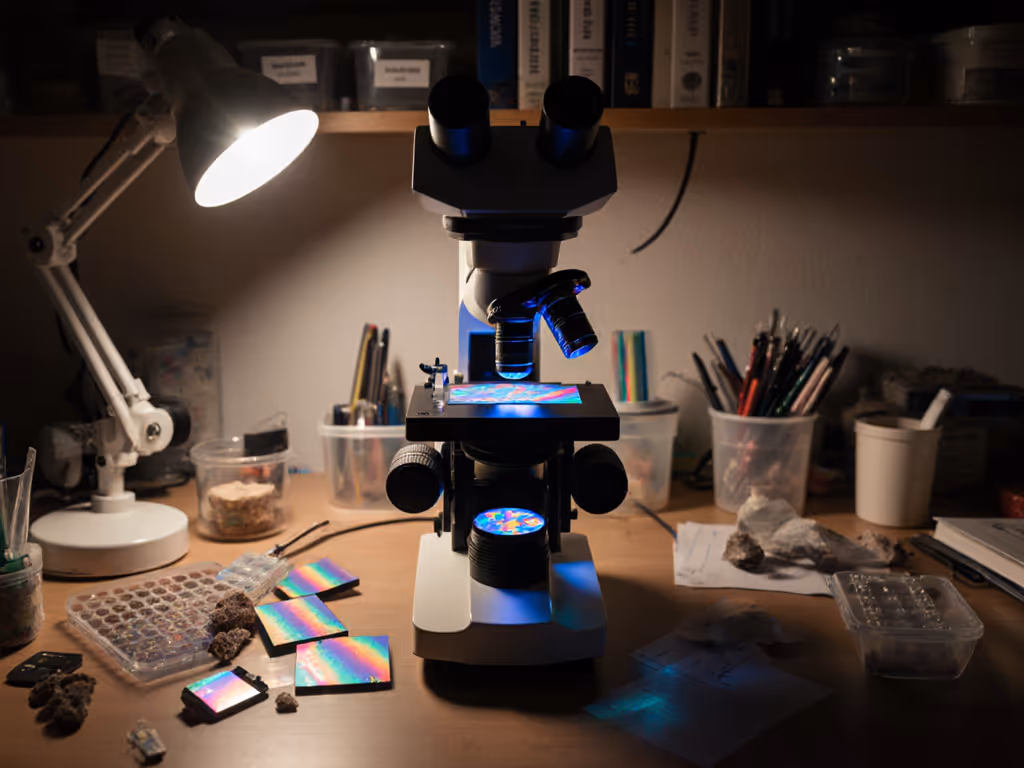
Why does my field of view look unevenly lit?
Uneven illumination (bright in the center, dark at edges) is typically a condenser height issue. When the condenser sits too low, light doesn't properly converge on the specimen plane. If it's too high, you get excessive glare.
The gentle pacing approach here is to:
- Focus on your specimen
- Close the condenser's iris diaphragm almost completely
- Adjust condenser height until the edges of the diaphragm appear sharp
- Open the iris slightly until you achieve optimal contrast for your specimen
This method works because when you see the diaphragm edges clearly, your condenser is at the correct height for focus. Once focused, opening the iris to 70-80% of the objective's numerical aperture typically yields the sweet spot between resolution and contrast.
I remember struggling with this very issue during my algae photography session, when the uneven lighting made me think my slide preparation was faulty. Once I raised the condenser and adjusted the iris, both the illumination and my images transformed. That's when I realized comfort isn't indulgence; it's throughput and joy.
How much should I adjust the iris diaphragm with each objective?
This depends on your specific microscope and objectives, but general principles apply. The iris diaphragm controls the angle of the light cone entering your specimen, which must match your objective's numerical aperture for optimal performance.
Here's a practical reference guide for common objectives:
| Objective Magnification | Typical NA Range | Iris Diaphragm Position |
|---|---|---|
| 4x | 0.10-0.20 | Nearly full open |
| 10x | 0.25-0.30 | 80-90% open |
| 40x | 0.65-0.75 | 60-70% open |
| 100x (oil) | 1.25-1.40 | 50-60% open |
Don't rely solely on markings: your eyes are the best judge. Adjust while observing your specimen, looking for the point where contrast improves without losing resolution. Over-closing causes diffraction artifacts; under-closing reduces contrast. Find the balance where details emerge clearly without glare.
Can I get by without a condenser?
At lower magnifications (below 100x), yes, you might even prefer it for some specimens. Some manufacturers omit condensers from beginner microscopes because they can complicate setup. However, as magnification increases, proper light control becomes essential.
Without a condenser:
- Image brightness drops significantly at higher magnifications
- Resolution suffers as light rays enter the objective improperly
- Glare increases as stray light enters the optical path
- Field illumination becomes uneven
Think of the condenser as your lighting director: it sets the stage for optimal illumination. An Abbe condenser (the most common type for hobbyist scopes) provides substantial improvement over no condenser, though higher-end condensers offer superior correction for specific techniques.
What's my actionable next step?
Grab your microscope right now, no need to wait. Follow this 5-minute routine with your most-used objective:
- Focus on a standard specimen slide
- Close the iris diaphragm about halfway
- Adjust condenser height until the diaphragm edges are sharp
- Fine-tune the iris for optimal contrast
- Notice the difference in detail visibility
Document what works best for each objective you use regularly. Keep these settings in a small notebook beside your microscope, no more guessing during your next session.
Let's make long sessions feel short. When you've optimized your light control, you'll find yourself discovering details you missed before, without eye strain or frustration. Good light control transforms microscopy from a technical chore into a genuinely enjoyable journey of discovery. What tiny wonder will you see clearly for the first time today?
Related Articles