Material Science Microscopy Accessories: A Practical Guide
By Mei Lin • 13th Oct

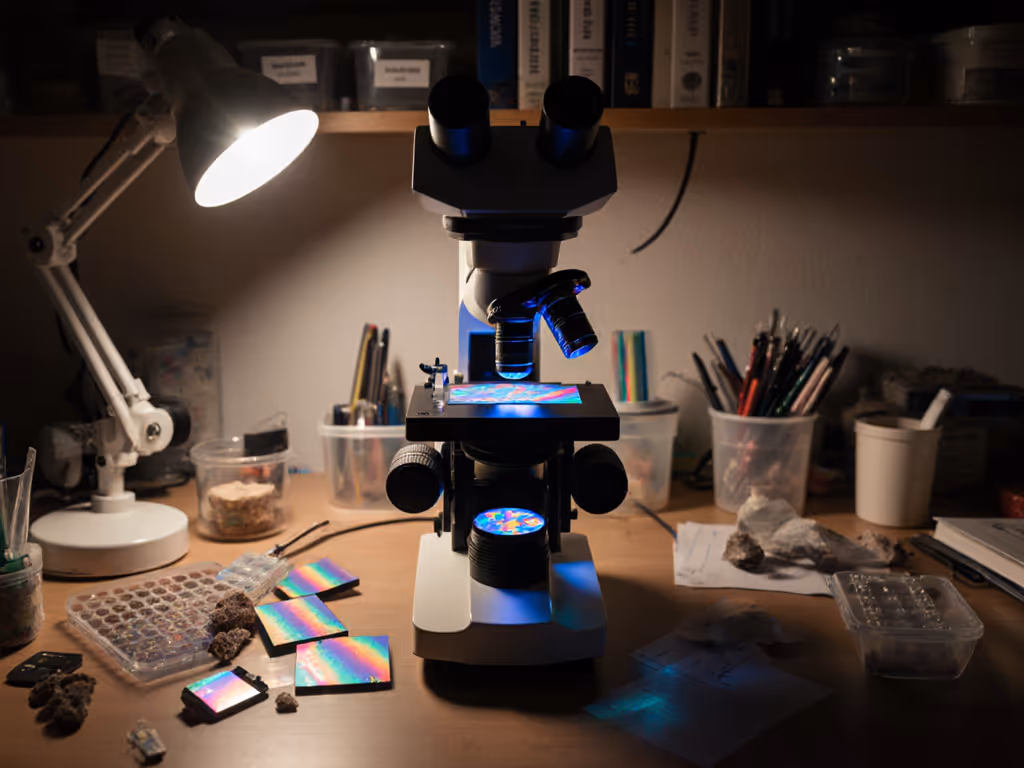
When you unpack a metallurgical microscope for your basement workshop, you're stepping into the realm of material science microscopy, where everyday objects reveal hidden crystalline structures, metal grains, and surface textures. Unlike biological microscopes, these specialized tools examine opaque specimens like coins, circuit boards, or mineral fragments. But achieving those stunning images of etched steel or alloy microstructures isn't just about magnification; it's about how you use compatible accessories. I've seen countless hobbyists struggle with blurry magnetics slides or incompatible polarizers because they overlooked ergonomic fundamentals. Comfort is performance when the session runs long.
As someone who spends weekends analyzing pond sediment under polarized light, I know your pain points: confusing jargon, mismatched parts, and gear that breaks after two sessions. This isn't industrial lab territory (it's your garage setup). Let's cut through the noise with actionable steps.
FAQ: Solving Real Workshop Challenges
Why does my metallurgical microscope struggle with reflective surfaces?
Metals and finished materials create glare that washes out details, a classic hurdle in industrial microscopy applications. The fix isn't higher magnification; it's illumination control. Standard halogen lights often overexpose specimens. For a deeper comparison of LED vs halogen and when to use each, see our microscope illumination guide. Instead:
- Use oblique lighting: Position your light source at 30-45° angles to cast shadows on surface irregularities
- Swap to fiber-optic guides: Flexible arms let you isolate hotspots (e.g., on a scratched coin edge)
- Add a diffuser cap: Softens light for subtle texture analysis like corrosion patterns
Gentle pacing matters here. Rushing adjustments strains your eyes and yields poor contrast. I once spent 45 minutes tweaking fiber-optic angles on a copper sample - only to discover dendritic grain boundaries invisible under direct light.
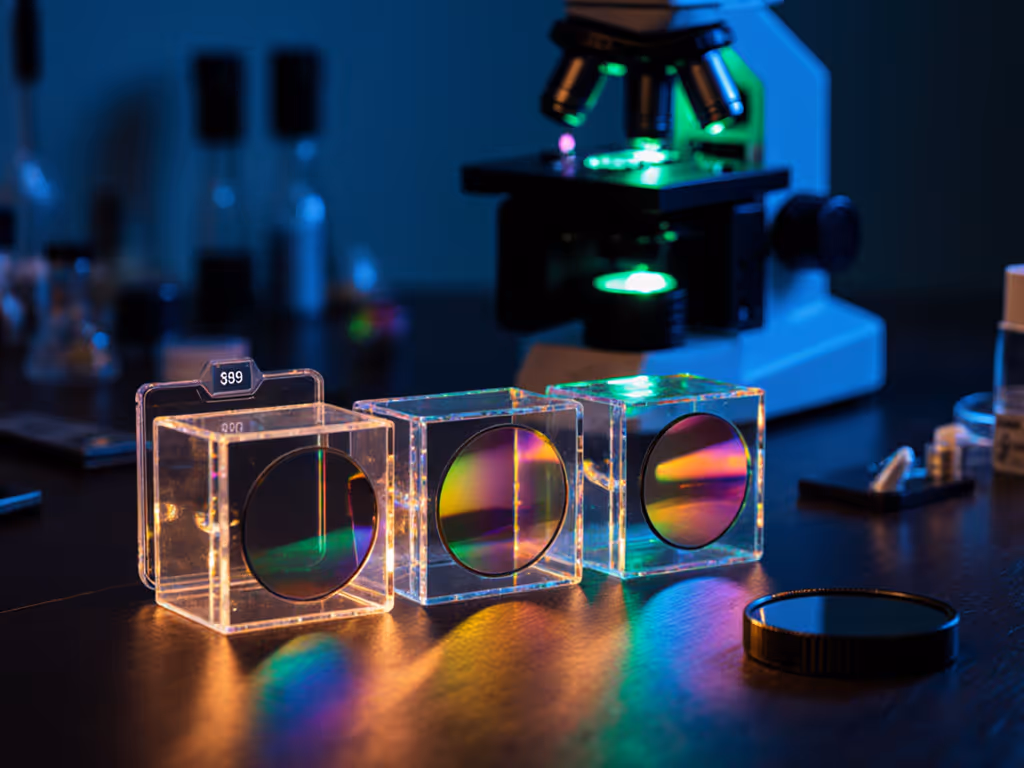
How do I choose between polarized light microscopy and standard brightfield?
Polarized light microscopy unlocks stress fractures in glass or crystal orientation in minerals, critical for materials analysis. But hobbyists often buy polarizing kits without checking compatibility. Ask:
- "Does my model have a rotating stage?" (Required for polarization)
- "Are the eyepieces strain-free?" (Cheap lenses distort polarization)
- "What's the working distance?" (Polarizers reduce light; > 2 mm clearance avoids sample collisions)
If your microscope lacks these, start with a budget analyzer filter (under $50) that screws onto standard eyepieces. Test it on tempered glass smartphone screens - they'll show rainbow patterns when stressed. This avoids costly wrong turns.
Why are my metallurgical sample preparations failing?
Metallurgical sample preparation separates enthusiasts from frustrated tinkerers. Grinding metal to a mirror finish seems simple until you embrittle your specimen. Follow this checklist:
- Mounting: Embed small parts in epoxy (not hot-mount resins - they crack brittle alloys)
- Grinding: Progress from 180 to 1200 grit perpendicular to prior scratches
- Polishing: Use diamond suspension on microcloth, not silk (reduces tearing)
- Etching: Chloride-based solutions for aluminum; nitric acid for steel (ventilate!)
Skip these steps? You'll see artificial scratches masking real grain structures. A recent industry report confirmed that 70% of hobbyist imaging failures trace to poor sample prep - not microscope limitations.
What's the most overlooked accessory for long sessions?
Wrist pain from straining toward the eyepiece. Many hobbyists dismiss ergonomic seating as "overkill" until fatigue blurs their focus. Your comfort is a performance spec. Invest where it counts:
- Adjustable-height stool: Feet flat, thighs parallel to floor
- Binocular tube tilt: 30-45° angle to avoid neck craning
- Anti-fatigue mat: Standing? Gel mats reduce leg strain by 40%
Remember my pond algae session? Raising the scope by 4 inches transformed two hours of discomfort into joyful discovery. Physical strain directly limits your observation depth.
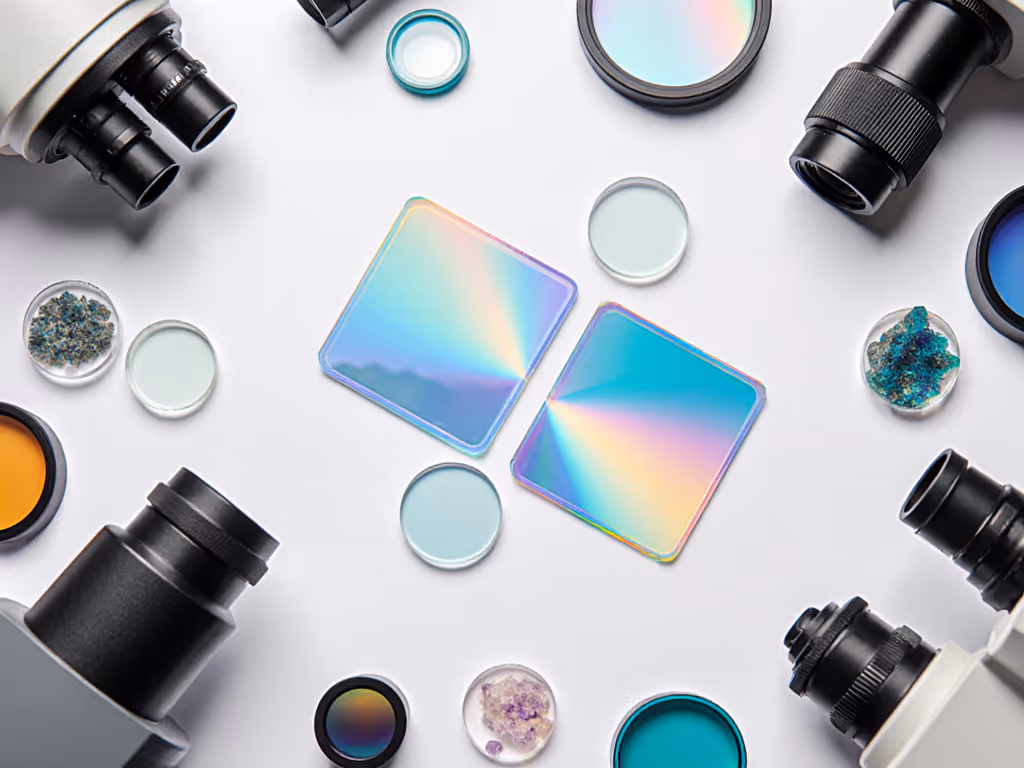
Can I adapt biological microscope parts for material science?
Generally, no. But strategic swaps work. Here's what does cross over:
| Compatible | Incompatible |
|---|---|
| LED ring lights (for surface topography) | Oil immersion objectives (require transmissive samples) |
| Digital camera adapters (C-mounts) | Mechanical stages without cross-slides (can't handle metal specimens) |
| Slide storage boxes (for etched samples) | Koehler illumination parts (metallurgical scopes need epi-illumination) |
Fisher Scientific's general accessories catalog shows how lens cleaners or slide holders bridge domains. But objectives? Never interchange. Material science microscopy demands specialized optics with longer working distances to accommodate reflective surfaces.
Building Your Foundation: 3 Non-Negotiables
Before chasing high-end add-ons, nail these essentials:
- Condenser alignment: Misaligned condensers cut resolution by 20%. Verify by centering the aperture diaphragm image.
- Eye relief: Binoculars should sit 15-20 mm from eyes. Closer causes eyelid pressure headaches.
- Workflow zones: Keep grinding/polishing tools > 3 ft from your scope. Metal dust ruins optics.
These create the stability for deeper analysis, like using Nikon's polarizing kits for geology without repositioning your entire station. They're the difference between fleeting curiosity and sustained discovery.
Your Actionable Next Step
Pick one adjustment from today's checklist that addresses your biggest frustration - then test it this week. If glare ruins your aluminum samples, try that oblique lighting setup. If sample prep fails, verify your grinding grit sequence. Document results in a notebook (even photos!). You'll notice sharper details within two sessions because comfort isn't indulgence; it's throughput and joy. When you finally see those crystalline dendrites in that solder joint? That's why we tinker.
Remember: Material science microscopy rewards patience. Your gear expands what you can see, but your ergonomic setup determines how deeply you will see it. Start small. Observe longer. Discover more.
Related Articles