Scanning Probe Accessories: Clear Imaging Made Simple
By Omar Haddad • 28th Nov
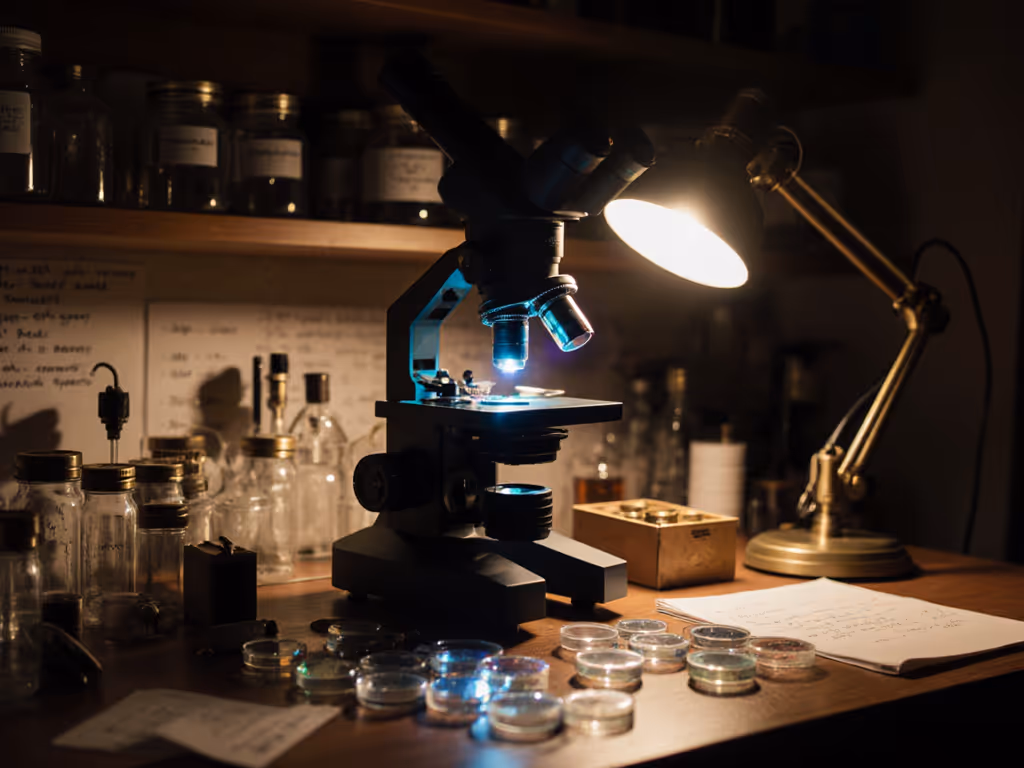
Starting your journey with scanning probe accessories doesn't require a professional lab budget or years of experience. I've seen beginners achieve stunning nanoscale imaging results with just the right pair of AFM probes and a few carefully chosen tools. Many hobbyists feel overwhelmed by technical jargon or frustrated by blurry images, but the truth is, clear imaging is more accessible than you think. When you focus on simple, compatible tools that match your current setup, you'll start seeing details you never imagined possible at this scale. Remember that workshop moment where a child discovered tardigrades with minimal gear? That same wonder awaits you when you approach this step-by-step.
FAQs for First-Time Scanning Probe Users
Why do beginners struggle with scanning probe accessories?
Many newcomers face a "wall of complexity" when searching for accessories. Manufacturer catalogs list dozens of specialized components (STM tips, specialized holders, environmental cells) that sound impressive but aren't necessary for your first discoveries. The real pain point isn't the technology itself; it's deciphering what actually matters for your setup. If blurry results are your main issue, start with basic microscope maintenance to eliminate dust, smudges, and storage-related vibration. I've watched countless enthusiasts shell out for high-end vibration isolation systems they don't need yet, while overlooking simple tweaks that would immediately improve their images.
Curiosity scales with confidence. Start where you are, not where others say you should be.
How do I choose affordable accessories without sacrificing quality?
Focus on these three beginner-friendly features:
- Forgiving compatibility: Look for accessories labeled "universal fit" or "fits standard XYZ microscope models"
- Visual feedback: Tools with clear alignment markers or simple adjustment knobs
- Minimal maintenance: Avoid anything requiring special calibration fluids or climate control
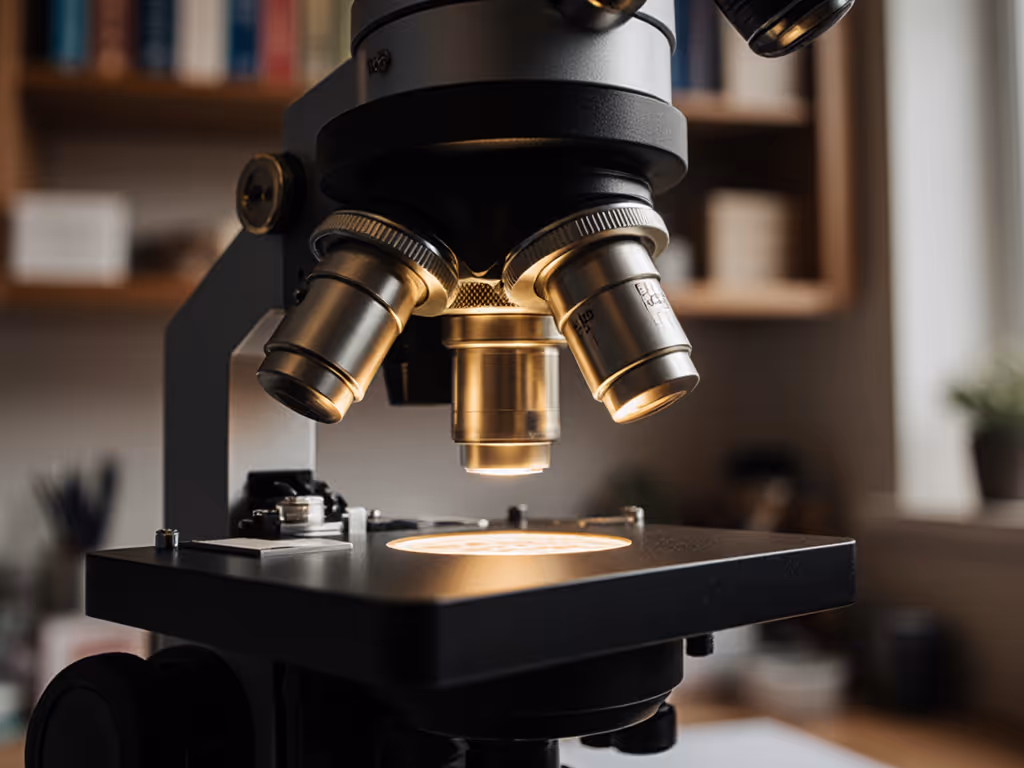
Skip the "premium" probe packs offering 50 identical tips. Instead, invest in one high-quality AFM probe set designed for your microscope's model with clear usage indicators. Many community members report success with entry-level probe holders featuring color-coded alignment guides (these small wins build real momentum). Most importantly, verify compatibility before purchasing by checking your microscope's manual for standard thread sizes or mounting specifications. For a step-by-step process, see our accessory compatibility guide.
What's the one accessory that makes the biggest difference for beginners?
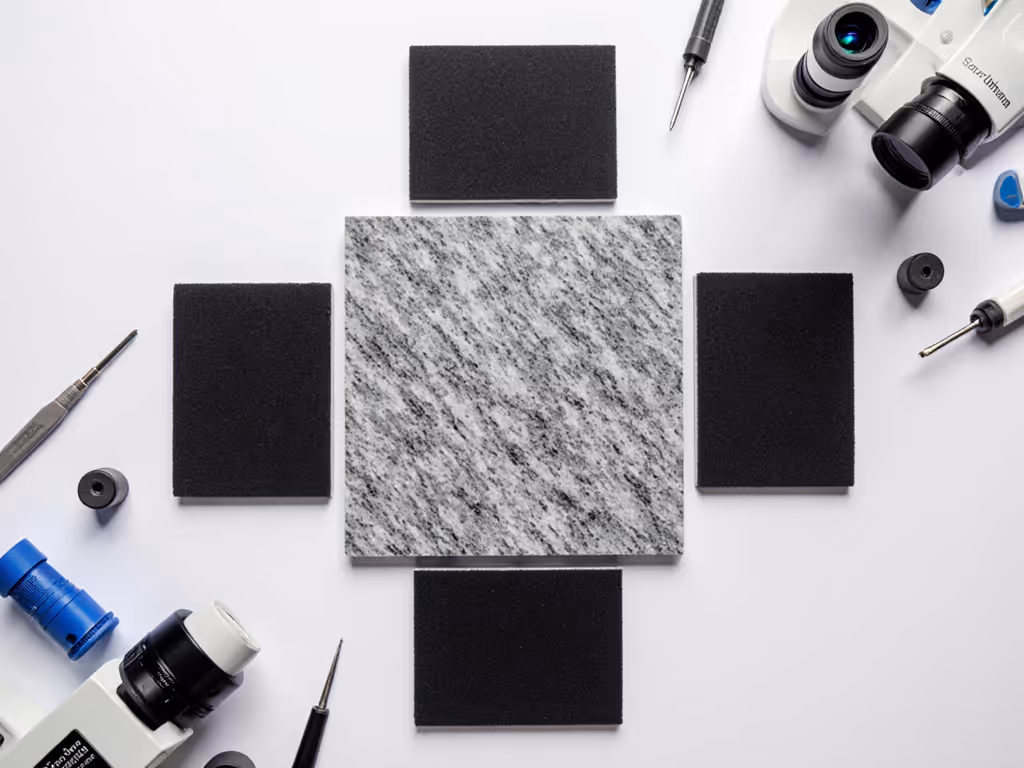
Surprisingly, it's vibration isolation, but not the expensive kind you imagine. Commercial air tables cost thousands, but your home setup needs something simpler and more forgiving. A $20 granite tile from a hardware store, placed on sorbothane pads (sold for guitar stands), often outperforms budget electronic isolators. Place it on a sturdy table away from windows, and you'll immediately notice sharper details in your nanoscale imaging. For protecting your setup long-term, including vibration control and storage solutions, see our lab storage guide.
How can I avoid common probe calibration mistakes?
Probe calibration trips up even experienced users when they overcomplicate it. For beginners, follow this scaffolded approach:
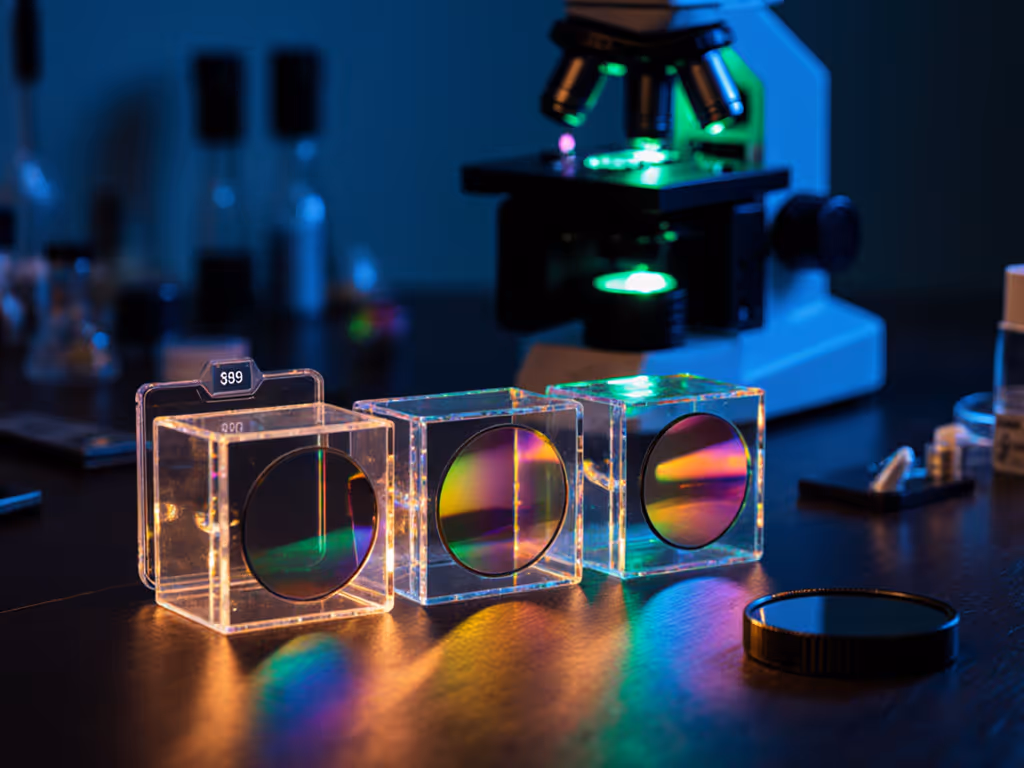
- Visual check: Use a 10x loupe to inspect your AFM probes for obvious damage before installation
- Alignment test: Scan a calibration grating (many microscopes include a basic one) at lowest magnification
- Tip verification: Look for symmetrical "X" patterns in your scan, distorted shapes indicate a bent tip
If your STM tips seem inconsistent, gently tap the holder against a soft surface (like a pencil eraser) to reseat loose components. Never force adjustments (most entry-level microscopes have tolerance for slight misalignment). Document each test scan with notes about settings; this builds your personal reference library for troubleshooting. Need a structured walkthrough? Follow our calibration guide for using calibration patterns and best practices.
What's a simple technique I can try today with basic accessories?
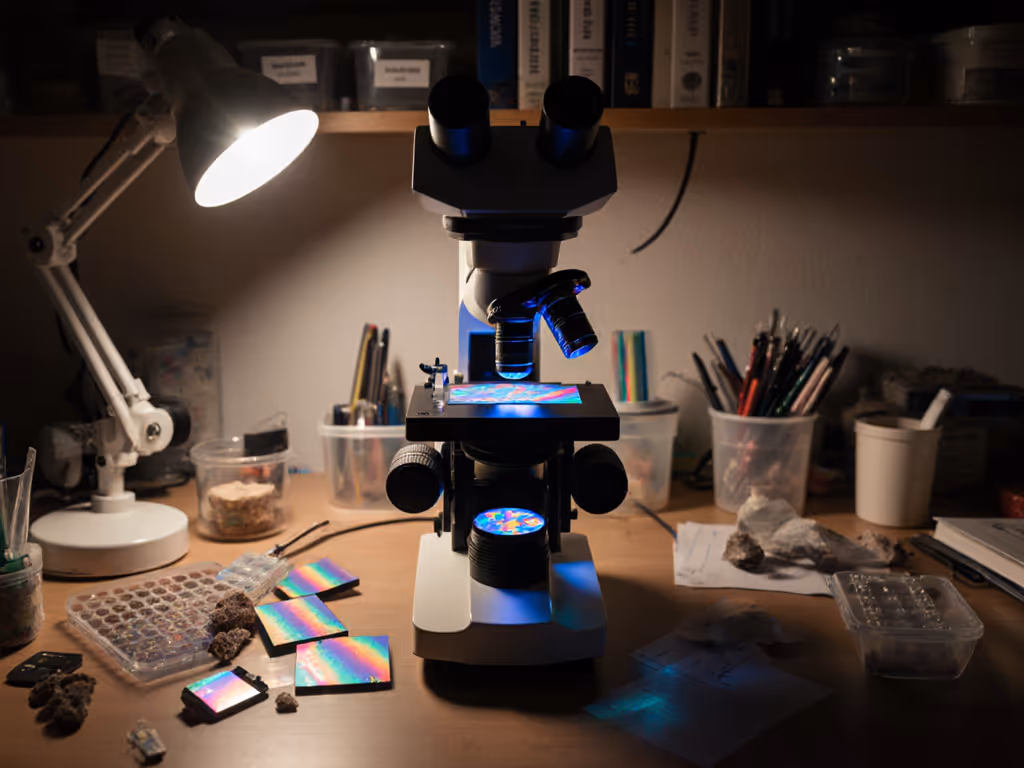
Try the "three-spoon" liquid cell method (a trick I developed after watching that nine-year-old discover tardigrades). You'll need:
- A microscope slide
- Clear nail polish
- Three plastic spoons
- Apply a tiny drop of nail polish at spoon bowl edges
- Press spoons together to form a sealed chamber
- Add your sample liquid between them
- Mount carefully on your stage
This makeshift environmental cell keeps samples hydrated during nanoscale imaging without expensive sealed chambers. For more on building and sealing slide-based chambers, see our wet mount prep guide. For conductive samples, add a pinch of salt to your solution and use alligator clips from a $5 electronics kit to create basic electrical connections, perfect for preliminary STM tips experiments. Start with onion skin cells to see membrane details before moving to more complex specimens.
Building Your Confidence One Scan at a Time
The most common breakthrough I witness isn't technical, it's psychological. When hobbyists realize they don't need lab-grade perfection to make meaningful discoveries, everything changes. Those small wins today (clearer pollen grains, visible cellulose fibers, consistent tip performance) grow into tomorrow's confident discoveries. I've had adults tear up when they finally see consistent results after months of frustration, all because they switched to vibration-dampening pads and learned to verify probe alignment with basic visual checks.
Your journey with scanning probe accessories should feel like exploration, not equipment management. Focus on mastering one accessory at a time, document your progress, and celebrate every visible improvement. That moment when your blurry image snaps into focus? It's not just better imaging, it's your confidence growing alongside your curiosity.
Further Exploration:
- Try our free "First 10 Scans" checklist (community educators' tested workflow)
- Join the beginner-friendly microscopy challenge on our forum this December
- Watch the "DIY Accessory Hacks" webinar series, every technique uses <$25 components
Remember: Every expert was once exactly where you are now, staring at a fuzzy screen wondering if they'd ever see those nanoscale details. But with the right approach, you'll get there, one clear, confident scan at a time.
Related Articles