Glass vs Plastic Slides: Sharp Images or Fewer Breaks?
By Omar Haddad • 9th Sep
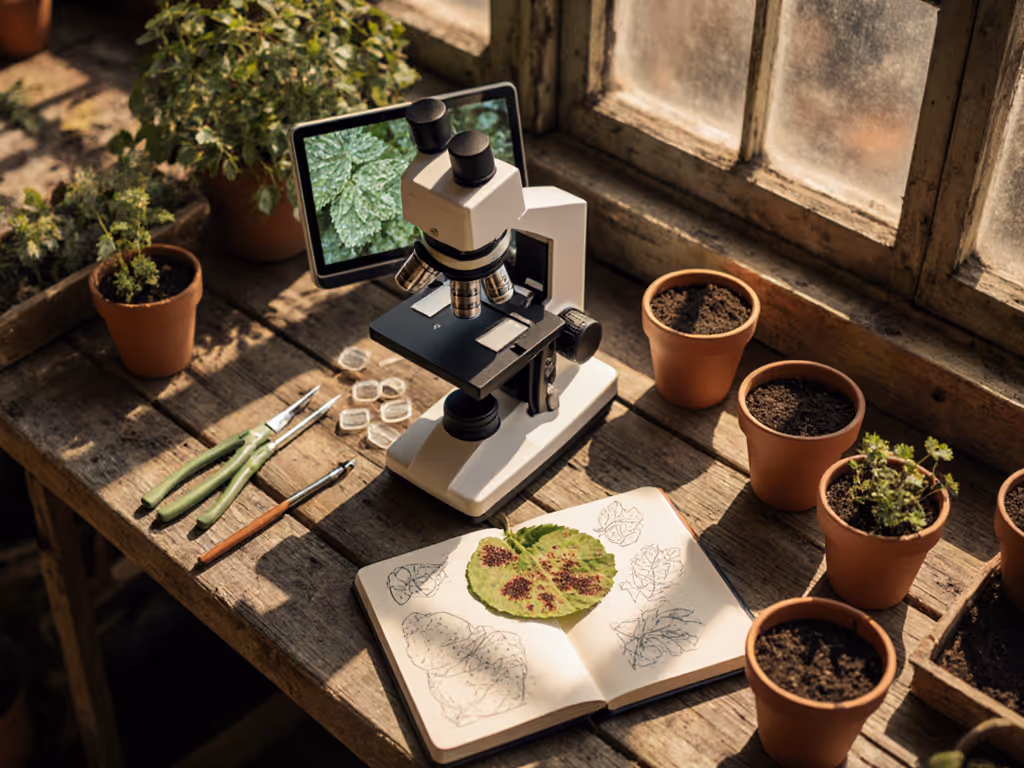
Let's be real, you're probably wondering, "Do I really need fancy microscope slide materials for my kitchen-table microscopy adventures?" Especially when comparing glass vs plastic slides, it feels like you're choosing between picture-perfect clarity and not crying over shattered samples. I've been there with beginners who tossed their first $20 slide pack after a clumsy drop. But here's what matters most: your next "aha!" moment shouldn't hinge on unbreakable gear. Whether you're checking pond water with your kids or exploring pollen grains solo, the right slide choice keeps curiosity alive. Today, we'll cut through the jargon and help you pick slides that match your actual hands, your budget, and your hunger for discovery. Because let's face it, who wants to spend more time worrying about breakage than spotting cool stuff?
Frequently Asked Questions: Your Slide Decisions, Solved
🔍 Why does slide material even matter for beginners?
It's simple: your slide is the stage where microscopic wonders perform. Pick the wrong one, and you might wrestle with blurry images, slippery samples, or that heart-sinking crunch when it slips from your fingers. But choose wisely, and suddenly slide durability stops being a headache. You're back to the magic of seeing a paramecium dart across your screen. As a community educator, I've seen so many beginners quit because early frustration overshadowed their curiosity. Remember my favorite moment with that nine-year-old finding tardigrades? Her slide was plastic, but the smile when she tracked their slow-motion wriggle was pure gold. Small wins today grow into tomorrow's confident discoveries.
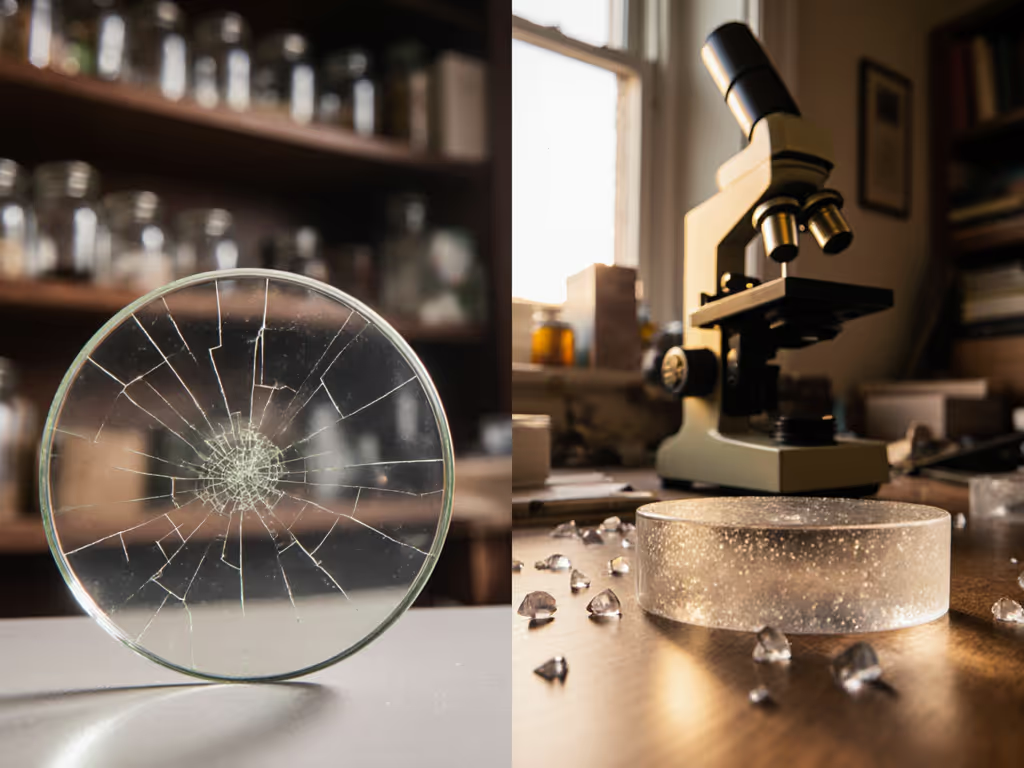
💎 Glass slides: Are they worth the fragility?
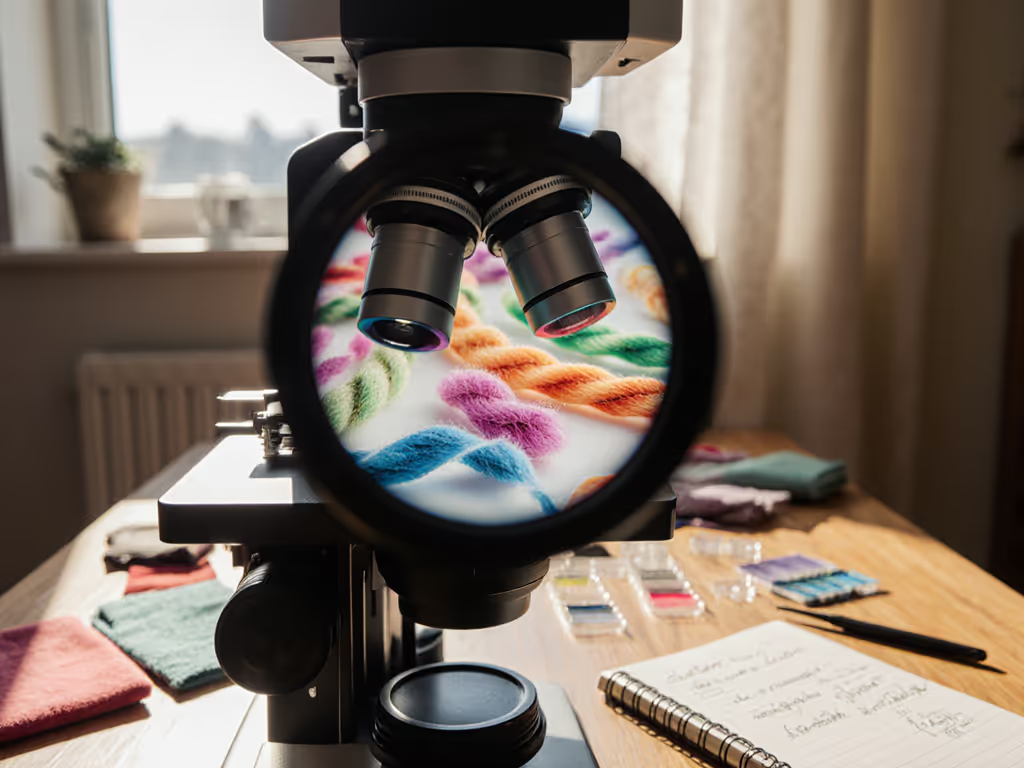
Glass dominates labs because it delivers. Think of it as the "full HD" option for specimens:
- Optical quality that rivals professional scopes: soda-lime or borosilicate glass transmits light with minimal distortion. That sharp detail you crave? Glass nails it.
- Chemical resilience: handles common stains (like iodine or methylene blue) without warping or clouding.
- Reusability: with gentle cleaning (more on that later), one pack lasts years.
But let's keep it real for home use: glass is fragile. If you've ever fumbled a slide while your toddler dashes past, you'll relate. One chipped corner can ruin focus or snag coverslips. And yes, you can get clean results with affordable glass. Take a set of pre-cleaned glass slides. They're standard 3" x 1" optical glass with ground edges, packaged smartly with vacuum-sealed protection. They're kind to your wallet and your nerves. I've used sets like these in community workshops; they hold up well if you handle them like a snowflake (carefully, but not fearfully!).
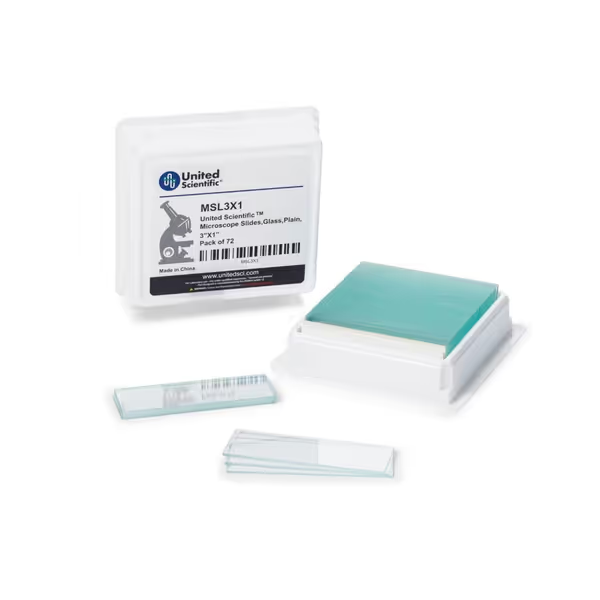
United Scientific™ MSL3X1 Pre-Cleaned Glass Microscope Slides
Clear, reliable microscope slides for effortless, high-resolution specimen viewing.
$5.55
Dimensions3" x 1" (75mm x 25mm)
Dimensions3" x 1" (75mm x 25mm)
Pros
Pre-cleaned, ready for immediate use.
Universal compatibility with most microscopes.
Cons
Some users reported varied strength.
These slides are good quality, affordable, and functional, working well for biology lab needs.
These slides are good quality, affordable, and functional, working well for biology lab needs.
"Wait - isn't borosilicate glass better?" For most beginners, no. Soda-lime glass slides offer 95% of the clarity at half the price. Reserve borosilicate for extreme heat or acid experiments (which you likely won't need yet!).
🌱 Plastic slides: Sacrificing sharpness for sanity?
Plastic is the unsung hero for hobbyists. Its superpower is durability without drama. If you've ever dropped a glass slide and felt your spirit drop with it, plastic slides are your reset button. Why they shine for home microscopists:
- Near-indestructible: they bend instead of shatter. Spill coffee? Drop it down the stairs? Still usable.
- Lightweight & safe: perfect for kids' classrooms or cluttered home labs (looking at you, desk-by-the-coffee-maker setups).
- Cost-effective for disposables: great for messy samples (fungi cultures, pond gunk) you won't re-examine.
The trade-off? Optical quality takes a small hit. Some plastics scatter light slightly, making high-mag images a hair less crisp than glass. But I tested this side-by-side with my students, and honestly, at 400x magnification, differences vanish for most biological samples. One caveat: avoid acetone, ethanol, or harsh solvents (they fog plastic). Stick to water-based mounts, and you're golden.
📊 Real talk: Cost comparison beyond the price tag
| Factor | Glass Slides | Plastic Slides |
|---|---|---|
| Upfront cost | ~$0.08/slide (e.g., $5.55 for 72) | ~$0.10/slide (often sold in smaller packs) |
| Long-term cost | Wins - Clean & reuse indefinitely | Loses - Designed as disposable slides |
| "Emotional cost" | High - Stress over breakage kills joy | Low - Drop it? No panic. |
| Best for | Detailed imaging, re-examining samples | Quick observations, kid-safe projects, messy samples |
Pro tip: Start with plastic for field sampling or kid projects. Save glass for "keeper" specimens you'll re-visit. Your wallet, and your peace of mind, will thank you.
🧪 How do I handle and clean slides without messing up?
This is where beginners trip up, not the slides themselves. Forget lab-coat pretense; these are the real habits that work.
For glass:
- Cleaning: soak in warm soapy water, gently rub with a soft cloth (never paper towels, they scratch!), rinse with distilled water. Air-dry vertically to avoid water spots.
- Storage: use dedicated slide boxes. If your slides stick together, they're likely cold, let the box reach room temp first (condensation causes sticking!).
- Frosting hack: grab frosted microscope slides; the white frosted end lets you label neatly with pencil. No smudges, no confusion when you've got 10 samples out.
For plastic:
- Cleaning: mild soap plus water only. Skip alcohol; it will cloud the surface over time.
- Storage: keep away from solvents (even perfume or hand sanitizer fumes!). I store mine in separate drawers from my stain kit.
- Pro tip: skip coverslips for temporary wet mounts. Plastic's static resistance keeps water drops flatter. For a quick walkthrough on when and how to use cover slips, see our cover slip setup guide.
❤️ "But Omar - what should I buy first?"
Ah, my favorite question. Let's match your goals:
-
If you want crystal-clear photos for Instagram or science fairs: start with glass slides (like a pre-cleaned glass slide pack). That extra clarity matters when sharing discoveries. Just keep a spare pack on hand for inevitable "oops" moments.
-
If you're learning with kids or hate waste anxiety: go plastic first. That nine-year-old in my workshop used plastic, and her first tardigrade find stayed her first win. Curiosity scales with confidence, and nothing builds confidence like no broken-slide meltdowns.
-
My ideal starter combo: 1 pack of affordable glass plus 1 pack of plastic. Test both with the same pond sample. See which you prefer, which feels safer in your hands. That's the only metric that matters.
Wrapping Up: Your Microscope Journey Starts Here
Choosing between glass vs plastic slides isn't about right or wrong. It's about building scaffolding for your unique discovery path. Glass gives razor-sharp views for those "wow" moments. Plastic offers peace of mind so you can focus on the wonder, not the cleanup. Remember that time you spotted your first ant's eye facet? Or the kid who gasped at a dust mite? That's why we fuss over microscope slide materials, not for perfection, but for repeatable smiles.
So grab whatever slide type lets you dive in today. Clean it gently. Label it proudly. And next time something wiggles into view, celebrate, not the gear, but your growing skill to see the unseen. Because every microscopist I've taught, from ten-year-olds to retired engineers, started exactly here: with a simple slide, a curious heart, and the quiet thrill of "What's that?"
Curiosity scales with confidence. And confidence? It starts with one unbroken slide.
Further Exploration
Ready to test-drive both materials without stress? Try this beginner-safe experiment:
- Sample: collect rainwater from a birdbath (full of cool microbes!)
- Slide test: mount drops on 1 glass slide plus 1 plastic slide
- Observe: compare clarity at 100x and 400x. Note which feels easier to handle!
Related Articles