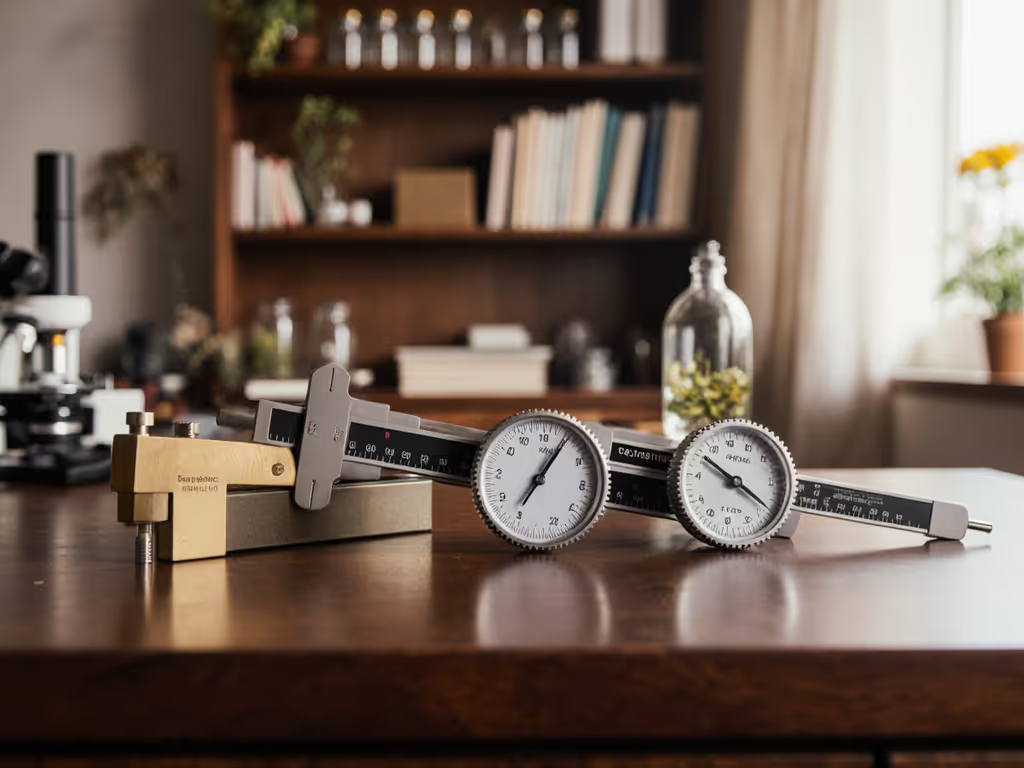
Affordable Durable Educational Stage Micrometers for Classrooms
By Elena Petrov • 29th May

Educational stage micrometers are the quiet workhorses of classroom measurement tools: they never appear in the "wow factor" photos, but they determine whether your students are actually measuring cells or just guessing.
In this FAQ deep dive, I'll walk through how to choose affordable, durable, and genuinely educational micrometers, compare the main types you'll encounter, and outline practical test plans you can use before committing a limited budget. As always in my lab notes: Test plans beat spec sheets.
If your microscopes aren't calibrated, every "measurement" a student records is really just a nicely formatted estimate.
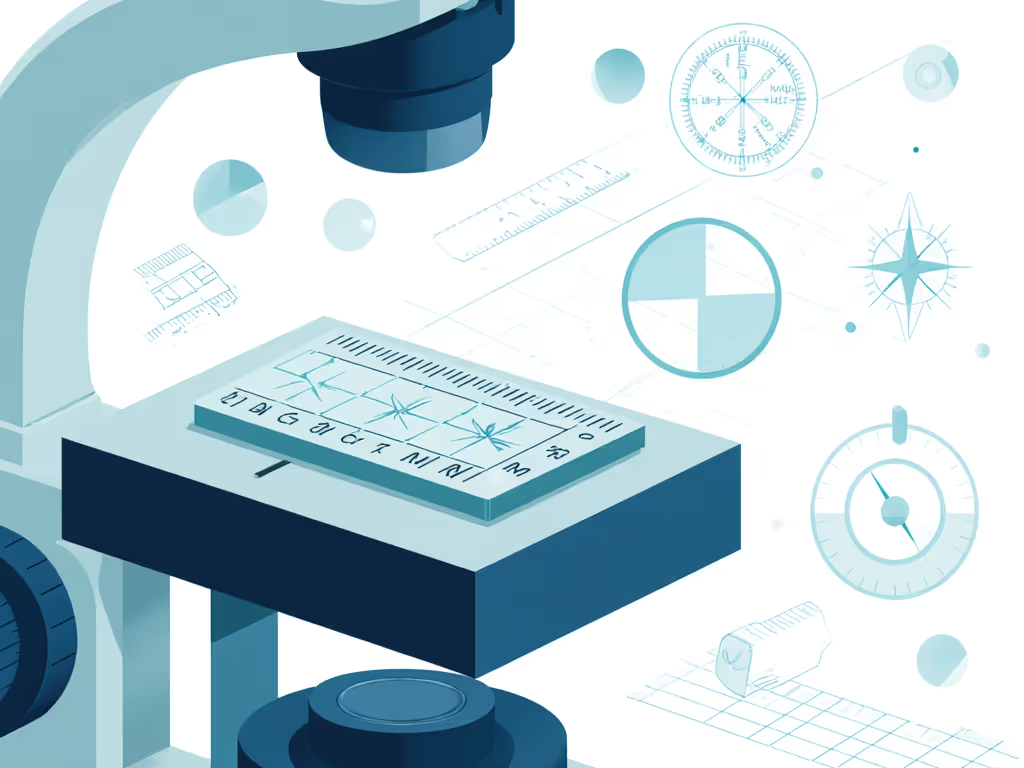
FAQ 1: What exactly is an educational stage micrometer?
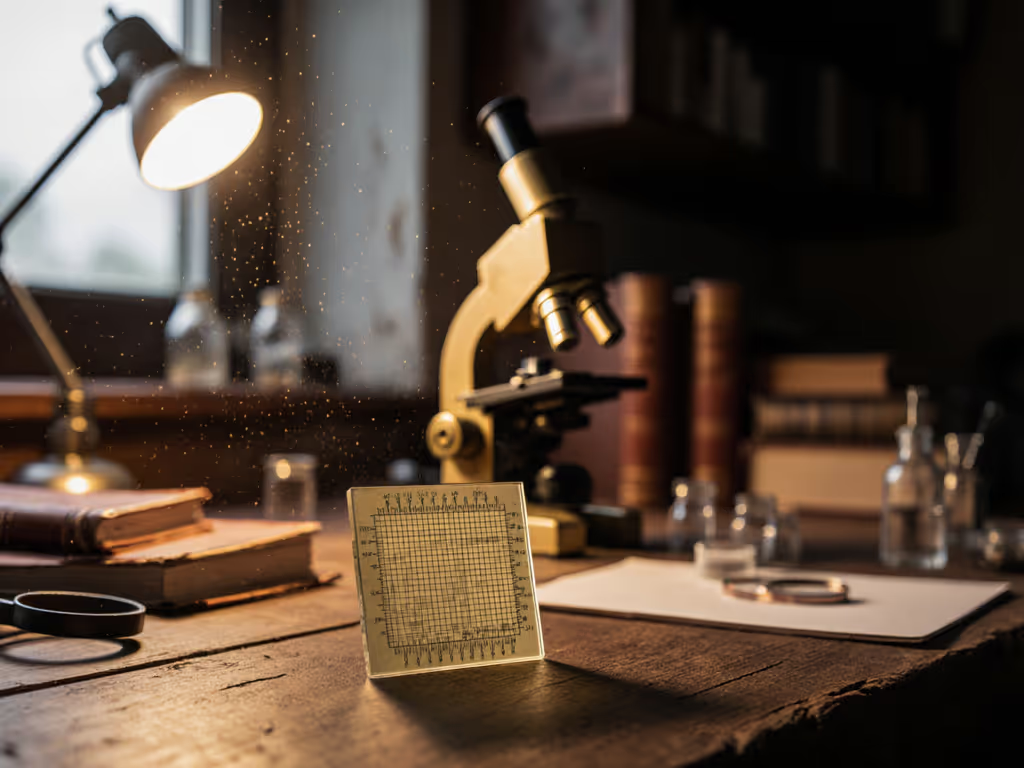
A stage micrometer is a special microscope slide with a precisely marked scale, usually 1 mm long, subdivided into smaller units (commonly 0.01 mm or 10 µm). You place it on the stage, focus it, and use it to calibrate the scale in the eyepiece or on-screen image. For a refresher on the full process, see our microscope calibration guide.
For classroom use, an educational stage micrometer is:
- Accurate enough for student work (typically down to 0.01 mm / 10 µm divisions)
- Robust enough to survive frequent handling
- Easy to read for beginners
- Priced so a department can buy several without sacrificing core specimens
Once calibrated, a student can look at a specimen and say: "This algal cell is ~40 µm long", instead of "about a third of the field of view." That's the difference between curiosity and quantitative observation.
FAQ 2: Why do classrooms need stage micrometers at all?
If your microscopes are only used for "look at this cool thing," you can skip calibration. But as soon as you ask students to:
- Compare sizes of cells in different tissues
- Track growth or division over time
- Distinguish bacteria vs yeast vs eukaryotic cells by size
- Measure crystal or sand grain dimensions
... you need a calibration reference.
Stage micrometers support several core learning goals:
- Numeracy in context - Students connect abstract micrometers to real objects.
- Instrument literacy - They learn that optical instruments are not inherently "truthful" and must be calibrated.
- Reproducibility - Different groups, using different microscopes, can obtain comparable measurements.
For hobbyists teaching at home, they also solve a recurring pain point: "My images look sharp, but I have no idea how big anything is." A single micrometer slide answers that for every magnification.
FAQ 3: What makes a stage micrometer "classroom-ready"? Key buying criteria
Not every calibration slide marketed online is suitable for a student lab. When I evaluate classroom-ready micrometers, I look at six features:
1. Durability and construction
For student use, you want durable calibration slides that tolerate:
- Frequent handling
- Occasional fingerprints
- Over-enthusiastic cleaning
Common constructions:
-
Bare glass slide, etched or chrome scale
- Pros: High optical quality; accurate; standard lab format.
- Cons: Exposed scale can be scratched; more fragile.
-
Glass slide with coverslip permanently sealed over the scale
- Pros: Scale protected from dust and scratches; easy to clean; good longevity.
- Cons: Slightly more expensive.
-
Plastic or polymer slide with printed scale
- Pros: Very cheap; resistant to breakage; low risk around younger students.
- Cons: Lower optical quality; scale may wear or fade; less precise printing.
For most classrooms, sealed glass offers the best balance: not as delicate as bare glass, but far more optically consistent than budget plastic.
2. Scale pattern and resolution
For educational use, simplicity beats exotic scale layouts.
Look for:
- Total length: 1 mm is standard and ideal.
- Division size: 0.01 mm (10 µm) divisions are the sweet spot for 400-1000× work.
- Subdivisions: Clear major ticks (0.1 mm) and minor ticks (0.01 mm) with labels.
Avoid overly complex multi-scale slides for beginners (e.g., mixed logarithmic, grids, and protractors on one slide). Those have their place, but they slow down initial calibration exercises.
3. Optical quality
The scale region should:
- Be sharply defined at the same focus as typical specimens
- Have high contrast on brightfield illumination
- Show no obvious distortion across the central 70-80% of the field
Some ultra-budget student microscope calibrators use soft plastics or imprecise printing; when you rack through focus, the lines fuzz out or show halos. That's a red flag - students will struggle to count divisions consistently.
4. Compatibility with your microscopes
Check two things:
- Stage size - Standard slides (~75 × 25 mm) fit most educational scopes. Non-standard "card" formats may be awkward or unstable.
- Illumination - The micrometer is used with transmitted light. Any transmitted-light compound microscope or mid-range stereo with transmitted base will work.
If you run digital microscopes or USB cameras, verify that you can capture and measure the micrometer image in your software. Most platforms allow you to define a custom calibration based on the known scale. If you're mixing brands or models, our accessory compatibility guide helps you avoid fit and workflow surprises.
5. Safety and handling
For younger students, you may prefer:
- Rounded slide corners
- Plastic or encased glass to reduce breakage risk
- Clear storage cases so staff can visually confirm the right slide is being used and returned
6. Price and value
Most educational stage micrometers fall into these broad ranges (per slide):
- Budget plastic: very low cost, often in kits
- Standard glass: moderate cost
- Encased/protected glass or multi-scale: moderate to higher cost
In practice, one well-made glass slide per lab group often outperforms a box of cheap, inconsistent units. If you want product-level comparisons, check our stage micrometer comparison for accuracy and durability across budgets.
Capabilities matter more than cosmetics; chase modalities, not marketing.
A single reliable micrometer enables a measurement modality that most "premium" student eyepieces or colored accessories never will.
FAQ 4: What types of educational stage micrometers are on the market?
Since you don't have a catalog in front of you here, I'll group options into four archetypal products you'll commonly see. Use this as a mental map while you browse retailers.
Type A: Basic 1 mm / 0.01 mm glass micrometer
- Format: Standard glass slide, etched or chrome scale, often uncovered.
- Best for: High school and adult education labs with careful handling.
- Strengths: High accuracy; great for 100-1000×; easy to see under brightfield.
- Weaknesses: Exposed scale; more fragile; not ideal for younger students.
Type B: Protected glass micrometer (sealed scale)
- Format: Glass slide with the scale region sealed under a coverslip or encased zone.
- Best for: Busy teaching labs; long-term departmental use.
- Strengths: Excellent optical quality; highly durable calibration slides; easy to wipe clean.
- Weaknesses: Slightly higher cost; occasionally a touch thicker than standard slides.
Type C: Plastic/polymer micrometer
- Format: Plastic slide or card with printed scale.
- Best for: Elementary/middle-school, outreach events, or cramped shared spaces.
- Strengths: Very resilient; low cost; less worry about breakage.
- Weaknesses: Lower edge sharpness; potential long-term fading; not ideal past ~400×.
Type D: Educational measurement kits (micrometer + eyepiece reticles)
- Format: A small educational measurement kit containing one stage micrometer and several eyepiece graticules/reticles.
- Best for: In-depth courses where students will repeatedly measure and compare.
- Strengths: Students see both calibration and measurement tools; supports more advanced projects.
- Weaknesses: Higher upfront cost; more parts to track and clean.
Comparison at a glance
| Type | Durability | Typical Accuracy | Ease for Beginners | Approx. Cost Tier | Best Use Case |
|---|---|---|---|---|---|
| A: Basic glass | Medium | High | Medium | $ | High school, careful labs |
| B: Protected glass | High | High | High | $$ | Busy labs, long-term use |
| C: Plastic | Very high | Medium-low | High | $ | Younger students, outreach |
| D: Kit (stage + reticles) | High | High | Medium | $$-$$$ | Advanced or repeat measurement courses |
If you're starting from scratch, Type B for each lab group plus one Type D kit for your own demonstrations covers almost every educational scenario.
FAQ 5: How do these types perform in real classroom conditions?
When I evaluate classroom-ready micrometers, I use a simple but consistent protocol:
- Optical check at 100×, 400×, and 1000× (if the microscope supports it).
- Repeatability test: Calibrate at 400×, remove slide, reinsert, and see if the same eyepiece scale mapping is obtained.
- Abuse simulation: Fingerprints wiped with typical lab tissue and cleaner; gentle "oops" bump on the bench; repeated use over several sessions.
- Student test: Ask a new user to calibrate with only a one-page instruction sheet.
Here's what typically emerges from that kind of testing:
Basic glass (Type A)
- Optics: Excellent; crisp lines, good contrast at all common magnifications.
- Repeatability: Very good if the slide is placed consistently against the stage stop.
- Weakness: Over time, exposed scales collect micro-scratches that soften the line edges, especially if wiped with rough tissues.
Protected glass (Type B)
- Optics: Essentially as good as Type A for the central region where students calibrate.
- Repeatability: Excellent; sealed surfaces clean easily with lens wipes.
- Durability: Survives year-over-year use noticeably better; the cost premium often pays for itself within a couple of cohorts.
Plastic (Type C)
- Optics: Adequate at low to mid power (100-200×). Lines can appear slightly fuzzy at 400×; at 1000× they're often the limiting factor for accuracy.
- Repeatability: Good enough for middle-school level "size category" exercises (small/medium/large, order-of-magnitude estimates).
- Durability: Outstanding under casual handling; ideal when you expect frequent drops.
Kit with eyepiece reticles (Type D)
- Optics: Same as the underlying stage micrometer (often Type A or B quality).
- Student experience: Initial calibration is more complex, but once set up, students enjoy reading off sizes directly in the eyepiece.
- Value: Strong for classes where students will work with measurement repeatedly - less so for a single "one and done" lab.
This is where that early experience of mine kicked in: a borrowed monochrome camera and a no-name adapter taught me that capabilities matter more than cosmetics. In testing micrometers, I've seen modestly priced protected glass units outperform much fancier-looking pieces, simply because the lines are sharper and the slide survives real teaching conditions.
FAQ 6: How do I choose the right micrometer for my microscopes and students?
Let's map choices to common scenarios.
Scenario 1: Middle school or family / hobby classroom
Goals: basic size awareness, minimal breakage, simple setup.
Recommended:
- 1-2 plastic/polymer micrometers (Type C) for shared demonstration
- Possibly 1 protected glass (Type B) for your own more precise work
Why: Students can handle the plastic units freely; you retain one higher-precision slide for your own measurements or for advanced learners.
Scenario 2: High school biology / general science lab
Goals: repeated use across magnifications, modestly careful handling.
Recommended:
- 1 protected glass micrometer (Type B) per lab group (or per 2-3 microscopes, if budgets are tight)
Why: These give you the best balance of durability, optical quality, and price. A single slide can serve multiple scopes if students are taught to share.
Scenario 3: Community college / serious hobbyist lab
Goals: repeatable, quantitative work; occasional imaging projects.
Recommended:
- Protected glass micrometers (Type B) as standard
- 1 measurement kit (Type D) including eyepiece reticles for more advanced projects
Why: The kit lets a subset of students (or you) pursue quantitative projects without complicating every basic lab.
Scenario 4: Outreach events and "science night" setups
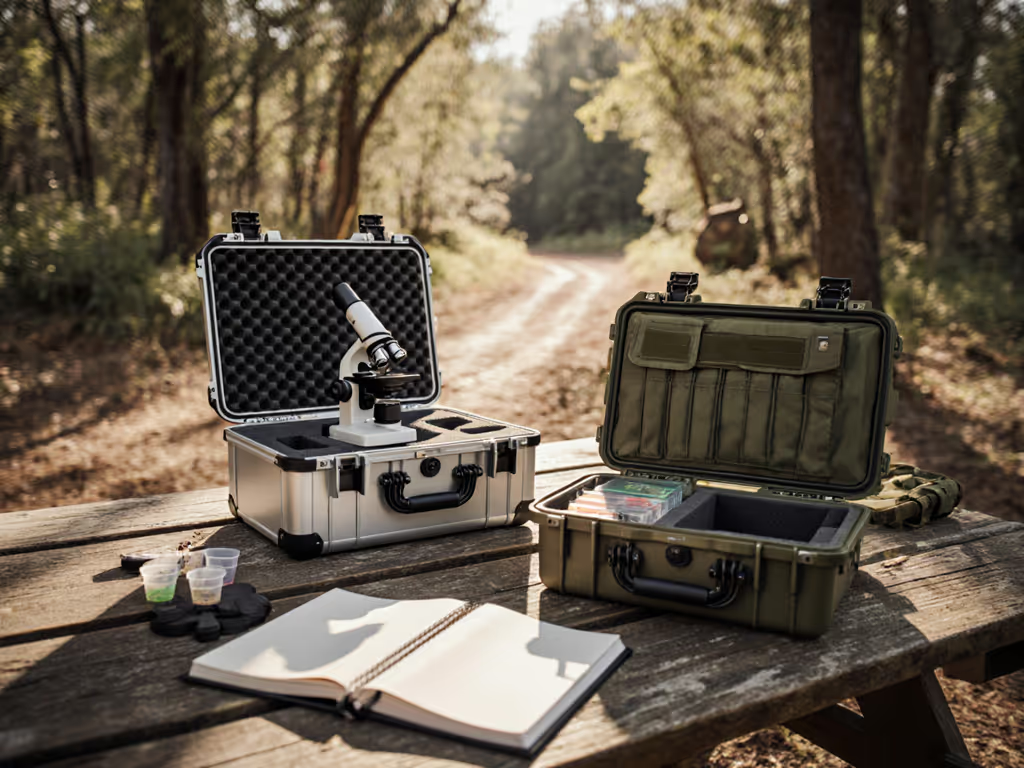
Goals: constant handling, minimal supervision, rapid setup and teardown.
Recommended:
- Multiple plastic micrometers (Type C) dedicated to outreach boxes
Why: They are inexpensive, resilient, and easily replaced if lost or scratched.
For any scenario, start with a small trial batch and run a simple test plan before buying in bulk. Test plans beat spec sheets.
FAQ 7: How do I teach students to use stage micrometers effectively?
A good lesson plan turns the micrometer from "mystery slide" into a powerful classroom measurement tool.
Here's a straightforward sequence that works well in 45-60 minutes:
Step 1: Introduce the idea of calibration
- Ask students to measure a drawing on paper using an unlabeled "mystery ruler" with no numbers.
- Then give them a real ruler and repeat.
- Connect this to microscopes: the eyepiece scale is the "mystery ruler"; the stage micrometer is the real ruler.
Step 2: Show the micrometer and explain the scale
On the board or projector, sketch a 1 mm bar with 0.1 mm and 0.01 mm divisions.

Clarify:
- 1 mm = 1000 µm
- Each 0.01 mm division = 10 µm
Step 3: Hands-on calibration at one magnification
Pick one standard magnification (usually 400×):
- Place the stage micrometer on the microscope.
- Focus carefully until the lines are crisp. Setting up Köhler illumination first makes the scale edges pop and reduces glare.
- If you have an eyepiece reticle, align the scales and count how many micrometer divisions match a given eyepiece division.
- Have students calculate: (\text{Size per eyepiece unit} = \frac{\text{known micrometer length}}{\text{number of eyepiece units}}).
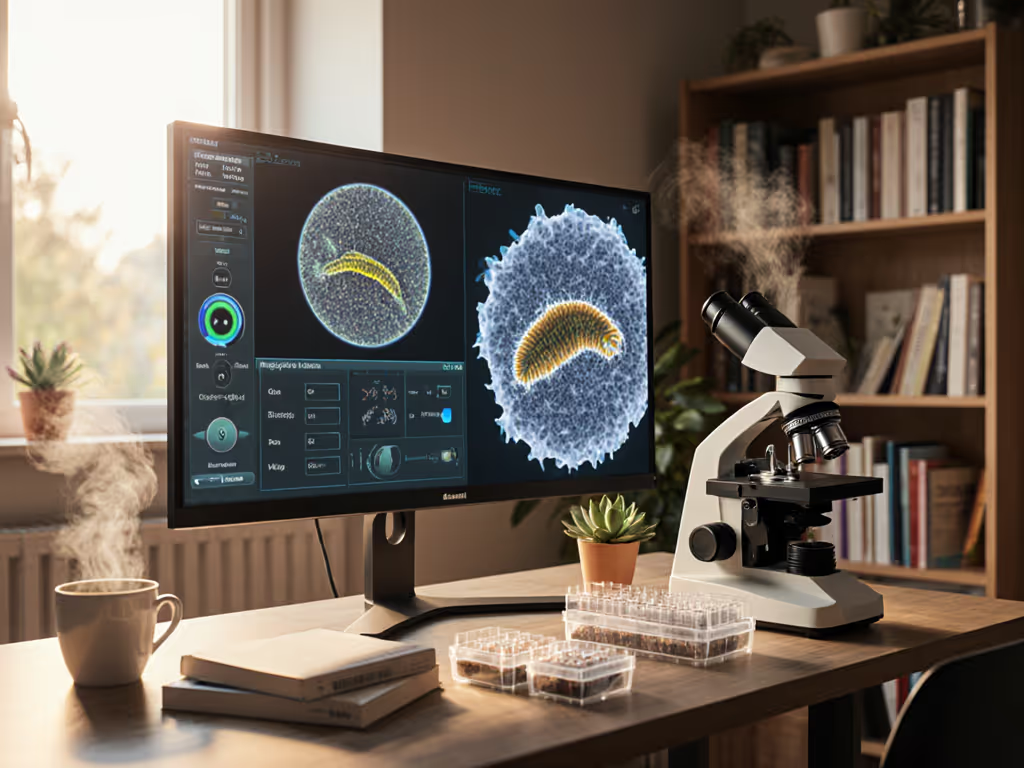
If you are using camera software instead of an eyepiece reticle, the process is similar: define a scale in the software using the known micrometer distance.
Step 4: Apply immediately to a real specimen
Switch the micrometer slide out for a prepared slide (onion epidermis, stained section, etc.):
- Students measure several cells using the calibration they just obtained.
- They compare results between groups and discuss sources of variation.
Step 5: Reinforce with a quick check
At the end of the lab, pick one student's calibration and walk through it on the board. Emphasize:
- Always calibrate for each magnification used.
- Record calibration values in lab notebooks or on a shared sheet.
After one or two labs, students will treat calibration as a normal part of using the microscope, not an extra chore.
FAQ 8: How do I protect and maintain stage micrometers for long-term use?
A bit of care turns a good micrometer into a decade-long lab tool.
Storage
- Keep each slide in a labeled plastic case (ideally with foam or a soft insert).
- Store vertically in a slide box or drawer to minimize dust settling.
- Use a distinct color label or box for micrometers to prevent them being mixed with regular specimen slides.
Handling rules for students
Post simple rules near the microscopes:
- "Micrometer slides stay at the instructor station unless requested."
- "Always return micrometers to their labeled cases."
- "If you drop a slide, do not touch the broken glass - call the instructor."
For older or careful groups, you can relax these, but clear rules prevent many accidents.
Cleaning
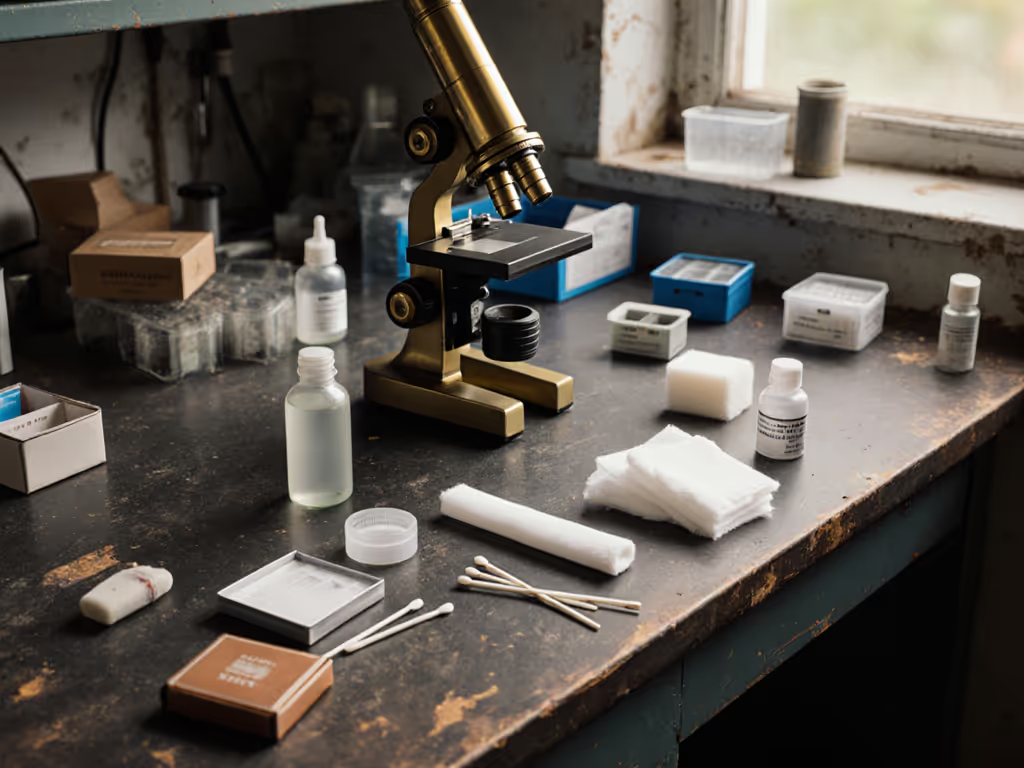
- Use lens tissue or microfiber and proper lens cleaner, not general-purpose lab wipes.
- For protected glass micrometers, clean like a standard slide.
- For plastic micrometers, check manufacturer guidance; some solvents may fog or craze the plastic.
Periodic checks
Once a year (or between semesters):
- Use a "reference" microscope to inspect each micrometer for scratches or fading.
- Replace units where line quality is clearly compromised.
- Verify that your written calibration examples still match the current slides.
This small maintenance routine is cheaper than discovering mid-term that half your groups are working from compromised references. For a complete routine that prevents blurry images and protects optics, see our microscope maintenance guide.
FAQ 9: Are digital or software-only calibration alternatives worth it?
Many modern classroom measurement tools include software-based calibration features. They still require a physical reference - typically a stage micrometer - to define the scale.
Where digital calibration shines is in:
- On-screen measurement - Students can draw lines and read lengths directly on images.
- Documentation and sharing - Measurements can be exported or captured for reports or online posts.
- Consistency across sessions - Once a camera-objective combination is calibrated, the software can remember it.
However, for core understanding, I still recommend at least one lab where students:
- See the micrometer in the eyepiece.
- Compute the calibration factor themselves.
- Apply it manually to a specimen.
After that, by all means let the software handle the arithmetic - students will better appreciate what those numbers represent.
Summary and Final Verdict: Which educational stage micrometers should you buy?
If we strip away the marketing and focus on classroom realities, the decision tree is surprisingly simple.
-
For younger students and outreach:
- Choose plastic/polymer micrometers (Type C). They are almost unbreakable and more than accurate enough for "small vs large" and basic µm-scale awareness.
-
For high school and general college labs:
- Make protected glass micrometers (Type B) your default. They deliver high optical quality, robust durability, and straightforward cleaning - the best long-term value for most institutions.
-
For advanced courses or serious hobby labs:
- Combine protected glass micrometers with at least one measurement kit (Type D) including eyepiece reticles or integrated software calibration. This enables genuine quantitative projects and research-style work.
Across all levels, prioritize:
- Durability over gimmicks - A crisp, plain 1 mm/0.01 mm scale beats complex multi-pattern slides that confuse students.
- Clarity over brand prestige - Choose units with sharp lines and clear markings, even if they lack flashy packaging.
- Pedagogy over price race - One reliable micrometer that supports repeatable calibration is worth more than several inconsistent budget pieces.
If you build your lab around a small set of educational stage micrometers that are robust, readable, and compatible with your scopes, you unlock an entire modality of quantitative observation for your students. In my experience, that shift - from "pretty pictures" to measured structures - does more for engagement than any cosmetic upgrade.
When in doubt, buy a single sample of each candidate slide, run your own short test plan, and keep the one that survives both your abuse and your students' first calibration lab. Your microscopes will finally be telling the truth - and your students will be able to prove it.
Related Articles