Köhler Illumination Setup: The Foundation of Clear Images
By Diego Silva • 27th Mar
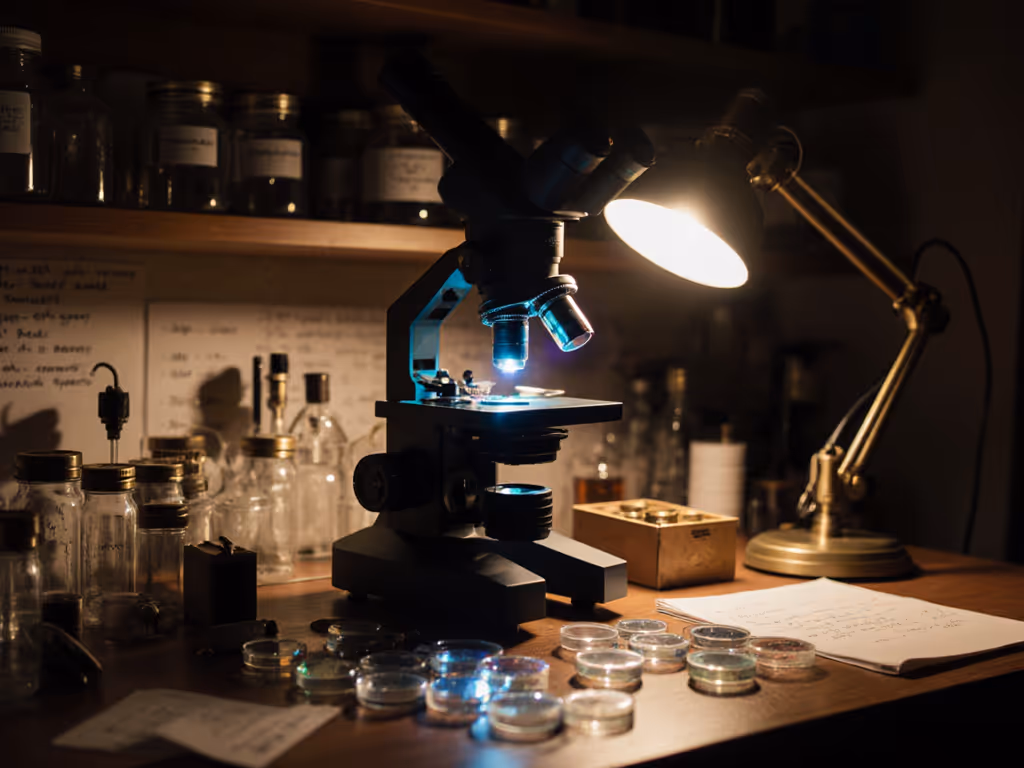
Köhler illumination setup is the single most important technique you can master to transform your microscopy from frustrating blurriness into stunning clarity. The irony is that most amateur microscopists never properly configure their light path, and many don't realize their muddy images stem not from bad equipment, but from bad illumination. This microscope illumination technique is surprisingly learnable, and once you understand it, you'll unlock image quality that rivals instruments costing three times as much.
Years ago, I was trying to examine fine fiber detail under a budget scope. No matter what I adjusted, the image looked washed out and flat. I finally read up on proper alignment, spent an afternoon tweaking the condenser and diaphragms, and suddenly the same microscope sang. That afternoon taught me an essential lesson: build what you need, spend where it counts most. In microscopy, that investment is technique.
Why Köhler Illumination Matters
Köhler illumination is a method that provides optimal microscope lighting by focusing and centering the light path so it spreads evenly across your field of view[2]. Without it, your image suffers from glare, uneven brightness, and lost detail. With it, illumination becomes bright, shadow-free, and consistent, the foundation for every observation[2].
Proper illumination is so fundamental that even sophisticated, expensive microscopes fail to deliver quality images when the light path is misaligned.
The technique works by aligning two separate optical systems: the field stop (which controls the area of light) and the aperture diaphragm (which controls the cone angle of that light)[2]. When both are correctly positioned, illumination uniformity is achieved, and proper microscope alignment follows naturally.
Prerequisites and Setup
Before you begin, verify that your microscope meets these requirements:
- Two adjustable iris diaphragms: one at the field stop (near the lamp) and one at the substage condenser (the aperture iris)[2]
- A condenser that can be raised, lowered, and centered[4]
- A low-magnification objective (4x or 10x) to start with[1][2]
- Clean optics (dust and smudges will only complicate alignment[4])
If your microscope lacks these components, check the manufacturer's manual to adapt the procedure. Some simplified microscopes have fixed illumination; in that case, you're working within fixed constraints rather than optimizing an already-capable system. For light-source choices and their impact on contrast, see our microscope illumination guide (LED vs halogen).
Step-by-Step Köhler Alignment
Step 1: Position Your Sample and Low Magnification
Start with your 10x objective in place above the stage[1]. Place a thin, prepared slide with a specimen on the stage, centered directly under the objective[1]. A well-stained biological specimen or a printed test pattern works well for this procedure.
Focus carefully on the specimen using the fine focus knob. This step anchors the entire process[2].
Step 2: Close the Field Diaphragm and Adjust Light Intensity
Look through the eyepieces and adjust the light source to a comfortable level[1]. Now, using the field diaphragm control on the front of the substage condenser, close the diaphragm completely[1]. You should see a small, bright spot or circle of light in the center of your field of view.
If the spot is dim or invisible, increase lamp intensity slightly. This spot is your reference point for everything that follows[1].
Step 3: Center the Field Diaphragm
Using the two XY adjustment knobs on the front of the condenser, move the bright spot until it sits dead-center in your field of view[4]. This centering step is not optional, as it ensures even illumination across your entire viewing area.
To verify centering, open the field diaphragm slightly and look for an even, symmetrical octagon of light. For deeper control of condenser height, centering, and diaphragms, read our condenser light control guide. Adjust as needed[4].
Step 4: Adjust the Condenser Height
Raise or lower the condenser using its vertical fine-focus knob until the edge of the field diaphragm (the octagon you see through the eyepiece) appears sharp and in focus[2]. This step is critical: the filament image must be focused on the specimen plane, not above or below it.
If the diaphragm edge is blurry, your condenser is out of focus. Keep adjusting until it snaps into clarity[3].
Step 5: Open the Field Diaphragm to Frame Your View
Slowly open the field diaphragm until the illuminated circle just encompasses your entire field of view, then open it just a hair more so the edges are invisible[1][4]. The goal is even illumination without dark corners or vignetting.
Avoid opening the field diaphragm all the way; that wastes light and degrades image contrast.
Step 6: Fine-Tune the Aperture Iris Diaphragm
This is the step most amateur microscopists skip, yet it dramatically improves contrast and resolution. Locate the aperture iris diaphragm control, usually a thin silver lever protruding from the condenser[2]. Close it down so that it occupies roughly the outer 20 percent of the field of view when viewed through the eyepiece[2].
To verify this setting without guessing, you can remove the eyepiece and look down the barrel from about a foot away, observing the objective's back lens[5]. The aperture iris should appear as a clearly visible rim around a uniformly illuminated disk. Close the iris back down and replace the eyepiece[5].
Safety Notes and Best Practices
- Never stare at the condenser while the lamp is at full intensity; even brief exposure can strain your eyes.
- Clean optics thoroughly before aligning; a single dust particle on the objective can throw off your centering and waste an hour of troubleshooting[4]. For a step-by-step cleaning workflow that prevents scratches and haze, see our microscope maintenance guide.
- Document your settings: Once aligned, you may want to note the condenser height and iris positions, especially if your microscope has manual adjustments. This makes realignment faster next time.
- Test with multiple slides: Verify that different specimens exhibit the same uniform, even illumination. If one slide looks poor while others look bright, the problem is likely the slide itself, not your alignment.
Troubleshooting Common Issues
Uneven illumination (bright in center, dark at edges): Your field diaphragm is too closed, or your condenser isn't centered. Recheck Step 3 and Step 5.
Blurry diaphragm edges: Condenser is out of focus. Revisit Step 4 and adjust the vertical fine-focus knob on the condenser until the edges sharpen.
Glare or low contrast: Your aperture iris is too wide open. Close it down incrementally as described in Step 6.
Bright spot off-center: Return to Step 3 and carefully center the spot using the XY adjustment knobs.
Build, Test, Iterate
Köhler alignment isn't a one-time ritual. Each time you switch objectives, swap slides, or adjust magnification, take a moment to verify that your field diaphragm remains properly framed and your contrast remains sharp. Small tweaks take seconds and compound into dramatically better images over time.
The payoff is immediate and measurable: your specimens will reveal detail that previously lay hidden in glare and shadow. You'll see fine structures you didn't know existed. That's the real magic, not the microscope itself, but the skill of unlocking what it was designed to show you.
Further Exploration
Once you've mastered basic Köhler illumination on your 10x objective, explore these next-level refinements:
- Phase contrast setups: Many teaching microscopes support phase contrast, which requires slight modifications to your aperture iris position for optimal results.
- Higher magnifications: The same principles apply at 20x, 40x, and beyond, though condenser adjustment becomes more sensitive.
- Oil immersion techniques: Oil objectives unlock superior resolution but require additional care in maintaining Köhler alignment.
- Custom filters and diffusers: Once your base illumination is solid, you can experiment with polarizing filters, color filters, or DIY diffusers to enhance specific specimens.
Your microscopy hobby deserves a solid optical foundation. Spend the time to master this technique, and every future session, whether you're examining soil biology, plant tissue, or insects, will reward you with the kind of clarity that keeps you leaning over the eyepiece for hours, forgetting to eat lunch. That's when you know you've gotten it right.
Related Articles