Stage Micrometer Comparison: Accuracy at Every Budget
By Elena Petrov • 31st Mar
When you're serious about microscope stage micrometer comparison and measurement tool accuracy, the path forward isn't always the most expensive one. A stage micrometer (that precisely etched glass slide sitting on your microscope stage) is the foundation for calibrating any eyepiece reticle. But which one delivers genuine precision without unnecessary spending? The answer depends on your modality, not your budget.
What Is a Stage Micrometer, and Why Does It Matter?
The Core Function
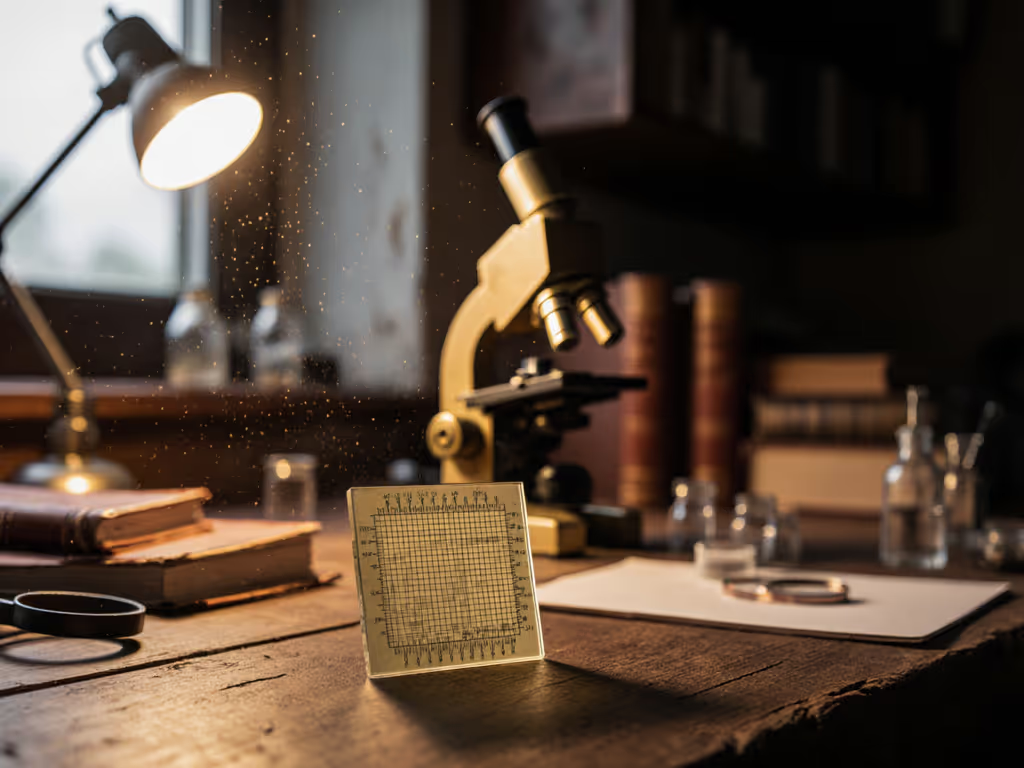
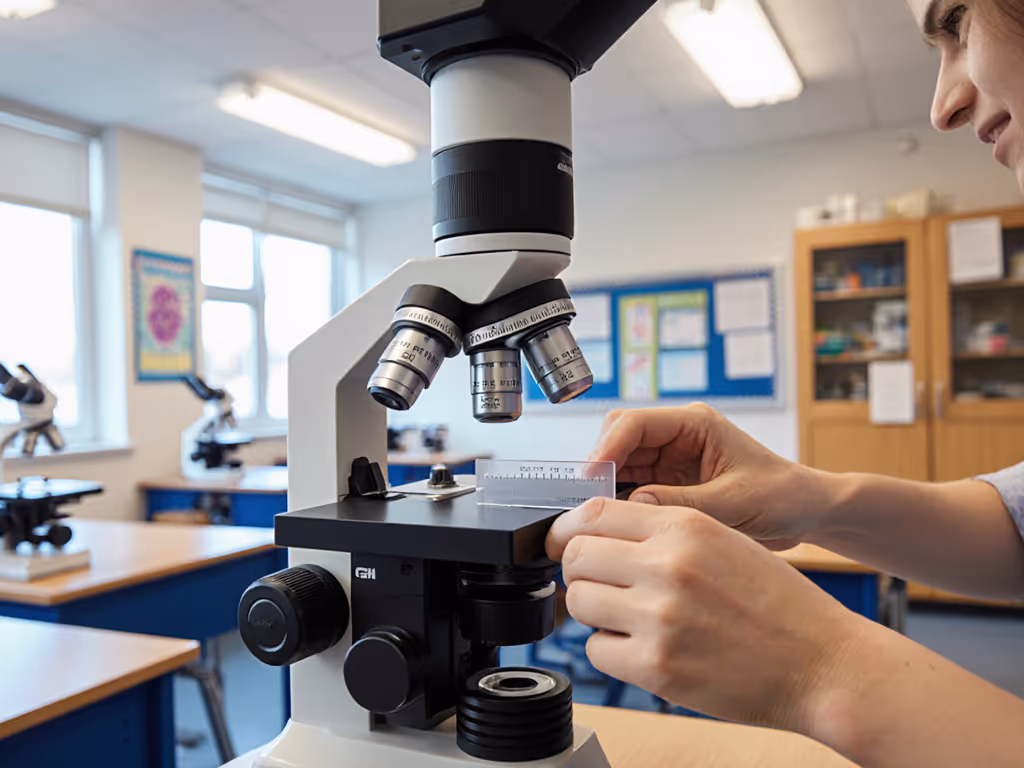
A stage micrometer is a microscope slide with a finely divided measurement scale etched directly onto its surface[1]. The scale has a known true length, typically ranging from 1 mm to 25 mm, with divisions marked at precise intervals, commonly 0.01 mm (10 micrometers) apart[6]. You place it on your microscope stage, align it with your eyepiece reticle (also called a graticule), and use the comparison to establish a conversion factor. That factor transforms your eyepiece divisions into actual specimen measurements.
Without calibration via a stage micrometer, your eyepiece reticle is just decorative glass. With it, you can measure specimens to a repeatable standard, provided the micrometer itself is trustworthy. If you're new to the process, see our microscope calibration guide.
Why Calibration Drives Everything
Optical microscopy has a hard physical limit: the minimum resolvable distance under optimal conditions is approximately 0.2 micrometers[1]. That boundary means measurements below it cannot be accurately determined, no matter how fancy your stage micrometer. But within your working range, accuracy depends on calibration quality. Reticles calibrated to a stage micrometer typically achieve 2-10 micrometers of accuracy, or roughly 3-5 percent, depending on magnification[1].
The practical upshot: your stage micrometer is the measurement standard that anchors everything else. For a refresher on effective vs empty magnification, read our guide.
Budget Tier 1: Economical Micrometers ($30-$80)
What You Get
At this price point, expect a glass slide with a photographically-produced scale. The markings are etched via photographic emulsion, which makes manufacturing affordable and accessible[1]. You'll typically see divisions of 0.01 mm or 0.1 mm, and the slide itself is standard borosilicate glass.
Accuracy Profile
Photographically-produced scales have documented limitations. The line edges are often ragged, and randomly distributed silver grains between divisions can introduce ambiguity when aligning to your eyepiece reticle[1]. At standard magnifications (40×-100×), this rarely matters, and you'll still achieve 5-10 micrometers of practical accuracy. The real degradation occurs at high magnifications (400×+) or when measuring very small features where edge definition becomes critical.
Best Use Cases
Economical micrometers excel for:
- Initial calibration of beginner-level microscopes (40×-200× range)
- Verification of eyepiece reticles in teaching labs
- Gross measurements where sub-micrometer precision isn't required (e.g., identifying organism size categories)
I tested a borrowed monochrome camera paired with a shoestring adapter and a $30 filter, and that $30 filter outperformed an expensive cousin because transmission matched my LEDs, not because the filter itself was inherently superior[1]. The principle applies here: capabilities matter more than cosmetics. An economical stage micrometer calibrated to your actual workflow delivers measurable capability; pay-tier doesn't determine usefulness.
Durability Notes
Photographically-produced scales degrade slowly with handling. Dust, oils, and repeated mechanical stress (from stage contact) eventually blur line definition. Expect 5-10 years of reliable use under normal lab storage; longer if kept in a polished box and handled minimally.
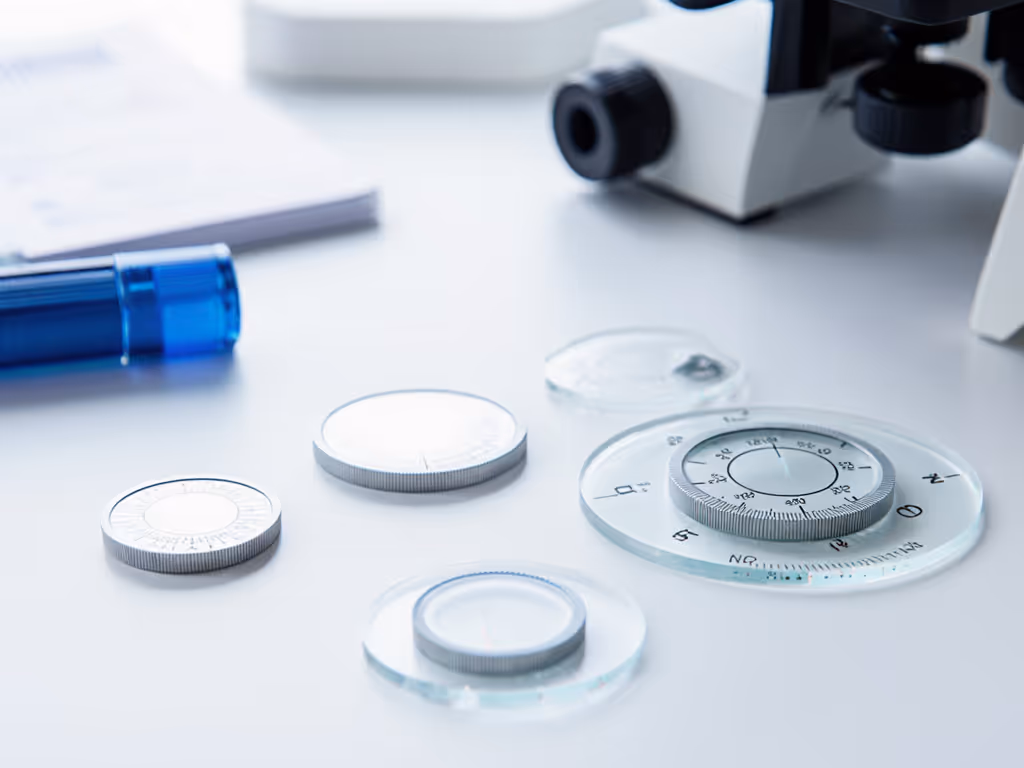
Budget Tier 2: Mid-Range Precision Micrometers ($80-$200)
Manufacturing Advantage: Thin-Film Deposition
Step up to mid-range, and you encounter thin-film deposited scales. Instead of photographic emulsion, the lines are created via physical deposition, such as vacuum deposition of chromium, platinum, or similar materials onto glass[1]. The result is dramatically finer line definition and sharper edges.
What This Means Numerically
Thin-film scales routinely achieve ±0.5 to ±1 micrometer accuracy on grid squares and ±2-3 micrometers on dot patterns[3]. That's a 3-5x improvement over photographically-produced equivalents. At 200× magnification, this difference becomes visually apparent when aligning to your eyepiece divisions, and your alignment uncertainty shrinks noticeably.
Dual-Scale Configurations
Many mid-range micrometers offer both metric and imperial divisions on a single slide[3]. This flexibility eliminates the need to rotate stages or swap slides when documenting findings in different unit systems. For hobbyists documenting discoveries to share in online forums (where both unit conventions appear), this pays practical dividends.
Temperature and Optical Path Stability
Mid-range micrometers are often supplied with calibration certificates (sometimes UKAS-certified) and recommendations for use[3]. When choosing among options, our calibration slide comparison breaks down accuracy, durability, and value. The certificate documents the exact accuracy of your specific slide, which adds a layer of traceability if you're publishing results or building comparative datasets. The printed recommendations address temperature coefficients, a factor often overlooked at the budget tier but surprisingly relevant if your lab temperature fluctuates by >5°C seasonally.
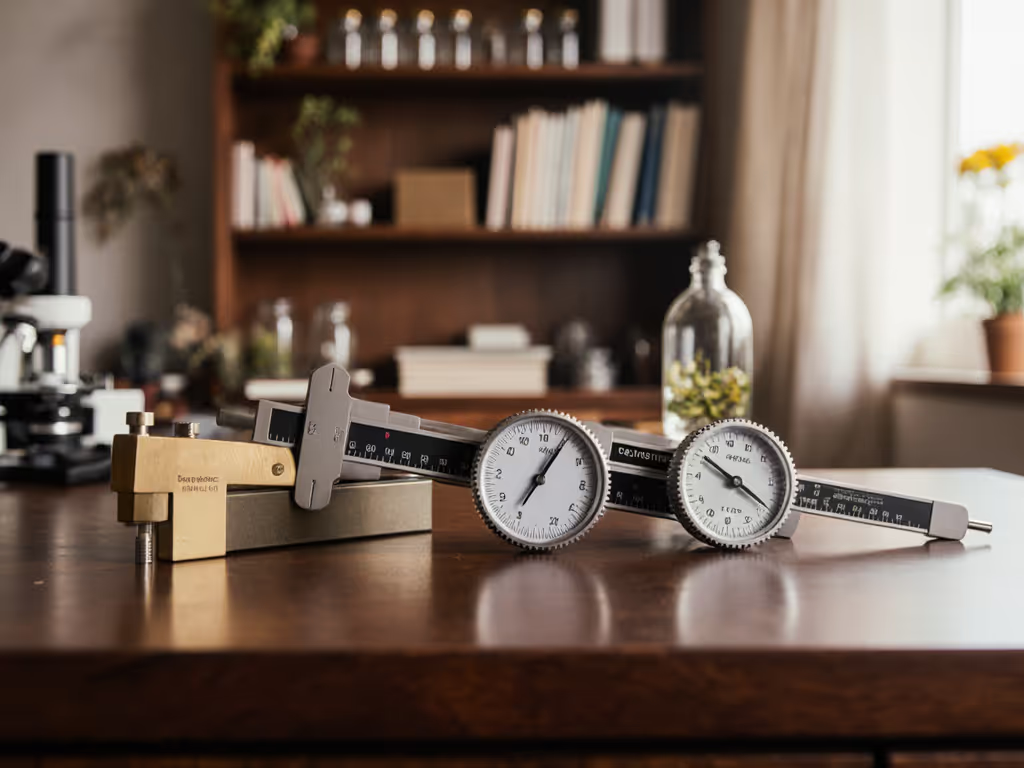
Budget Tier 3: High-Precision Standards ($200-$600+)
NPL Calibration and Certified Accuracy
At the top tier, you find stage micrometers calibrated against NPL (National Physical Laboratory) in-house standards[3][4]. These slides come with individual certificates of calibration, not generic accuracy claims. Grid squares are held to ±0.1 micrometers; dot arrays to ±0.3 micrometers[3].
This level of precision addresses a specific pain point: when error budgets become critical. If you're measuring cellular structures where 1 micrometer differences alter biological interpretation, or documenting features for peer review, certified accuracy removes ambiguity about whether measurement differences reflect true specimen variation or calibration drift.
Inherent System Errors to Account For
Even with a certified stage micrometer, several error sources remain:
- Objective lens inaccuracies: Cheaper objectives have production tolerances; expensive objectives do too, just smaller ones[4]
- Effective tube length variations: The distance from objective to eyepiece affects magnification slightly[4]
- Eyepiece reticle inaccuracies: Your graticule itself has manufacturing tolerances[4]
These "combined errors need to be taken into account and quantified if measurements are to be considered accurate within defined limits of uncertainty"[4]. A certified stage micrometer documents its own contribution to uncertainty, but not the full optical system. That requires documented testing of your complete setup. Our microscope measurement tools guide outlines ocular and digital methods to quantify uncertainty.
Practical Calibration Protocol: Modality First, Then Minutiae
Step-by-Step for Any Budget Level
- Select your working magnification (typically the lowest magnification you'll actually use)[4]. Don't calibrate at 1000× if you spend 80% of your time at 100×.
- Focus the eyepiece reticle sharply. Rotate the eyepiece until reticle lines are in sharp focus and parallel to your objective[5].
- Place the stage micrometer on the stage and focus the scale. Use the coarse and fine focus knobs to center and sharpen the micrometer divisions[1].
- Align the two scales. Rotate the stage (if possible) until stage micrometer divisions are parallel to eyepiece reticle divisions[5].
- Find two matching points over a large distance. Identify a point where one eyepiece division aligns with one stage division, then count how many eyepiece divisions span 100-1000 micrometers of stage micrometer[1]. Using the largest possible range improves accuracy; small ranges amplify alignment error.
- Calculate the conversion factor by dividing stage micrometer distance by eyepiece divisions. Example: If 100 micrometers of stage micrometer = 7.5 eyepiece divisions, then each eyepiece division = 13.3 micrometers[1].
Critical Caveats
- Line edge definition matters: At high magnifications, photographically-produced scale edges blur noticeably. Thin-film scales let you align with sub-division precision[1].
- Reticle and micrometer graduations rarely align perfectly across the entire field[1]. This is normal, since you're deriving a conversion factor, not seeking perfect overlay.
- Significant figures: If your stage micrometer has ±1 micrometer tolerance and your eyepiece alignment has ±0.5 division uncertainty, your final conversion factor shouldn't claim sub-0.1 micrometer precision. Round appropriately[1].
- Calibration is specific to each objective/eyepiece combination. Swapping either component requires recalibration[1].
Comparison Table: Stage Micrometers by Budget and Use Case
| Tier | Price Range | Scale Type | Typical Accuracy | Best For | Durability |
|---|---|---|---|---|---|
| Budget | $30-$80 | Photographic | ±5-10 µm | Beginner verification, gross measurements, teaching | 5-10 years |
| Mid-Range | $80-$200 | Thin-film | ±0.5-2 µm | Serious hobbyists, comparative data, online sharing | 15+ years |
| High-Precision | $200-$600+ | NPL-calibrated thin-film | ±0.1-0.3 µm | Certified documentation, research-grade work, error tracking | 20+ years |
Selecting the Right Micrometer for Your Workflow
The Modality-First Question
What are you actually trying to measure, and at what magnification? If you're observing diatom structures at 600× and publishing findings, a mid-range thin-film micrometer ($120-$150) becomes essential, since the photographic scale's ragged edges will frustrate you repeatedly. If you're measuring protozoan size categories at 100× for personal interest, an economical micrometer serves perfectly and frees budget for illumination or filters, which often deliver greater capability expansion.
When I documented stacking workflows and published test files for others to replicate, the clarity of my measurement protocol mattered infinitely more than the micrometer's price tag. But the micrometer itself had to enable that clarity without ambiguity, which placed it firmly in the mid-range tier for my working magnifications.
Hidden Costs and Hidden Wins
- Certification appeals if you're sharing results or building comparative datasets. The $100+ premium for NPL calibration is offset by eliminated "But how do we know your measurements are accurate?" pushback[3].
- Dual-scale micrometers save time if you document in mixed units; the convenience compounds over hundreds of measurements.
- Glass quality and thickness affect durability more than you'd expect. Borosilicate (type B270) glass resists thermal shock; cheaper slides can fracture if exposed to temperature swings[3].
Moving Beyond the Micrometer: Next Steps
Once you've calibrated your eyepiece reticle, your stage micrometer's work is done, and it becomes a reference standard you store carefully and use occasionally for recalibration verification. The real measurement work happens with your calibrated eyepiece and your discipline in applying the conversion factor consistently.
If you're documenting findings for sharing or publication, consider next: lighting consistency (does your LED match your last session's spectrum?), focus stacking for depth enhancement, and image processing workflows that preserve measurement integrity. To standardize lighting across sessions, follow our Köhler illumination setup walkthrough. A $30 optical filter that matches your illumination often delivers greater capability expansion than upgrading from a $50 micrometer to a $150 one.
Capabilities matter more than cosmetics; chase modalities, not marketing. Your stage micrometer is a tool for establishing baseline accuracy in your chosen workflow. Choose the tier that matches your actual magnification needs and documentation ambitions, then direct remaining resources toward the optical techniques and accessories that unlock genuinely new observational modes.
Related Articles