Clear Microscope Images Start With Proper Collimator Alignment
By Omar Haddad • 3rd Jan
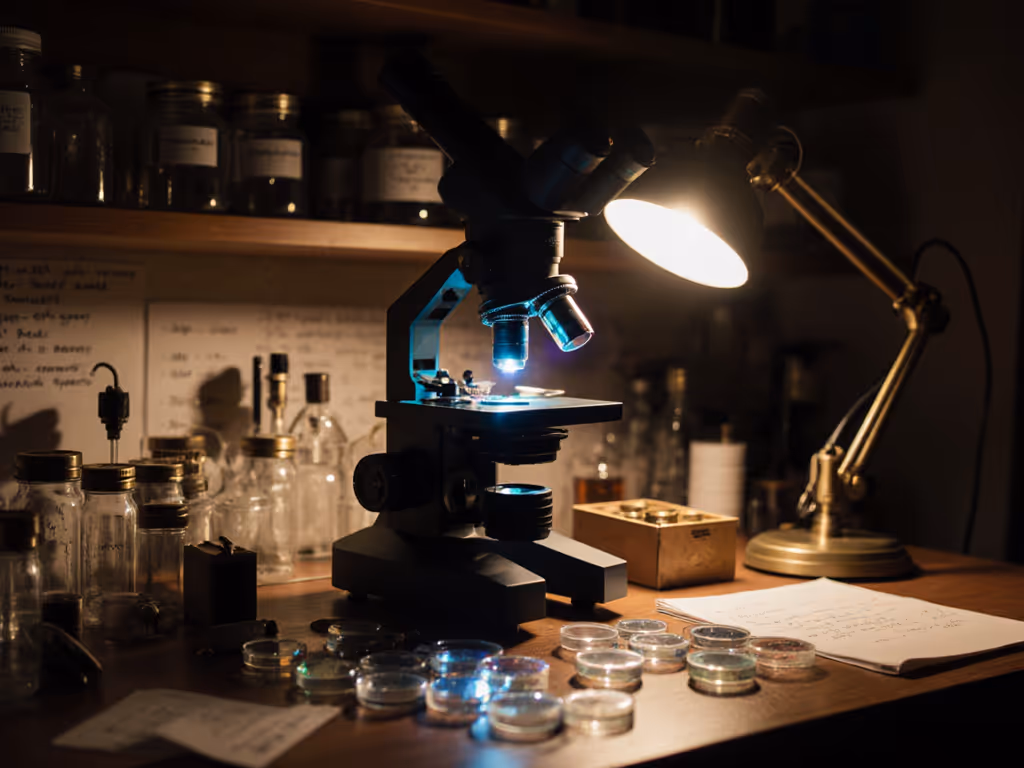
You've carefully prepared your slide, adjusted the focus, and yet... your microscope images still look blurry or uneven. Welcome to the silent frustration of misaligned microscope collimators, a problem that leaves many beginners puzzled. The good news? With the right alignment tools and a few straightforward steps, you can transform your viewing experience from frustrating to fantastic. Let's demystify this essential process together.
FAQ Deep Dive: Your Collimator Questions, Answered
What exactly is a collimator in microscopy, and why should I care?
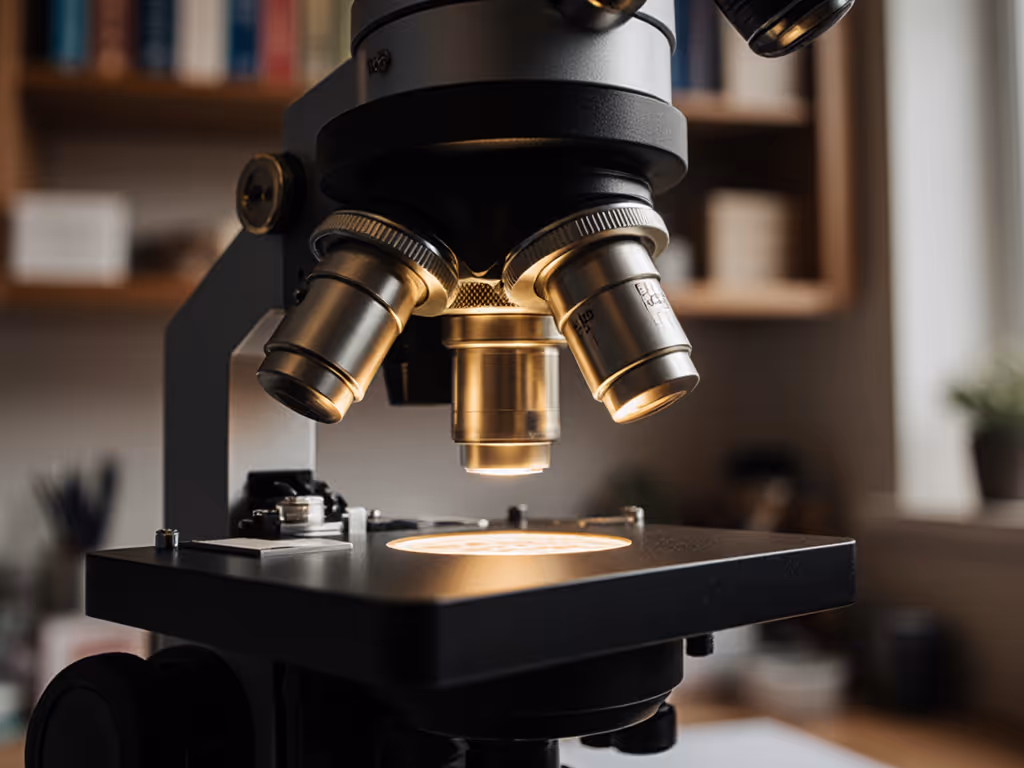
Think of a collimator as your microscope's "traffic director" for light. While many beginners focus solely on lenses and magnification, it's the collimator that ensures light rays travel in parallel paths through your system. Without proper collimation, light scatters unpredictably, causing those blurry images that make you question your entire hobby.
When light isn't properly collimated, you lose contrast, resolution, and that "wow" factor when you first see cellular structures pop into view. This invisible component, often overlooked among essential microscope parts, is actually the unsung hero of clear imaging.
Small wins today grow into tomorrow's confident discoveries.
How does collimator alignment connect to Köhler illumination, which I keep hearing about?
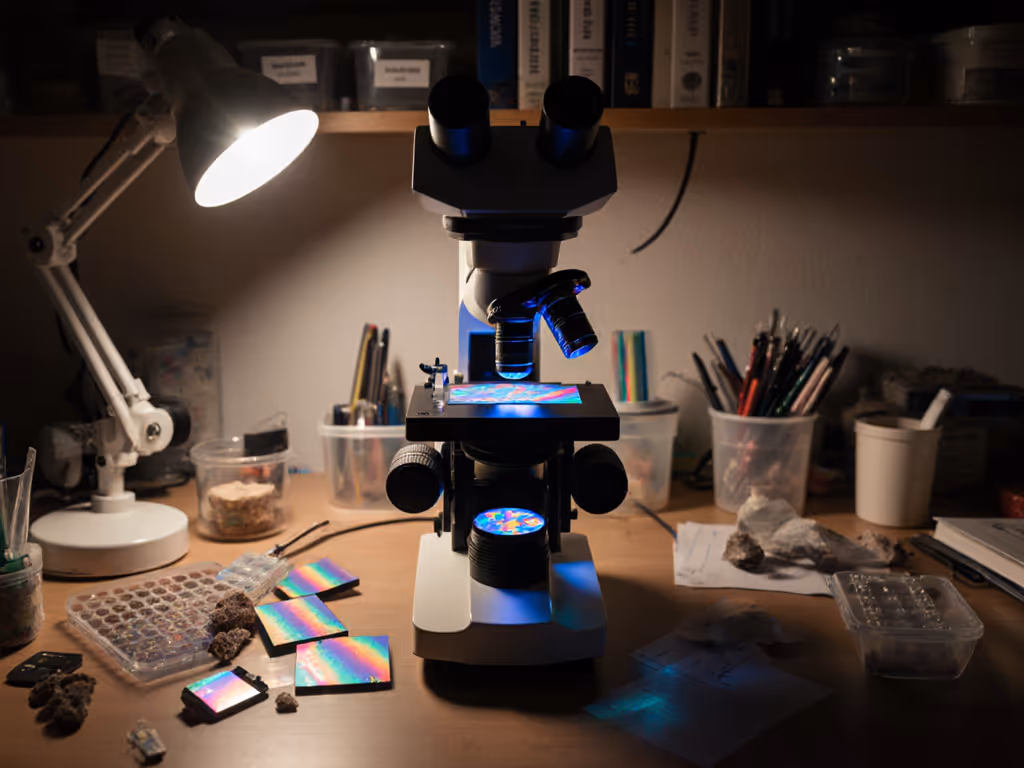
Köhler illumination isn't just fancy terminology. It is the gold standard for microscope lighting that ensures even, glare-free viewing. Think of it as properly setting up stage lights for a theater performance. Your collimator plays a critical role here by creating that parallel light beam needed for Köhler to work its magic.
When both systems work together correctly, you'll notice:
- Dramatically improved specimen contrast
- Reduced eye strain during longer viewing sessions
- More consistent results across different magnifications
- Fewer "ghost images" or glare that obscure fine details
Many beginners struggle with Köhler because they haven't first addressed their collimator alignment, the foundation upon which proper illumination is built.
What's the simplest collimation procedure I can try today?
Let's break down the collimation procedure into beginner-friendly steps you can accomplish with basic tools. Many microscope owners feel overwhelmed by complex alignment protocols, but with this scaffolded approach, you'll build confidence with each step:
- Start with a blank stage: Remove your slide and insert a blank piece of paper
- Focus on the paper fibers: Adjust your coarse focus until paper texture is visible
- Center your light source: Using your mirror or built-in light, create a bright circle in the center of your field of view
- Check for concentric circles: With the field diaphragm partially closed, you should see a sharp polygon shape centered in your view
- Adjust the condenser height: Move your condenser up/down until the edges of this shape come into sharp focus
- Center the condenser: Use adjustment screws to move the polygon shape to the exact center of your view For a deeper dive into condenser setup and light control, read our condenser light control guide.
Remember my friend who watched a nine-year-old discover tardigrades with nothing but a plastic slide and patience? That moment reminded me how powerful basic optical principles can be when properly applied.
What affordable alignment tools actually work for beginners?
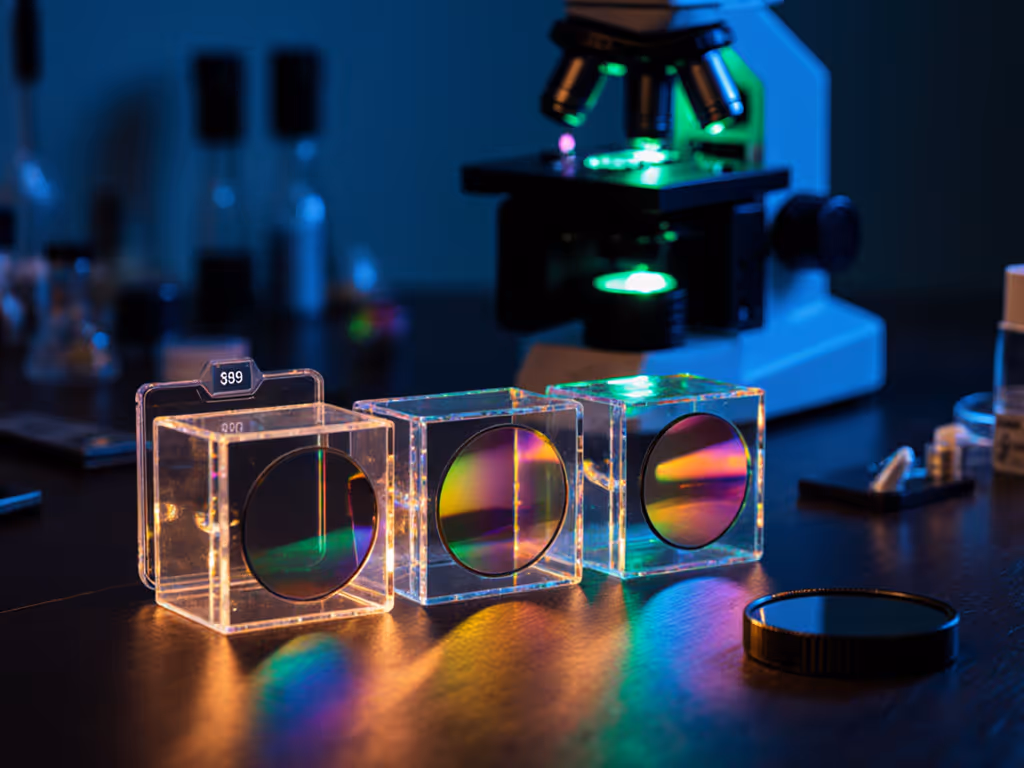
You don't need expensive laboratory equipment to achieve decent alignment. Effective optical alignment starts with understanding what you already have:
- The paper test: As mentioned above, ordinary notebook paper reveals light path issues
- DIY beam profiler: A tiny drop of fluorescent dye in water shows light distribution patterns
- Smartphone camera: Your phone's camera can capture alignment issues visible as uneven lighting
- Index card with pinhole: Creates a precise reference point for checking beam alignment If you plan to document your alignment results or specimens, see our steady microscope photography guide.
These humble tools outperform expensive gadgets when used with understanding. Investing in proper alignment tools shouldn't break the bank. Start simple, learn fast.
My images are still blurry after alignment, what common mistakes should I check?
Even after following proper procedures, these common alignment pitfalls trip up beginners:
- Cleaning solution residue: Oils or streaks on lenses that scatter light
- Dust on critical surfaces: Especially on the field diaphragm or condenser top lens
- Stage position: Samples too high or low relative to the focal plane
- Light intensity mismatch: Too bright for the objective magnification being used
- Environmental vibrations: From nearby appliances or foot traffic
Many beginners blame their microscope when the issue is actually environmental or maintenance-related. Try these quick fixes:
- Clean lenses with proper microfiber cloth (not your shirt!)
- Check for dust using a bright flashlight at an angle
- Ensure your microscope is on a stable surface
- Verify your light intensity matches your magnification level
How often should I check my collimator alignment?
Unlike complex instruments requiring daily calibration, microscope collimators typically need attention only when:
- You've moved your microscope to a new location
- You've changed objective lenses significantly
- You notice a sudden drop in image quality
- You're preparing for important observations or documentation
For most hobbyists, a quick monthly check is sufficient. Consider it part of your microscope's "wellness routine", just like oiling a bicycle chain keeps your ride smooth.
Your Path to Clearer Views Starts Now
Proper collimator alignment isn't about achieving laboratory perfection. It is about creating consistently clear viewing experiences that keep your curiosity alive. When you solve this fundamental issue, you're not just fixing blurry images; you're removing a barrier between you and those magical moments of discovery.
Remember that workshop where a child found tardigrades with minimal equipment? That moment wasn't accidental. It resulted from understanding basic optical principles and applying them with patience.
Start simple, learn fast. Your microscope already has the potential to reveal astonishing worlds. You have just unlocked the first step to seeing them clearly. As you practice these alignment techniques, you'll notice how each small adjustment compounds into dramatically better viewing experiences.
What will you discover when your microscope finally shows you what it's truly capable of? The journey from fuzzy to focused begins with that first careful adjustment, and the confidence that comes from knowing you've mastered an essential microscopy skill.
Related Articles