Microscope Illumination Controllers: Which Fits Your Budget
By Mei Lin • 10th May
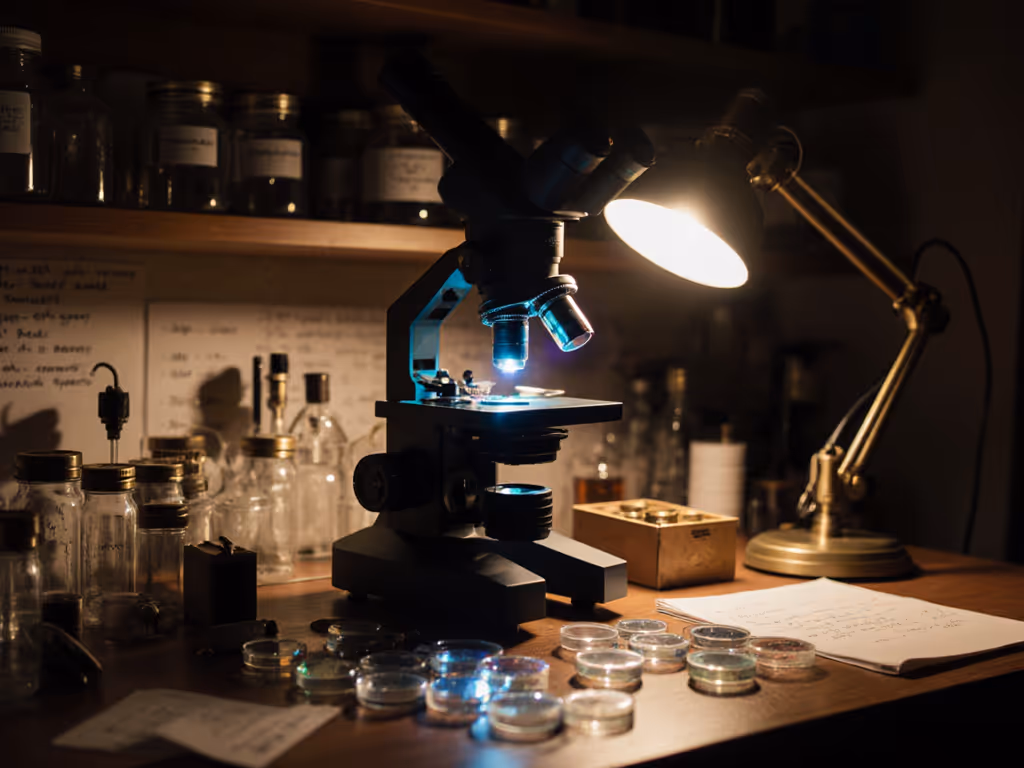
When you're deep into a long microscopy session (whether you're examining pond algae, botanical specimens, or mineral structures), the quality of your lighting becomes inseparable from your ability to observe and focus. Poor illumination doesn't just strain your eyes; it derails your workflow, forces you into awkward postures to compensate, and turns what should be absorbing discovery into frustrating squinting. This is why comparisons of microscope illumination controllers and light control systems matter far more than most hobbyists realize. To understand how source type affects control, see our microscope illumination guide comparing LED, halogen, and fluorescent setups. Your comfort is a performance spec, and the right illumination setup directly influences how long you can sustain focus and how effectively you can extract detail from your specimens.
Most people arrive at illumination controllers through frustration (after wrestling with harsh, flickering light or dealing with inconsistent brightness that makes documentation impossible). Yet the market presents a confusing array of options, from simple rheostat dimmers to sophisticated programmable LED systems. This FAQ Deep Dive translates that complexity into practical clarity so you can choose what genuinely fits your budget, workflow, and comfort needs.
Frequently Asked Questions About Microscope Illumination Controllers
What's the Actual Difference Between a Basic Dimmer and a Smart Illumination Controller?
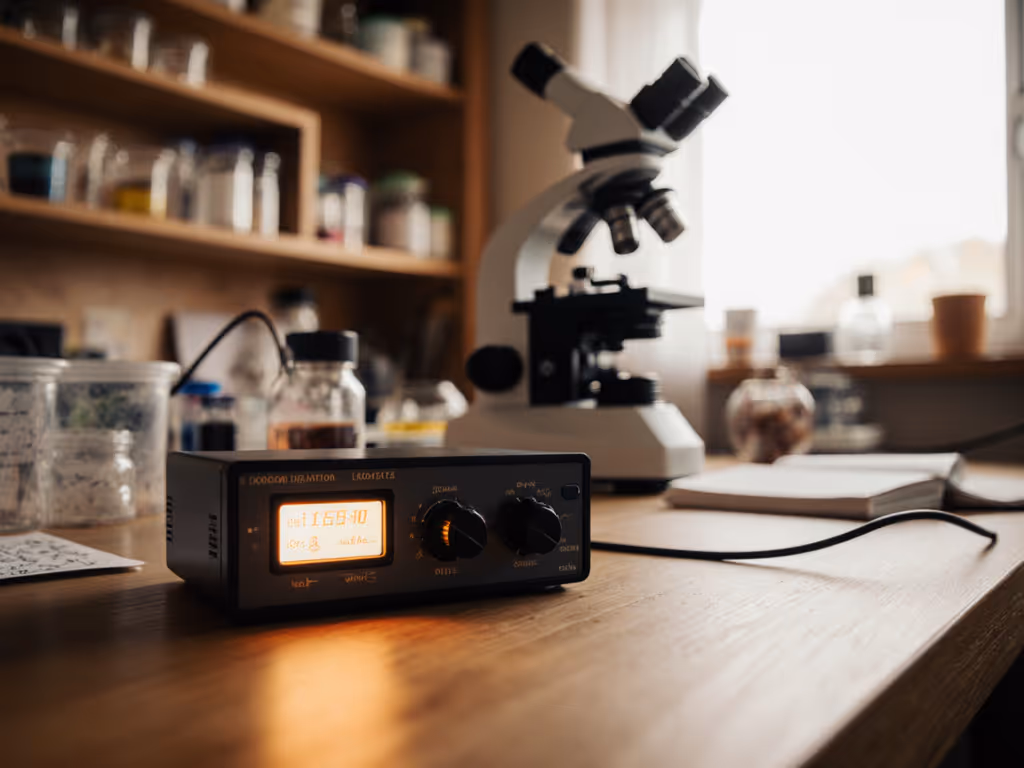
A basic rheostat or electronic dimmer does one job: it reduces or increases brightness across a fixed range. You turn a knob, the light gets brighter or dimmer. This approach is inexpensive and reliable, typically costing $20-50 for a stand-alone unit.
A smart or programmable illumination controller adds layers of control: stability testing features, the ability to lock in specific brightness levels, preset memory functions, and sometimes integration with documentation software. These systems often include LED brightness controllers that maintain consistent output even as the microscope runs for hours, preventing the gradual dimming or color shift that occurs with aging halogen bulbs. Premium models can cost $150-500 or more.
For casual observation, the basic dimmer suffices. If you're documenting findings, comparing specimens side-by-side over months, or running sessions longer than an hour, stability and precision become worth the investment.
Why Does Illumination Stability Matter for Long Sessions?
Illumination stability testing is a research-backed concern in microscopy documentation. When brightness drifts (even slightly), captured images from the beginning of your session don't match those from the end. This inconsistency complicates comparisons, confuses your eye, and forces you to make manual adjustments that interrupt your focus.
Here's where comfort intersects with performance: unstable lighting also triggers subtle squinting and eye tension as your pupils constantly readjust. After two hours, that accumulated strain compounds into fatigue and reduced observational accuracy. Programmable lighting systems eliminate this variable by holding brightness steady, which means your eyes settle into a steady state and your attention stays on the specimen, not the fluctuation.
Which Type of Light Source Plays Best With Controllers?
LED illumination is the clear winner for controllability. LEDs respond instantly to dimming signals, maintain color temperature across a wide brightness range, and produce minimal heat. They're also efficient, which matters if you're running multiple long sessions per week.
Halogen bulbs are dimmable but less stable and generate significant heat (a factor worth considering if your bench is in a warm room or if heat drift affects your comfort during long work). Older fiber-optic systems with halogen sources are also dimmable but expensive to retrofit. If you're deciding between shadow-rich fiber optics and uniform ring lights, our ring lights vs fiber optic comparison breaks down light quality, heat, and value.
Most modern home microscopy setups use LED illumination paired with electronic or programmable lighting systems for this reason. The combination is reliable, affordable to upgrade, and plays nicely with documentation workflows.
What Does "Programmable" Actually Mean for a Hobbyist?
Programmable features vary widely, but common capabilities include:
- Preset brightness levels: Store 3-5 custom brightness settings so you can recall them instantly without adjustment
- Auto-off timers: Protect your eyes by scheduling automatic shutdowns after extended sessions
- Color temperature adjustment: On premium systems, fine-tune warmth to reduce glare and eye strain
- Integration with imaging software: Some controllers sync with microscope cameras to standardize illumination across image capture sessions
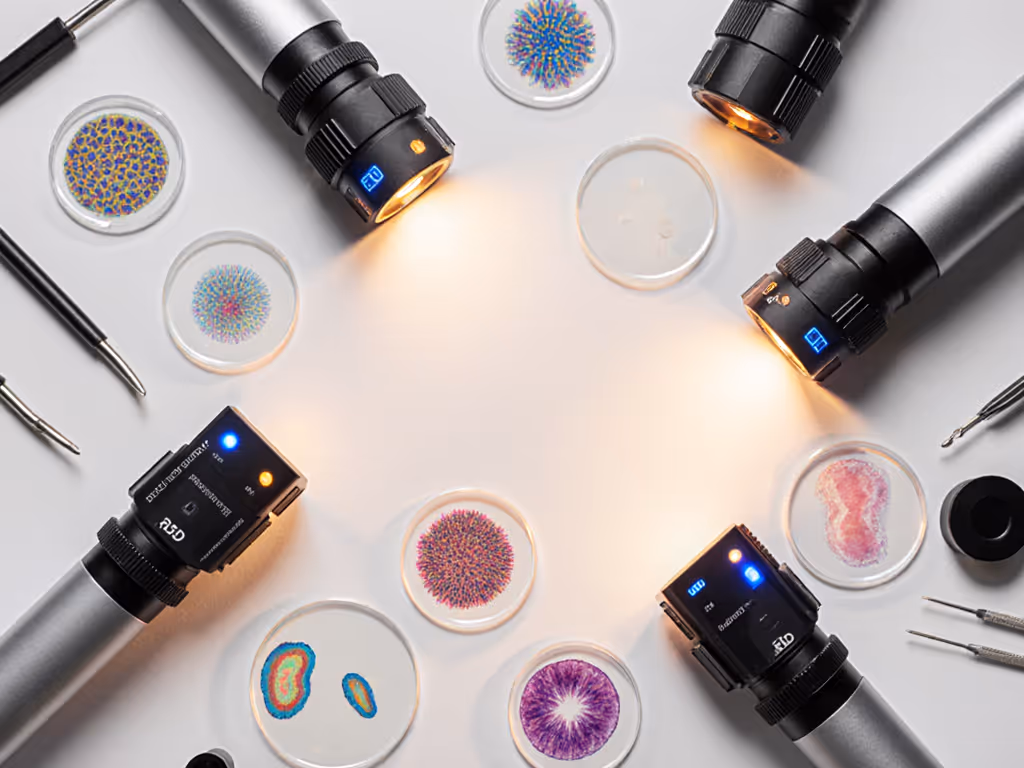
For most hobbyists, preset levels alone justify the upgrade. If you regularly switch between observing the same specimen types (say, blood cells one session, pollen the next), presets let you dial in your ideal lighting instantly rather than fiddling with a knob for five minutes.
How Do I Know if My Current Setup Can Accommodate a New Controller?
Compatibility hinges on three factors:
1. Light source type: Confirm whether your microscope uses LED, halogen, or fiber-optic illumination. Check your manual or contact the manufacturer. LED is the easiest to control electronically.
2. Voltage and connection type: Stand-alone controllers typically connect via standard AC power or USB (for portable LED ring lights). Many also come with universal connectors for aftermarket illumination heads.
3. Power requirements: A dimmer rated for 50W works fine for budget LED systems but will fail on high-output halogen bulbs. Check your current light source's wattage and match the controller's capacity.
Most modern microscope illuminators are designed for external control, so compatibility is rarely a dealbreaker. For brand-specific connector tips and adapter options, use our microscope accessory compatibility guide. If your microscope has a built-in light with no external connector, you'll need to replace the illumination unit entirely (a cost factor worth budgeting).
What Budget Range Should I Actually Plan For?
Here's a practical tier breakdown:
Under $50: Basic rotary dimmers or simple push-button LED switches. No presets, no stability guarantees, but adequate for occasional casual use.
$50-150: Mid-range electronic dimmers with stable voltage regulation and basic dimming across a smooth 0-100% range. This is the sweet spot for most hobbyists: reliable, affordable, and handles multi-hour sessions without drama.
$150-300: Controllers with preset memory, illumination stability testing features, and often software integration. These appeal to users who document regularly and value consistency.
$300+: Fully programmable systems with multiple presets, auto-off scheduling, optional color temperature adjustment, and premium build quality. Reserve this tier for serious long-term investment.
Your comfort shouldn't depend on premium pricing. A $75-120 mid-range controller typically delivers 85% of the performance you'll actually notice, with the remaining 15% applying only to specialized use cases.
How Does Microscopy Light Management Fit Into My Overall Bench Setup?
Lighting doesn't exist in isolation. Microscopy light management also involves:
- Bench positioning: Keep the microscope perpendicular to windows to minimize glare and ambient light interference
- Surrounding light levels: Dim your workspace slightly; this reduces pupil strain and makes controller adjustments more noticeable
- Glare reduction: Consider a matte backdrop behind the specimen stage to minimize reflection
- Distance and angle: Position the light source at a slight angle to your line of sight rather than head-on, which reduces reflective glare
These elements work in concert with your illumination controller. Dialing in Köhler illumination is the next step to maximize contrast and even field brightness with any controller. A good controller can't rescue a poorly positioned light source, but smart positioning amplifies a controller's effectiveness.
Comparison Framework: How to Evaluate Controllers for Your Needs
Analytical Checklist
When comparing specific models, run through this checklist:
- ☐ Brightness range: Can it dim smoothly from near-darkness to full output without flickering?
- ☐ Stability: Does brightness remain steady over 2+ hours, or does it drift?
- ☐ Compatibility: Will it physically connect to your microscope and power source?
- ☐ Noise: Does the unit emit audible hum or buzzing? (Important for long sessions)
- ☐ Heat output: Does it run warm? Excess heat affects nearby equipment and workspace comfort
- ☐ Response time: When you adjust brightness, is the change instantaneous or sluggish?
- ☐ Build quality: Are connectors solid, or do they feel loose? Will this last 5+ years?
- ☐ Warranty and support: Can you reach the manufacturer with questions?
- ☐ Price per feature: Divide the cost by the number of features that directly benefit your workflow
This data-driven approach prevents buyer's remorse. A $200 controller with four unused features is overspending; a $50 dimmer that causes eye strain defeats the purpose entirely.
The Ergonomic Reality
I once timed a documentation session that stretched into a full afternoon: brightness flickering, then stabilizing, then drifting again. I kept adjusting the light instead of focusing on the specimen. The images came back inconsistent, the session felt disjointed, and my neck was tense from leaning forward to compensate for poor visibility. A single upgrade to a stable LED controller transformed the next session: two hours felt like genuine discovery rather than frustration. Better lighting eliminated the urgency to rush, which ironically improved documentation quality.
This is the ergonomic truth: comfort is performance when the session runs long. A controller that maintains steady, flicker-free illumination removes one variable from your cognitive load, lets your posture relax because you're not straining to see, and extends your effective observation window by an hour or more.
Actionable Next Steps
Your Decision Path
Step 1: Identify your light source
- Check your microscope manual or write down the model number and light type
- Confirm whether it's LED, halogen, or fiber-optic
Step 2: Define your use pattern
- Casual observation (< 1 hour per session, irregular frequency) → Basic dimmer in the $20-50 range
- Regular documentation (1-3 hours per session, weekly use) → Mid-range controller, $75-150
- Serious long-form work (3+ hours, frequent presets needed) → Premium system, $150-300+
Step 3: Test for stability
- If shopping online, read user reviews specifically for mentions of "flicker", "drift", or "stable". These keywords reveal real-world performance
- If buying in person, ask the seller to demo the unit at low, medium, and high brightness for at least 5 minutes to observe for drift
Step 4: Check compatibility before checkout
- Confirm connector type and wattage capacity match your light source
- Verify return policy in case the physical connection doesn't fit
Step 5: Set realistic expectations
- A controller improves your workflow; it doesn't replace proper specimen preparation or focus technique
- Budget for a small learning curve. Most controls feel intuitive within one session, but it takes time to find your ideal brightness range
Going Forward
Your microscopy setup is a living system. You don't need the perfect illumination controller today; you need one that serves your current sessions without frustration. As your skills deepen and your documentation needs evolve, upgrading to a programmable system becomes a natural next step.
Start with honesty about your actual use pattern, match that to the mid-range tier, and commit to giving it three full sessions before deciding whether the investment paid off. Comfort isn't a luxury, it's the foundation on which genuine curiosity thrives.
Related Articles