Soil Analysis Microscopy: Hassle-Free Accessory Guide
By Omar Haddad • 2nd Dec
Ever wonder what's really happening beneath your garden's surface? Soil analysis microscopy reveals a hidden universe of microbes, minerals, and microstructures (all without a lab coat or Ph.D.). You don't need expensive agricultural microscopy accessories to start; the right beginner-friendly tools turn backyard dirt into a discovery zone. I've seen beginners light up when they spot fungal threads dancing under a $50 microscope, and that's why I'm here: to help you sidestep frustration and find wonder in the wait. Start simple, learn fast.
As a community educator, I've run dozens of workshops where adults and kids explore soil together. One of my favorite moments? Watching a nine-year-old's face when she spotted tardigrades (yes, water bears!) using a $2 pipette and patience, not fancy gear. That's the magic: when tools support curiosity instead of stealing the spotlight. Let's cut through the noise and focus on what actually works for beginners.
Why not just use my existing microscope?
I get it: your basic compound microscope gathers dust because soil feels "too gritty" for those fragile glass slides. Soil structure examination demands forgiving prep methods. Standard slides require perfect thin sections (like lab-grade geology samples), but beginners just need to see something without cursing at focus rings. Skip the complex resin-embedding kits. Instead, try a shallow-well slide. These $8 plastic trays hold loose soil samples like a tiny sandbox, so you're not fighting to keep specimens flat. No more crumbling samples or scratched lenses! Just sprinkle soil inside, add a drop of water, and cap it gently. You'll avoid the #1 pain point: blurry images from uneven specimens. Plus, well slides survive kid handling and accidental knocks (unlike fragile glass).
Remember: Clear images start with stable specimens, not max magnification. A shaky 100x view is useless; a crisp 40x reveals microbes and pore networks.
What's the one accessory worth buying first?
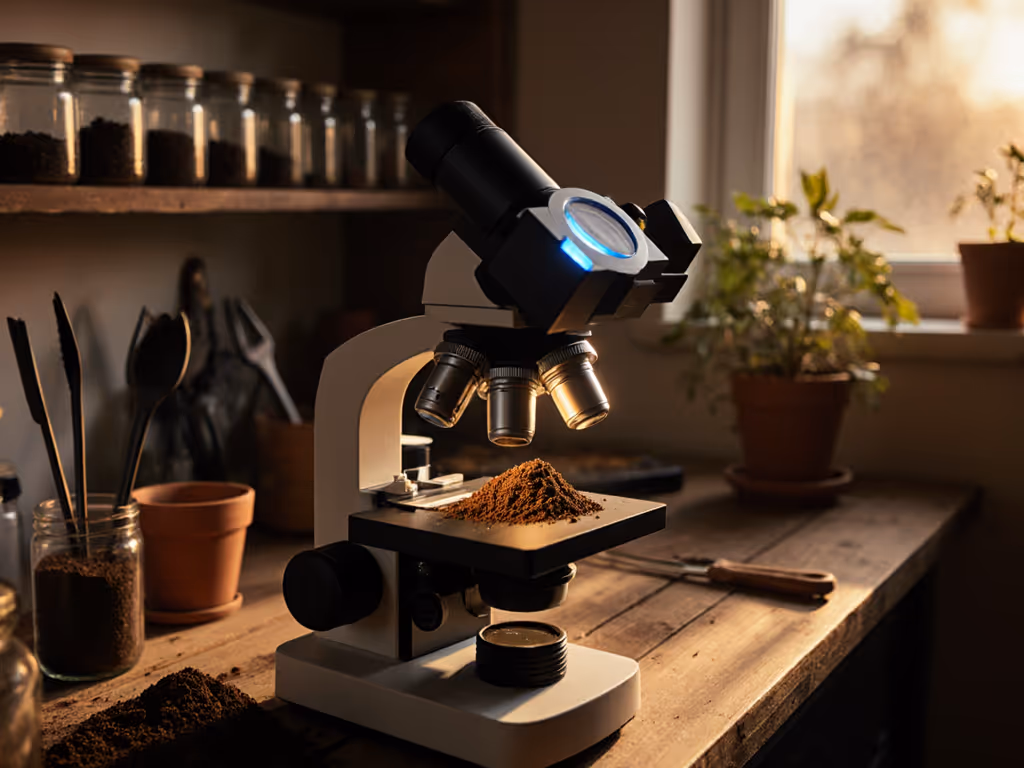
Stereo microscopes (not your biology scope!) are the secret weapon for soil health assessment. They work like magnified 3D goggles, letting you scan whole soil clumps at 10x-40x. Why? Soil isn't flat, it's a 3D city of roots, rocks, and critters. Stereo scopes handle depth like a champ, while compound scopes flatten everything into a 2D slide (which requires perfect prep, not beginner-friendly). Pair it with a daylight LED ring ($15-$25). Cheap clip lights create harsh shadows that hide details, but even lighting makes pore shapes and insect fragments pop. I've had students spot springtails and fungal hyphae instantly with this combo, before touching the focus knob. Bonus: Stereo scopes double as bug/dissection tools, so you're never "stuck" with niche gear.
How do I actually identify what I'm seeing?
Drop the pressure to name every blob! Soil microorganism identification feels overwhelming when you're staring at a twitching speck. Start with categories, not species:
- White threads? Likely fungal hyphae (good for soil health!)
- Tiny moving commas? Nematodes (neutral or beneficial)
- Shiny fragments? Mica or quartz sand
Grab a free soil ID chart from orgs like NRCS or Rodale Institute. Print it and stick it next to your scope. Gentle pro tip: Skip "staining" kits (they're messy and require precise timing). Instead, use a pastille (a pea-sized soil lump moistened with water and squished under a coverslip). For step-by-step prep, follow our wet mount guide. Wait 20 minutes for microbes to emerge. As one workshop participant said: "I stopped guessing pH and started seeing soil life." That's repeatable wonder in action.
Will this replace lab tests?
Environmental soil microscopy won't give you exact nitrogen levels, but nothing in your hobby budget will. Labs use centrifuges and spectroscopy (see Methods of Soil Analysis textbooks). Your goal? Confidence in trends, not lab-grade data. Track changes: after adding compost, does fungal webbing increase? Do pore spaces look more connected? That visual proof tells you if your regenerative practices are working. Pair microscopy with a $30 soil moisture/pH meter for basic chem readings. Now you've got context: "My pH is 6.5, AND I see active microbes" is a powerful combo for soil health assessment.
Three foolproof habits for success
- Scan like a pro: Move your slide slowly in straight lines (S-patterns). Beginners miss 70% of details by racing around!
- Label everything: "South garden, Day 1 compost" beats "Sample 3".
- Start coarse: Always begin at lowest magnification (10x) to "map" your sample before zooming in.
These scaffolded steps prevent overwhelm. One gardener told me: "I stopped chasing tardigrades and started noticing earthworm casts. Now I understand soil texture!"
Why this matters more than you think
Soil isn't just dirt, it's a living filter, carbon vault, and nutrient factory. When you see how microbes glue soil particles into aggregates, you'll never over-till again. That moment when a student whispers, "Oh, that's why we need worm castings..." (that's when curiosity becomes skill). Small wins today grow into tomorrow's confident discoveries. You're not just hobbying; you're building intuition for a healthier planet.
Ready to dig deeper?
Take a photo of your first observation, especially if it's blurry! Use these microscope photography tips to avoid blur and capture clear soil images. Share it in the Beginner Soil Sleuths Facebook group. Someone will cheer you on (and fix your focus!). Every expert was once a beginner staring at mud. Start simple, learn fast. Your soil's story is waiting.
Related Articles