Textile Microscopy Accessories: Essential Fabric Analysis Tools
By Mei Lin • 12th Jan
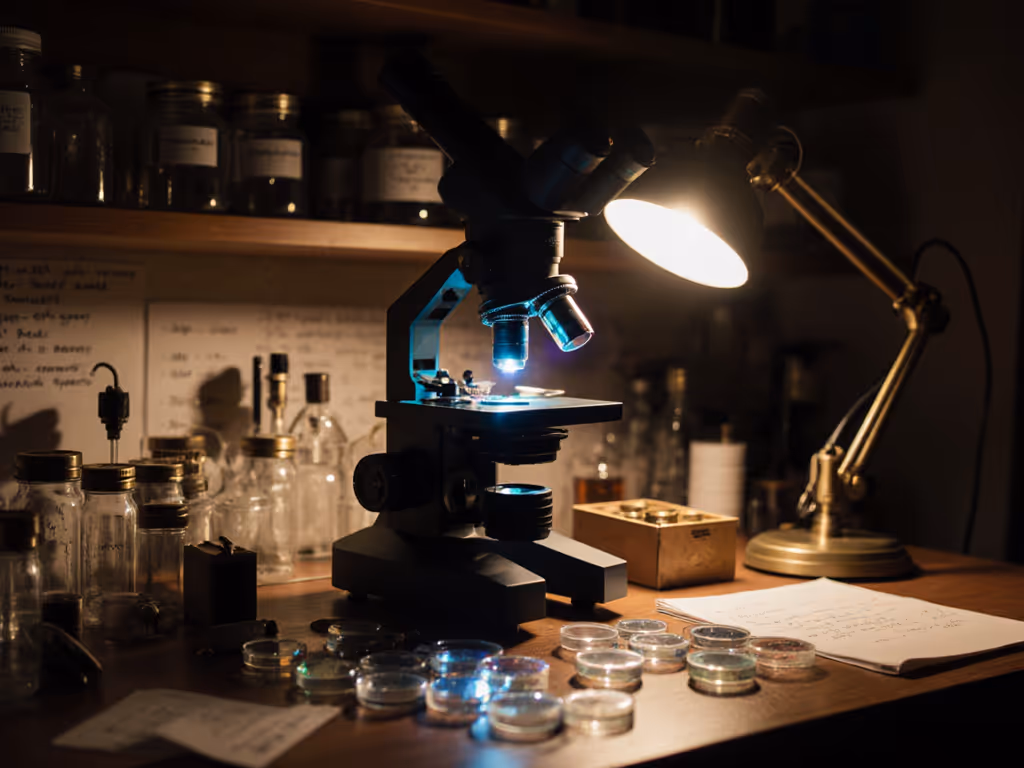
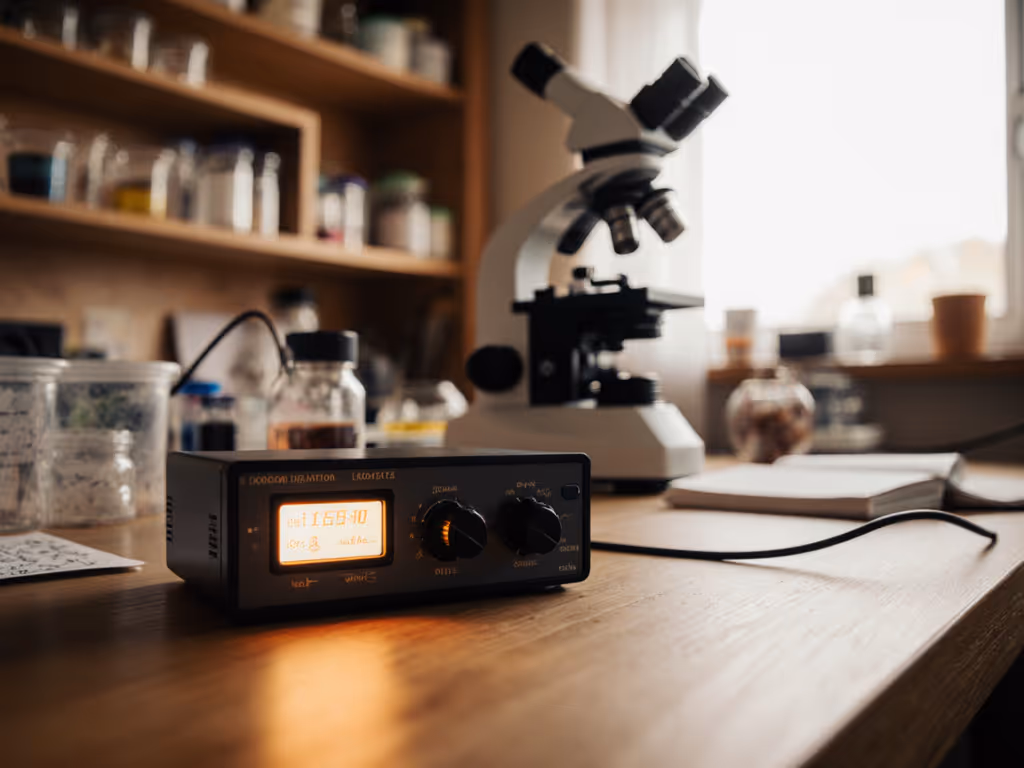
If you've ever struggled to distinguish between linen and cotton under your microscope, or found yourself frustrated by glare obscuring delicate weave patterns, you're not alone. Proper textile microscopy accessories transform these challenges into breakthroughs, turning your basic microscope into a precise fabric analysis toolset. Whether you're a textile artist, hobbyist researcher, or small-scale producer, the right accessories do not just enhance what you see; they redefine what you can discover in every fiber. Your comfort is a performance spec, especially when examining the intricate details of textile structures for extended periods.
Why Textile Microscopy Needs Specialized Accessories (Not Just Magnification)
"Why can't I just use my standard microscope setup for textiles?" This question comes up frequently in online microscopy forums I follow. The reality is that fabric samples present unique challenges that require thoughtful accessories:
- Textiles often have reflective surfaces that create glare with standard lighting
- Fibers may be translucent or semi-transparent, requiring specialized illumination
- Weave patterns need both macro (lower mag) and micro (higher mag) examination
- Sample preparation differs significantly from biological specimens
As noted in textile microscopy research, "Developments in equipment must address how we prepare, handle, illuminate and measure textile specimens" (University of Arizona study on newer developments in textile microscopy). Standard microscope configurations simply do not account for these specific needs.
Essential Textile Microscopy Accessories: A Practical Guide
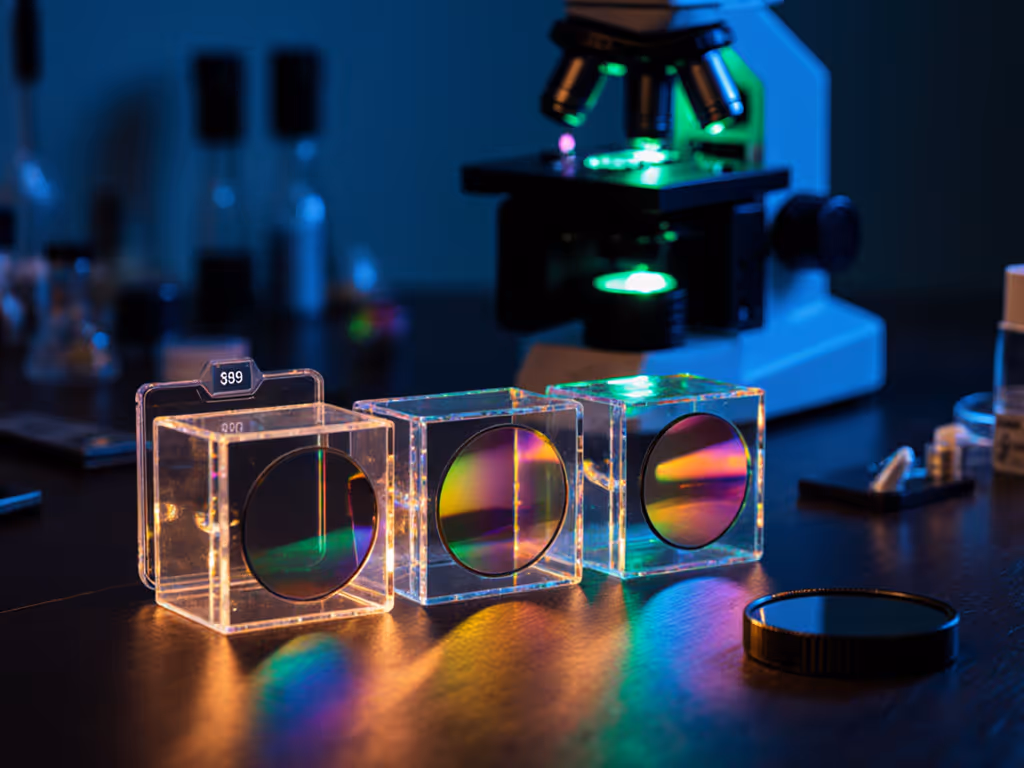
What lighting solutions work best for fiber identification?
Proper illumination is non-negotiable for accurate fiber identification. For directional lighting on textured fabrics, see our ring lights vs fiber optic comparison. Textile fibers, especially synthetics, create challenging reflections that standard microscope lighting cannot handle.
Your checklist for lighting solutions:
- Ring lights with adjustable intensity (prevents shadowing on 3D fabric surfaces)
- Polarizing filters (critical for distinguishing cellulose fibers from synthetics)
- Fiber optic illuminators with flexible arms (for directional lighting)
- Transmitted light capability (for examining fiber cross-sections)
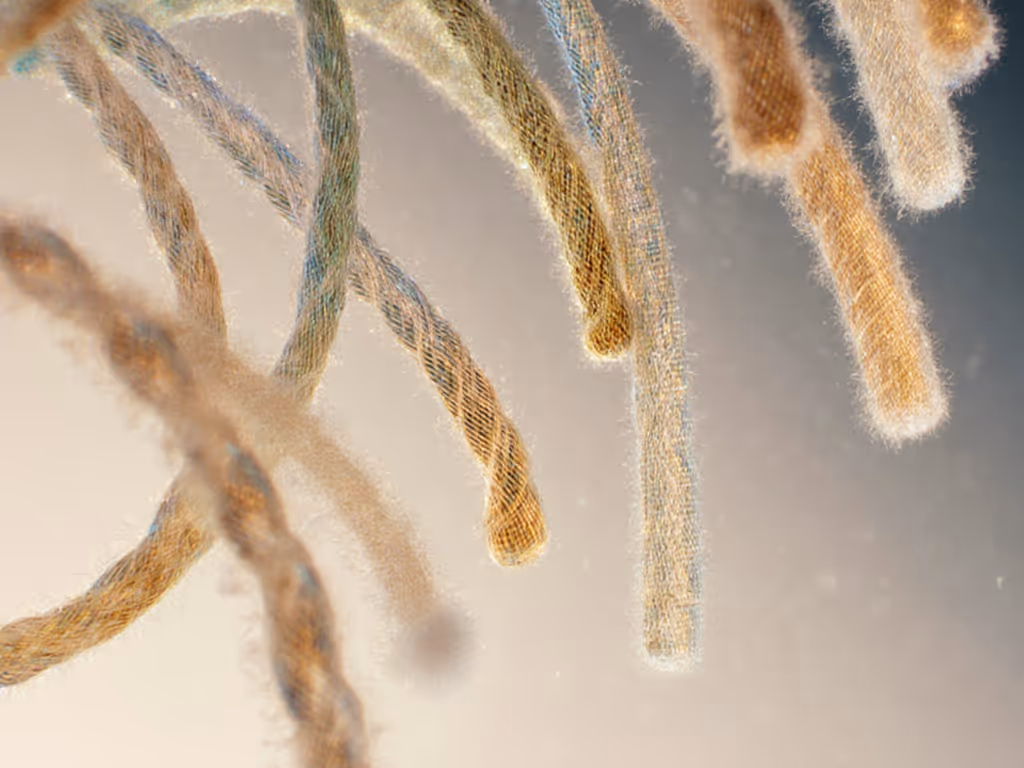
Polarizing microscopy proves particularly valuable, and research confirms it is "a quick method to identify textiles such as painting canvases" for distinguishing between cotton, hemp, and wool. The interplay between polarized light and fiber structure creates distinctive patterns that serve as identification markers.
Your comfort is a performance spec. When glare forces you to squint or constantly adjust your position, you're not just uncomfortable; you are missing critical details in the weave.
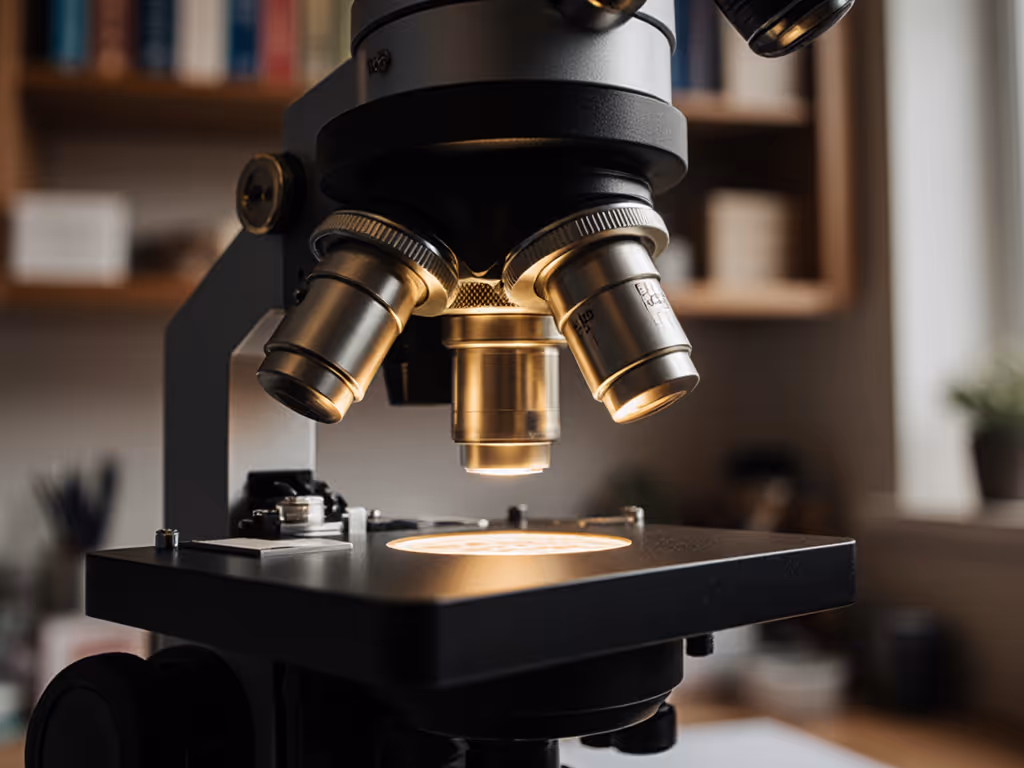
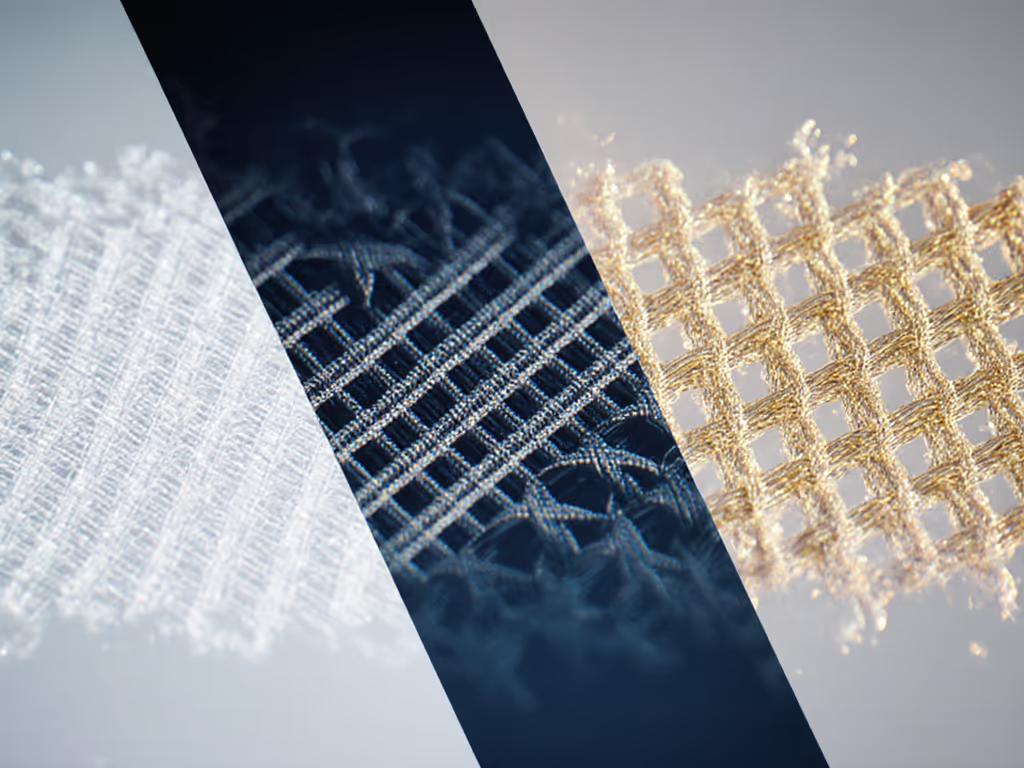
What magnification tools deliver optimal weave pattern analysis?
"I need to see both the overall weave structure and individual fibers" is the most common request I hear from textile hobbyists. The solution lies in strategic weave pattern analysis capabilities.
Recommended magnification setup:
- Stereo microscope with 0.7x-4.5x zoom range (for overall fabric structure)
- Compound microscope with 40x-400x capability (for fiber-level examination)
- Dual camera system (one for macro shots, one for micro)
- Calibrated ocular micrometers for precise measurements
Many textile researchers use this dual-system approach: examining weave patterns at 10-40x while switching to 100-400x for fiber diameter measurements. Remember that "measuring range" for fiber analysis typically spans 0-200μm with precision down to 0.1μm, as noted in industry specifications for professional textile analysis equipment. For step-by-step tools and techniques, see our microscope measurement tools.
What accessories improve textile quality control?
Professional textile labs use specialized tools for textile quality control that hobbyists can adapt for home use. These focus on detecting defects that standard examination might miss.
Critical quality control accessories:
- Precision stage with fine movement controls (to methodically scan fabric areas)
- Image capture and comparison software (to document and compare samples over time)
- Standard fiber reference samples (for accurate comparisons)
- Calipers for measuring thread count consistency
During a quality control session, I once timed how long it took to identify pilling points on a fabric sample. With proper accessories, the process was 70% faster than my previous ad hoc approach. Gentle pacing with the right tools transforms what feels like tedious work into satisfying discovery.
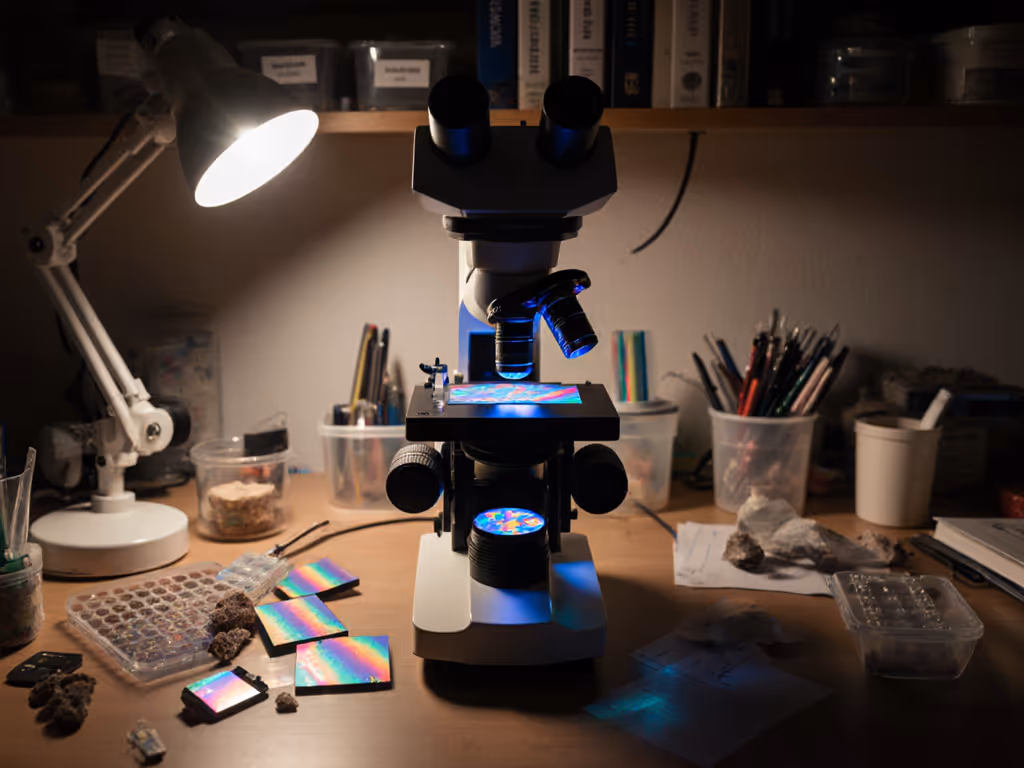
How can I improve fabric magnification without breaking the bank?
Budget constraints should not prevent meaningful fabric magnification. Many affordable solutions deliver professional results.
Cost-effective magnification solutions:
- Phone adapter mounts (for documenting findings with your smartphone)
- Digital eyepieces (convert optical images to digital without expensive cameras)
- DIY fiber mounting techniques (using household items)
- Open-source image analysis software (like ImageJ for fiber diameter measurements)
The sweet spot for most hobbyist textile work is a stereo microscope with 6.7x-45x zoom range, sufficient for examining weave structures while allowing close inspection of fiber details. Do not overlook dual illumination systems (incident and transmitted light) as they dramatically expand what you can examine.
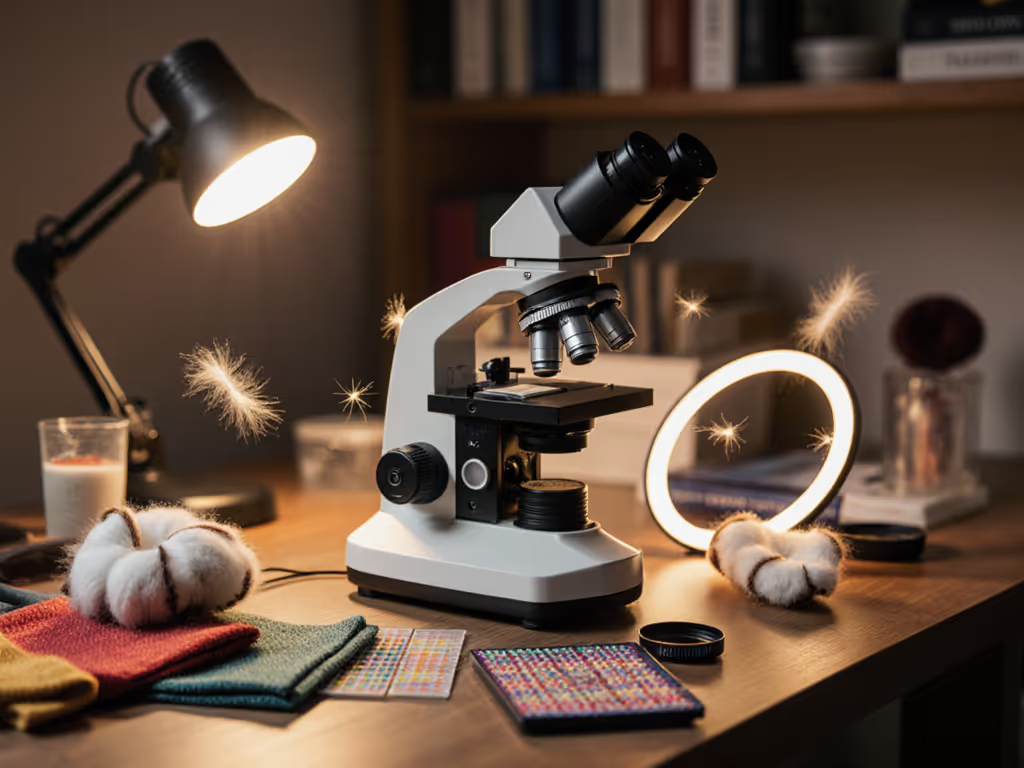
Ergonomic Considerations for Long Textile Examination Sessions
This is where my background in lighting ergonomics becomes crucial. Textile work demands sustained focus on fine details, a challenge that quickly becomes uncomfortable without proper setup. For setup ideas that reduce strain, explore our ergonomic microscope accessories.
Textile-specific ergonomic checklist:
- Adjustable-height observation tube (reduces neck strain during detailed weave examination)
- Polarizing filter holder at eye level (minimizes awkward head positioning)
- Fabric sample stage with gentle clamping mechanism (prevents hand fatigue)
- Ambient room lighting that complements (not competes with) microscope illumination
I recall a session photographing pond algae: two hours felt like twenty minutes after I raised the scope, softened glare, and added a wrist rest. The images improved because I was not rushing or squinting. That afternoon reframed ergonomics for me; comfort is not indulgence, it is throughput and joy. When examining complex textile structures, your physical comfort directly impacts your ability to notice subtle differences between fiber types.
Documenting Your Textile Findings: Essential Tools
"How do I share what I'm seeing?" is a frequent question. Documentation transforms personal discovery into shared knowledge.
Documentation essentials:
- Color calibration tools (textile work requires accurate color representation)
- Scale bar generator (for precise measurements in images)
- Comparative imaging software (to overlay different magnification levels)
- Annotation tools for highlighting specific fiber characteristics
Do not underestimate the value of proper documentation, it elevates your textile microscopy from casual observation to meaningful analysis. Many online textile communities now accept detailed microscopic documentation as evidence in fiber identification discussions.
Frequently Asked Questions: Textile Microscopy Accessories
What's the most overlooked accessory for textile work?
Without question, polarizing filters. Many textile hobbyists start with standard lighting and struggle to differentiate between natural and synthetic fibers. A polarizing filter set (both on the illumination path and as an analyzer) provides immediate visual cues that simplify fiber identification. This is particularly valuable for historical textiles where fiber composition affects preservation approaches.
How do I choose between stereo and compound microscopes for textiles?
Your primary work determines this choice. For examining overall weave patterns, surface textures, and fabric construction, stereo microscopes (with their 3D view) are essential. For analyzing individual fibers, cross-sections, and microscopic details, compound microscopes are necessary. Many serious textile enthusiasts eventually acquire both, but starting with a quality stereo microscope provides the most immediate value for general textile work.
How can I improve contrast with translucent fibers?
This is where specialized lighting becomes critical. If you're weighing contrast methods, our phase contrast vs darkfield comparison explains when each excels for translucent fibers. Try these approaches:
- Use darkfield illumination to make translucent fibers stand out against a dark background
- Apply slight oblique lighting to highlight surface texture
- Employ Rheinberg illumination for color contrast in transparent fibers
- Adjust the numerical aperture for optimal fiber detail
What's the most common setup mistake textile hobbyists make?
Overlooking ergonomics. Many enthusiasts position their microscope on a standard desk without considering viewing height, forcing them to hunch over their work. This not only causes discomfort but reduces observation time and detail recognition. Remember: comfort is performance when the session runs long.
Taking Your Textile Microscopy to the Next Level
As you expand your textile microscopy capabilities, focus on accessories that solve your specific challenges rather than collecting gear for its own sake. Start with lighting solutions that eliminate glare and improve fiber contrast, then consider documentation tools that let you share your discoveries.
Your next step: Identify one specific challenge in your current textile examination process, perhaps difficulty distinguishing fiber types or documenting weave patterns, and select one accessory that directly addresses it. This targeted approach delivers more meaningful results than acquiring equipment without purpose.
When you equip your microscope with thoughtful textile microscopy accessories, you're not just buying tools; you are investing in clearer insights, more accurate fabric analysis tools, and, ultimately, the joy of discovery that drew you to textile microscopy in the first place. Your comfort is a performance spec, and every thoughtful accessory addition makes your exploration more sustainable, precise, and rewarding.
Related Articles