Phase Contrast vs Darkfield: Pick Best for Biological Visualization
By Diego Silva • 4th Dec
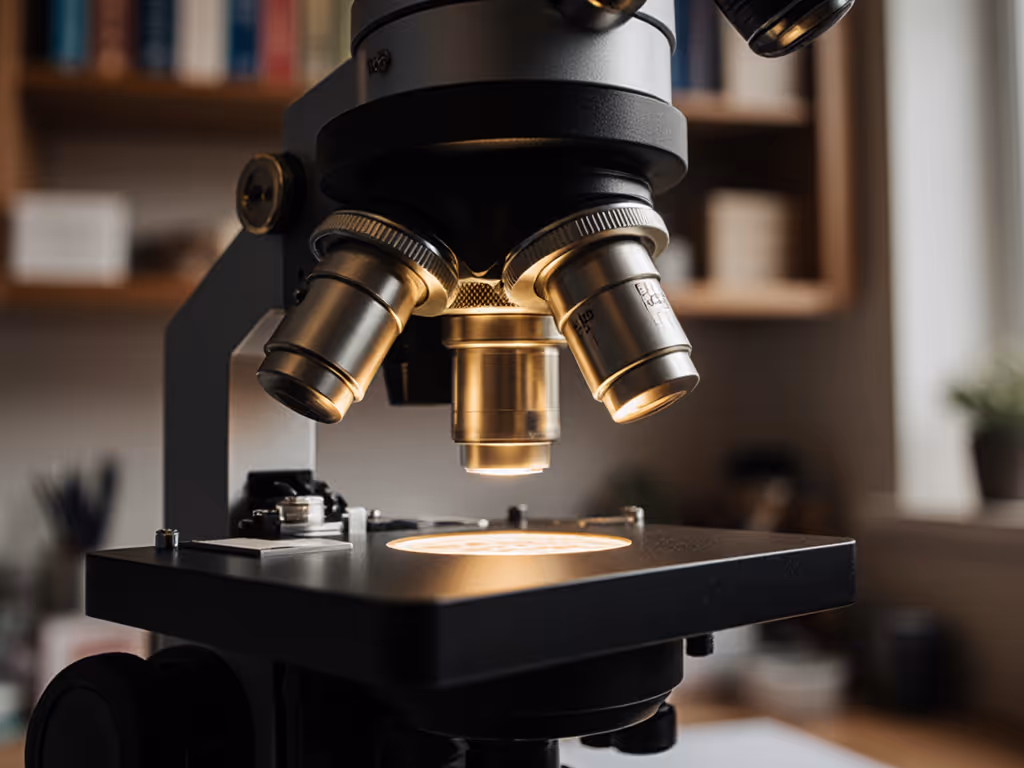
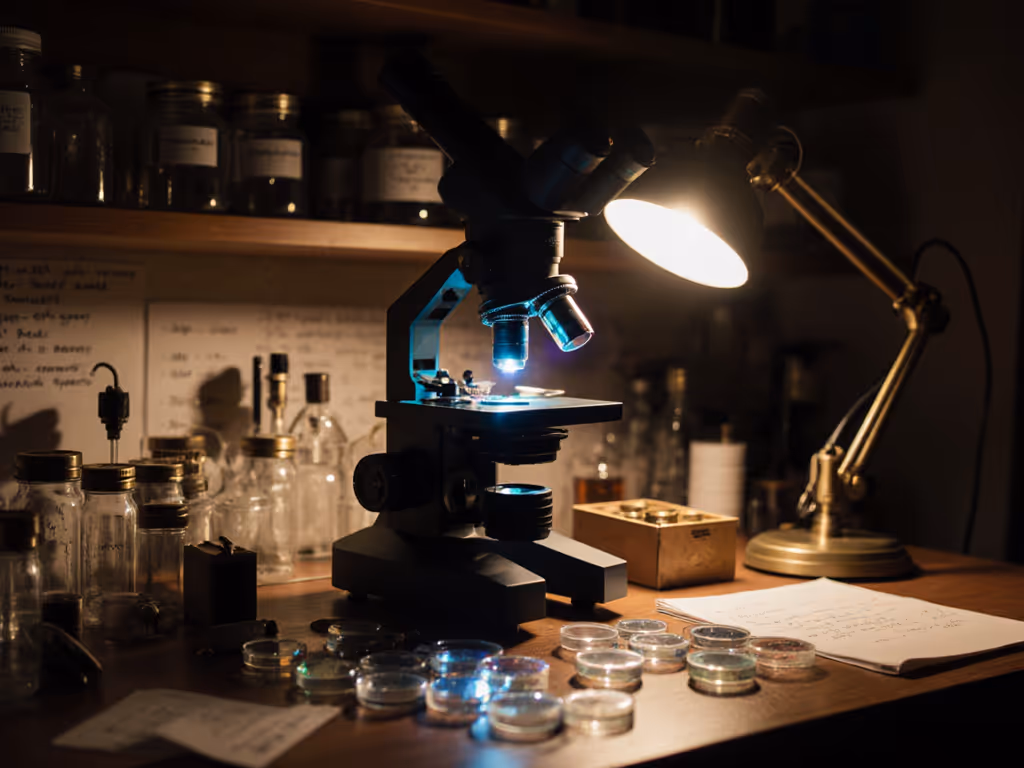
Choosing between phase contrast vs darkfield microscopy can make or break your biological sample visualization. When you're peering at unstained specimens through your microscope, the difference between seeing mere shadows and revealing intricate cellular details comes down to selecting the right microscopy contrast techniques. As a maker who's built countless microscope add-ons from thrift store finds, I've learned that understanding these optical methods isn't just academic, it's practical knowledge that transforms your observations from frustrating to fascinating.
Why Standard Microscopy Fails for Living Specimens
Most hobbyists start with basic brightfield microscopy, only to be disappointed when trying to observe unstained biological samples. Without pigment or staining, many specimens become nearly invisible against the bright background, like trying to see a clear soap bubble against a white wall. This is where specialized microscopy techniques become essential. To improve visibility even before contrast mods, understand your microscope illumination options and how LED vs halogen affects contrast.
When I first encountered this problem years ago, I needed oblique lighting but only had twenty dollars. I raided a recycle bin, printed a clip-on diffuser, and soldered a buck driver to thrift LEDs. The result wasn't pretty, but detail popped and heat dropped. That project convinced me: smart DIY unlocks serious microscopy without serious cash.
The Core Challenge: Making the Invisible Visible
The fundamental issue lies in how light interacts with biological specimens. Most living cells are transparent with similar refractive indices to their surroundings. Traditional microscopy relies on light absorption, but living cells don't absorb much visible light, they primarily cause phase shifts in light waves passing through them.
This is where your microscope's limitations become painfully apparent. Without proper contrast enhancement:
- Cell boundaries disappear into the background
- Organelles remain invisible without staining
- You waste time and energy chasing details that simply aren't there
- The satisfying "aha!" moment of discovery never comes
The frustration of seeing nothing but a grey smear while knowing there's a whole microscopic world waiting to be discovered is real. Many enthusiasts abandon promising projects simply because they don't have the right contrast technique for their specimen.
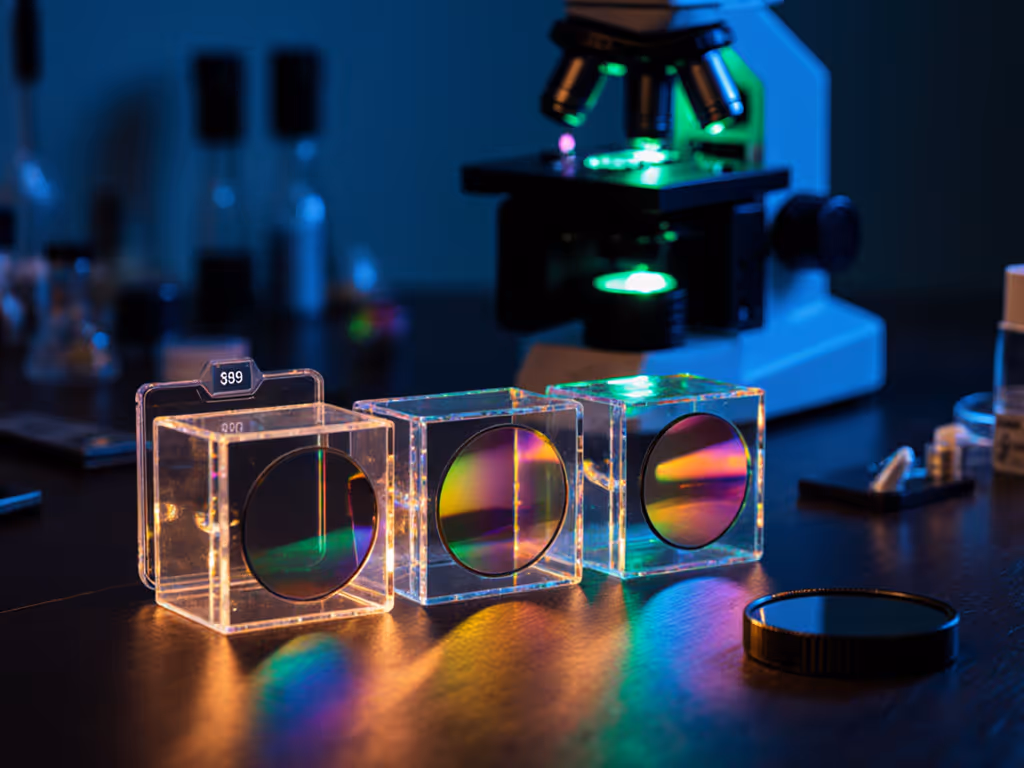
Phase Contrast Microscopy: The Workhorse for Living Cells
Phase contrast converts minute phase shifts in light passing through transparent specimens into visible differences in contrast. It's particularly valuable for biological sample visualization where staining would kill the specimen.
How It Works
Phase contrast microscopy uses optical tricks to translate phase shifts (invisible to our eyes) into grey values:
- An annular ring in the condenser creates a hollow cone of illumination
- This light passes through the specimen, with some rays refracted by cellular structures
- A phase ring in the objective's back focal plane creates a 1/4 wavelength shift
- When refracted and unrefracted light waves meet, they interfere to create contrast Proper condenser alignment is crucial—see our condenser light control guide for consistent phase contrast.
Practical Applications
Phase contrast shines with:
- Cultured living cells (especially mammalian cells)
- Unstained bacterial colonies
- Internal cellular structures like nuclei and mitochondria
- Low-contrast water organisms like amoebas
Godox V100N TTL Nikon Speedlite
Powerful, versatile flash with intuitive touchscreen for Nikon cameras.
$296
Max Power100Ws
Max Power100Ws
Pros
High 100Ws power for professional results.
Intuitive touchscreen control for easy adjustments.
Cons
Red plastic ring is removable, requires careful handling.
Customers find the camera flash to be amazing and easy to use.
Customers find the camera flash to be amazing and easy to use.
Cost Considerations for Hobbyists
Purchasing a commercial phase contrast microscope can cost thousands, but you don't need to break the bank:
- DIY conversion kits: $50-$150 for basic phase rings and condenser inserts
- 3D-printed adapters: $5-$20 in filament for custom mounts
- Smart component reuse: Salvage parts from broken optical devices
Safety note: Always verify compatibility with your microscope's optical path before installing any modifications.
Limitations to Consider
While phase contrast is incredibly useful, it's not perfect:
- Creates "halos" around cellular structures (optical artifacts)
- Less effective for thick specimens where phase shifts occur outside the focal plane
- Requires proper alignment that can frustrate beginners
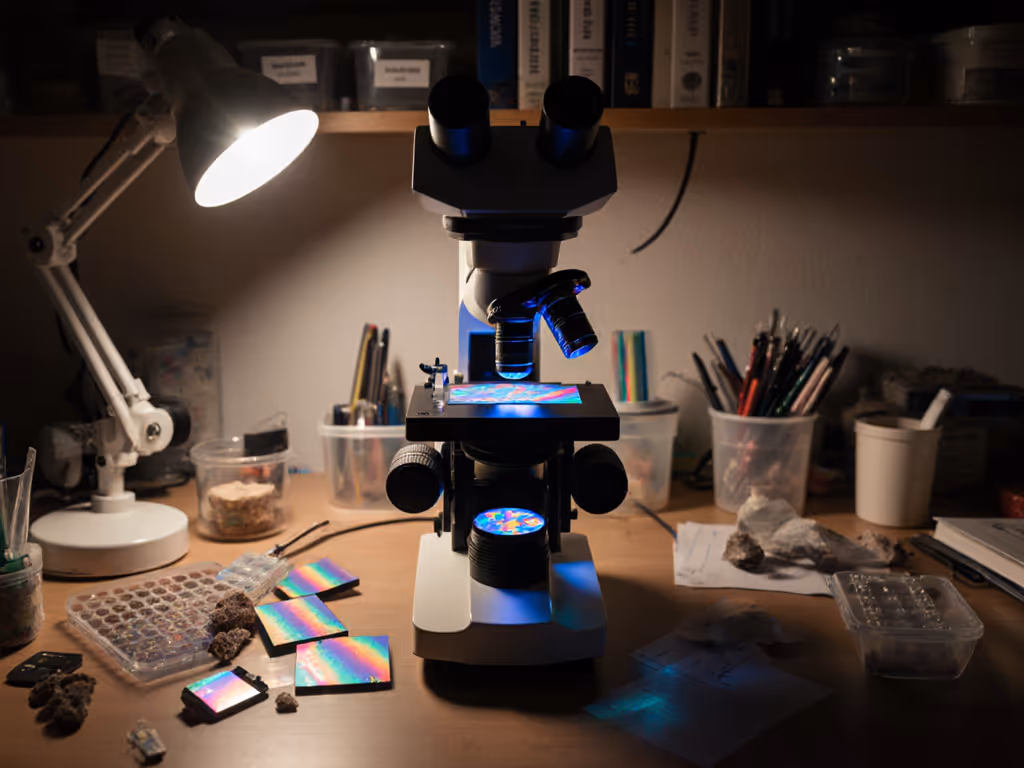
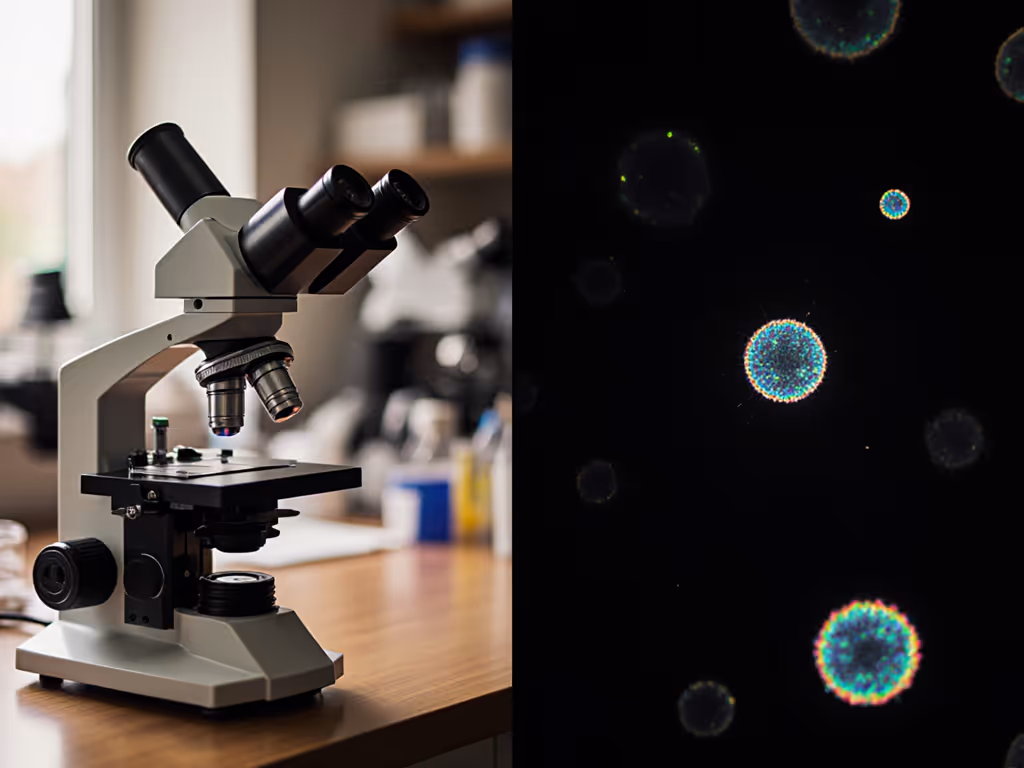
Darkfield Microscopy: The Specialist for Outline Detail
Darkfield microscopy takes a different approach, illuminating specimens with oblique light so that only scattered light enters the objective. This creates a dramatic effect where specimens appear brightly lit against a dark background.
How It Works
In darkfield microscopy:
- Direct illumination is blocked by a central stop in the condenser
- Only oblique light rays hit the specimen
- Specimens scatter light toward the objective
- Background remains dark while specimen features glow
Practical Applications
Darkfield excels with:
- Outline visualization of single cells (sperm, Chlamydomonas)
- Sub-resolution features as small as 25 nm
- Low-magnification survey of unstained specimens
- Specimens that strongly scatter light
Cost Considerations for Hobbyists
Implementing darkfield can be remarkably affordable: For choosing oblique illumination hardware, compare ring lights vs fiber optic and their shadow effects.
- Simple stop method: Black paint on glass slide ($2)
- Modified LED ring lights: $15-$40 for adjustable angle
- 3D-printed condenser adapters: $10-$30 for precision alignment
Cost breakdown for basic darkfield setup:
| Component | DIY Cost | Commercial Equivalent |
|---|---|---|
| Central stop | $1.50 | $75+ |
| Alignment adapter | $8.00 | $120+ |
| Light source modification | $5.00 | $200+ |
| Total | $14.50 | $395+ |
Limitations to Consider
Darkfield has specific constraints:
- Requires very bright light sources for good images
- Sensitive to dust and debris (everything scatters light)
- Limited applications for high-magnification cellular detail
- Reduced resolution compared to other techniques
Comparing the Techniques: When to Use Which
The choice between phase contrast vs darkfield depends on your specific needs and specimen type. Consider these factors:
Specimen Characteristics
-
Use phase contrast when: Observing living cells with internal structures, studying cellular dynamics, or working with specimens that have subtle refractive index differences
-
Use darkfield when: Examining surface features, observing outline details of single cells, or detecting sub-resolution features
Sample Preparation Differences
Phase contrast requires minimal preparation (often just a wet mount). If you're new to aqueous specimens, follow our wet mount preparation guide for crisp, bubble-free slides. Darkfield is more sensitive to debris, requiring cleaner slides and more careful preparation. If you're working with pond water samples, expect more false positives with darkfield from floating particles.
Pro tip: When budget is tight, start with darkfield, it's cheaper to implement and helps decide if you need the more expensive phase contrast capabilities.
Making the Right Choice for Your Biological Visualization
After building dozens of microscope enhancements for community labs, I've developed a simple decision framework:
- Define your specimen type: Are you studying internal cellular structures (phase contrast) or surface outlines (darkfield)?
- Consider your budget: Darkfield offers impressive results with minimal investment
- Evaluate your existing equipment: Many microscopes can be converted for either technique
- Test with simple setups: Create temporary darkfield with a central stop before committing to permanent modifications
Hybrid Approach: The Best of Both Worlds
For serious hobbyists, consider implementing both techniques with a single microscope:
- Start with a basic darkfield setup using a central stop
- Add phase contrast rings to your condenser later
- Use the Godox V100 for Nikon mentioned earlier as a versatile light source that can serve both techniques with proper diffusion
The Godox V100 offers adjustable intensity and diffusibility that works beautifully for both contrast techniques. Its 100W output provides ample light for darkfield requirements while its adjustable settings allow precise control for phase contrast observation. The detachable sub flash feature even enables creative lighting angles that could benefit specialized microscopy applications.
Final Recommendations for Microscopy Enthusiasts
Choosing between phase contrast vs darkfield isn't about finding the "best" technique, it's about matching your contrast method to your specific biological sample visualization needs. Remember my core principle: Ingenuity beats price tags when the build is safe and testable.
For most beginners, I recommend starting with darkfield. It's the most affordable way to see dramatic improvements in contrast without significant investment. Build what you need, spend where it counts most. A simple central stop costs pennies but can transform your observation experience.
If you're working with cultured living cells or need to see internal structures, phase contrast becomes worth the extra investment. Instead, explore open-source designs and community-tested modifications first before buying expensive proprietary systems.
Most importantly, remember my maker mantra: If it breaks, we learn. Every failed attempt teaches you more about how light interacts with your specimens and how to optimize your setup.
Further Exploration
Ready to take your microscopy to the next level? Consider these next steps: If you plan to capture images, our microscope photography guide covers lighting, camera settings, and stabilization.
- Experiment with DIY phase contrast using open-source ring designs
- Try combining darkfield illumination with smartphone microscopy
- Join online maker communities sharing 3D-printed microscope adapter designs
- Document your experiments with consistent lighting (the Godox V100's adjustable settings help maintain consistency)
The world of microscopic biology awaits, not behind a paywall, but within your grasp with the right contrast technique. Choose wisely based on your specimen needs, and remember that the most expensive solution isn't always the best solution for your specific exploration goals.
Related Articles