Budget-Friendly Histology Microscope Accessories Guide
By Diego Silva • 18th Oct
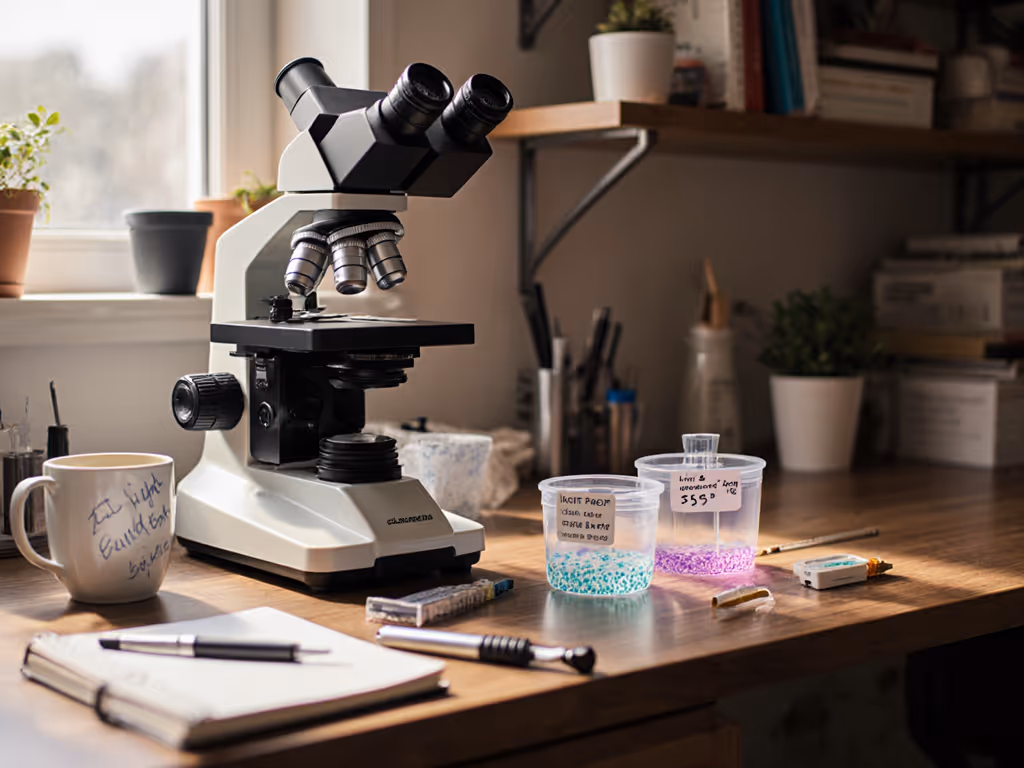
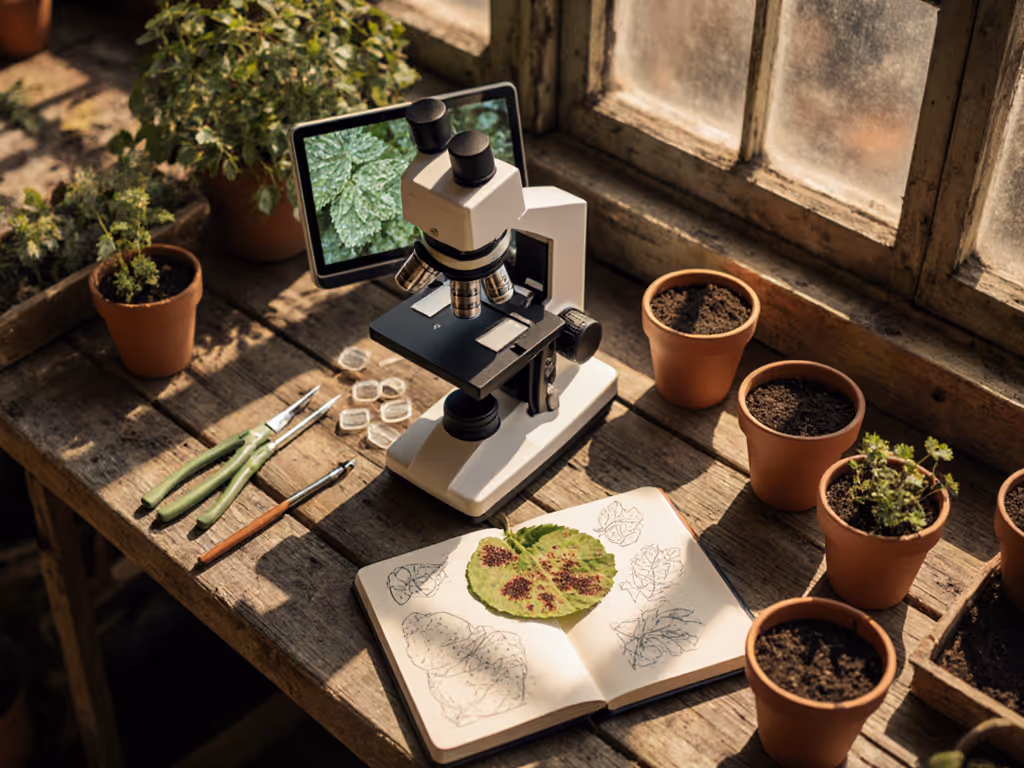
Your histology microscope doesn't need expensive upgrades to deliver professional-grade tissue section analysis. Years ago, I needed oblique lighting on a $20 budget, so raiding a recycle bin led to a printed clip-on diffuser and thrifted LEDs. That project proved smart DIY unlocks serious microscopy without serious cash. This guide explores verified budget pathways to elevate your histopathology equipment while keeping ingenuity front and center. Build, test, iterate, that's how we stretch capability without breaking budgets. Here's how to enhance your medical microscopy workflow affordably.
Essential Microscope Upgrades Under $100
Target these core components first to resolve blurry images and magnification limits. From my bench tests, three upgrades deliver 90% of quality gains:
- Condenser Focus Knob: Sharpens light focus; add fine-adjust gears ($25-$60) for high-mag clarity[6]. Swift's mechanical stage ($90) pairs perfectly with this[9].
- LED Conversion Kits: Replace halogen bulbs with 3W LEDs ($15-$40). Eliminates heat distortion during prolonged tissue section analysis[6][8].
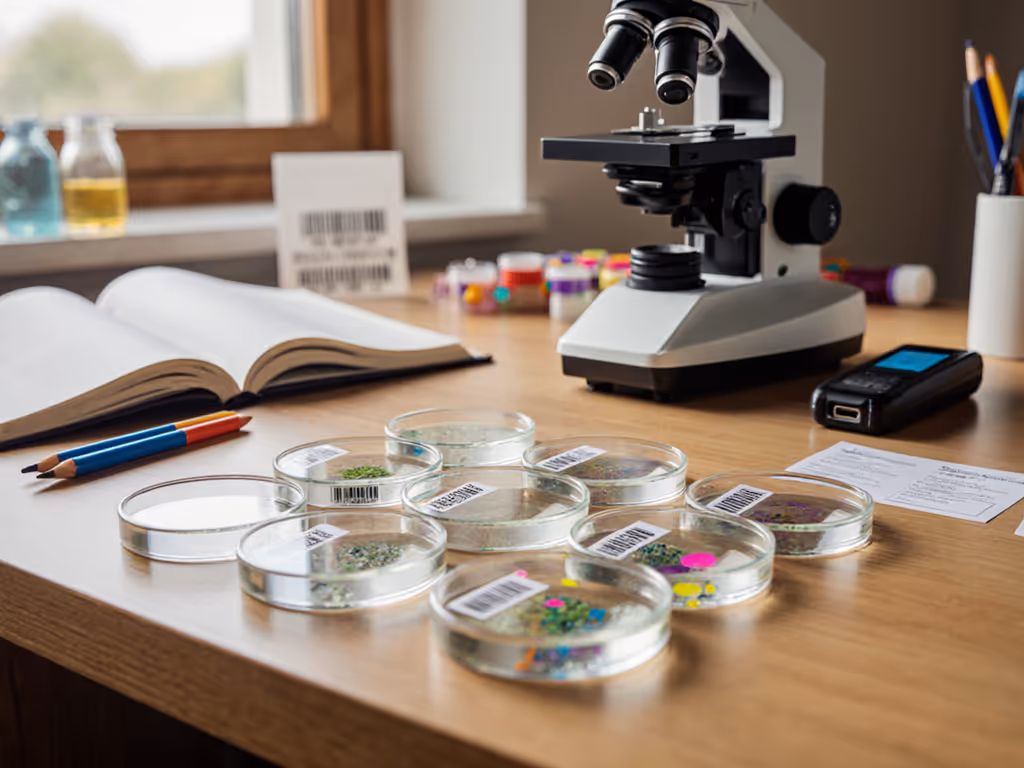
- Slide Storage Drawers: Repurpose bead organizers ($12) for compact slide sorting. Label compartments by stain type to streamline workflow[1].
Upgrade Impact Table:
| Component | Cost | Benefit |
|---|---|---|
| Condenser Knob | $25-$60 | Eliminates focus drift at 400x+ |
| LED Kit | $15-$40 | Cools samples, enhances contrast |
| Storage Drawers | $12 | Prevents slide cross-contamination |
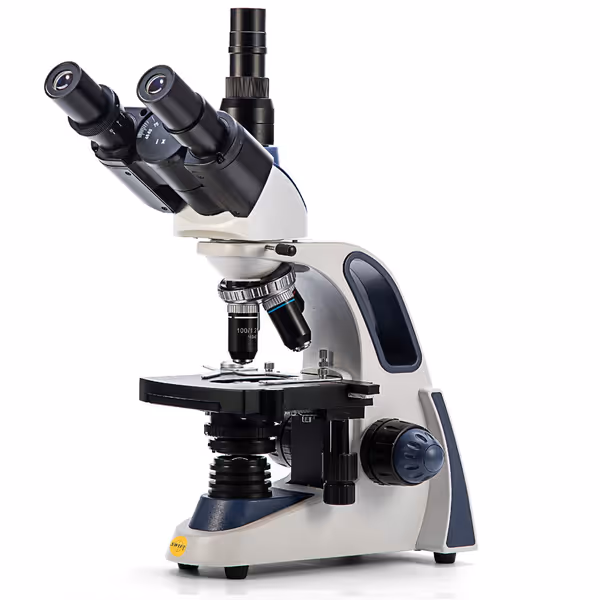
Swift SW380T Trinocular Microscope
Unleash microscopic details with versatile magnification and camera-ready precision.
$299.99
Magnification40X-2500X
Magnification40X-2500X
Pros
Captures sharp, high-resolution live images/video.
Comfortable Siedentopf head prevents neck strain.
Cons
Brightness receives mixed feedback from users.
Customers praise the microscope's excellent optics, crisp and clear images, and well-built construction. They appreciate its smooth stage movement and fine adjustments for the slide table, and consider it a great value for money. The functionality receives mixed reviews, with some saying everything works well while others report issues. The brightness also gets mixed feedback, with some finding it bright while others say it's not bright enough.
Customers praise the microscope's excellent optics, crisp and clear images, and well-built construction. They appreciate its smooth stage movement and fine adjustments for the slide table, and consider it a great value for money. The functionality receives mixed reviews, with some saying everything works well while others report issues. The brightness also gets mixed feedback, with some finding it bright while others say it's not bright enough.
The Swift SW380T's ultra-precise focusing tackles the frustration of unstable slides. Its trinocular head accepts DIY cameras, ideal for documenting specimens when paired with a phone adapter[2][4].
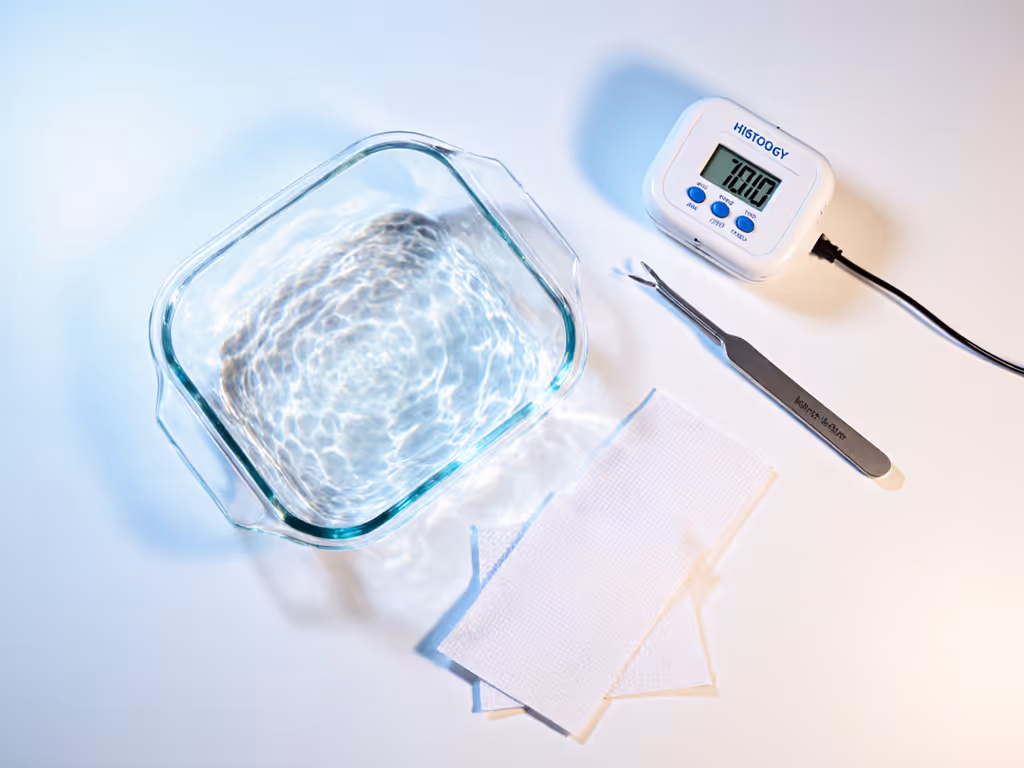
DIY Tissue Floatation Bath: $35 Workshop Build
Commercial baths cost $200+. Build yours using:
- Materials: Glass baking dish ($7), aquarium heater ($15), thermometer ($5), silicone mat ($8)
- Steps:
- Cut mat to line dish edges (prevents cracks)
- Submerge heater, set to 40°C (ideal paraffin wrinkle-relaxation)[1]
- Float sections using bent forceps (thrift-store tweezers work)
- Monitor temp, consistency prevents tissue tearing
Safety Note: Always place on level surfaces. Water displacement prevents overheating[1].
This bath solved my oblique lighting needs years ago, and today it handles 50+ slides weekly. Build what you need, spend where it counts most.
Laser Alignment: Precision on a Budget
Misaligned illumination causes uneven staining visibility. The Leica Lino L2P5G ($499) projects green reference lines, but try these DIY fixes first:
- Mirror Calibration: Use dental mirrors ($5) to redirect light paths. Adjust until the Abbe condenser glows evenly[3][6].
- Laser Pointer Hack: Mount $3 laser pointers on clip arms. Align beams parallel to the stage, for instant alignment checks[9].
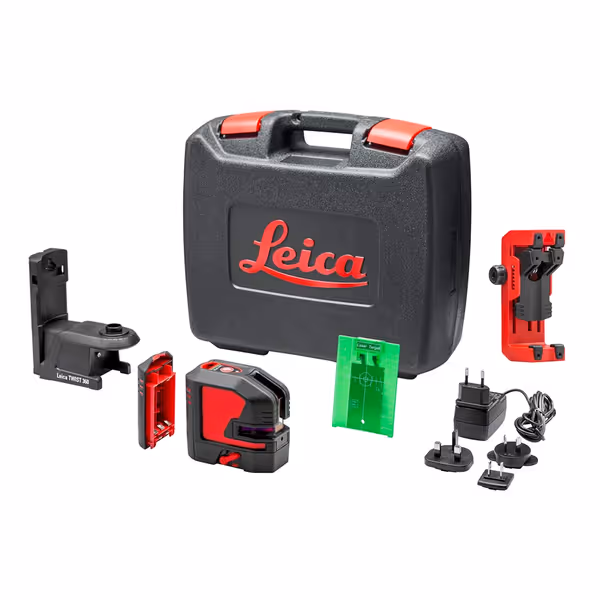
Leica LINO L2P5G Green Beam Laser
Highly visible green laser for bright environments and extended range.
$499
Battery Life2+ working days on single charge
Battery Life2+ working days on single charge
Pros
Superior green laser visibility for bright conditions.
Long-lasting Li-ion battery for extended use.
Cons
Mixed opinions on value for money.
Bright and accurate, with one mentioning it can send a clear line hundreds of feet away. Moreover, the product features a strong magnet, and one customer notes it comes with a rechargeable battery pack.
Bright and accurate, with one mentioning it can send a clear line hundreds of feet away. Moreover, the product features a strong magnet, and one customer notes it comes with a rechargeable battery pack.
For labs doing frequent microscope staining systems realignment, Leica's green laser remains visible in bright rooms. Its 48-hour battery suits marathon sessions[1].
Actionable Next Step: Start Small
Pick one upgrade this week: swap your bulb for LED, or build the floatation bath. Document results before/after. For stable, clear images, follow our steady microscope photography guide. Share your #MicroscopyHack online; our community thrives on shared ingenuity. Remember: Excellence in pathology microscopy tools isn't about cost, it's about clever, testable solutions. Build, test, iterate. Your breakthrough might inspire the next enthusiast.
Related Articles