Microscope Stain Kits: Match Biological Samples Right
By Mei Lin • 31st Dec

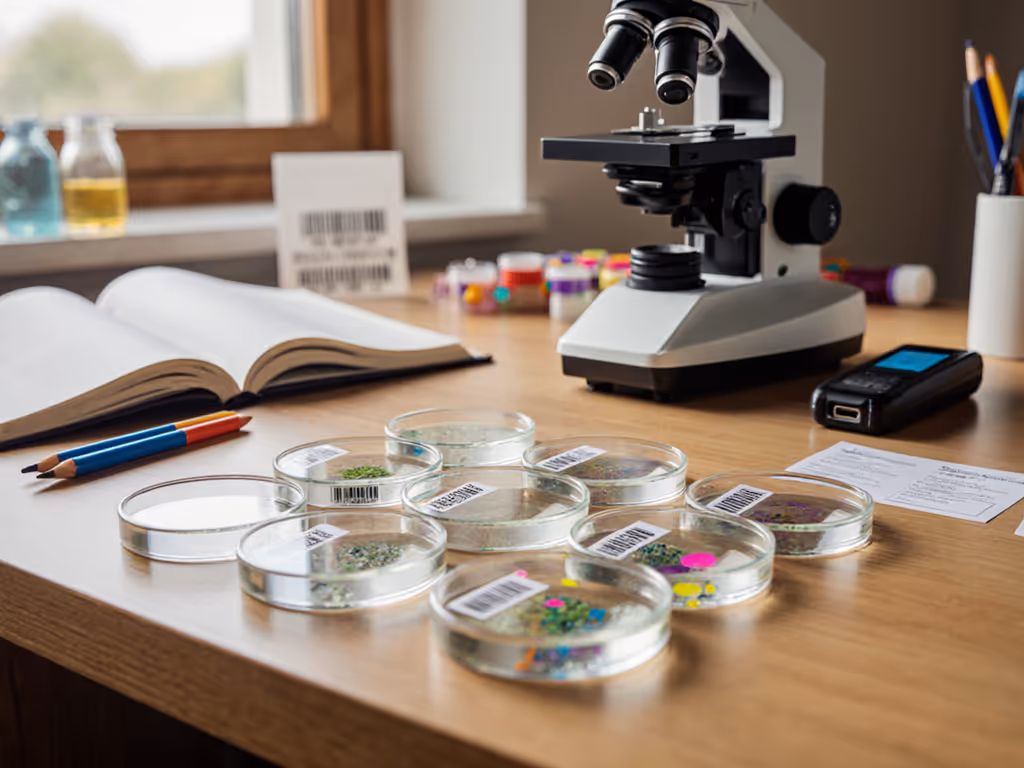
When you're finally ready to explore the microscopic world, choosing the right microscope stain kits and biological staining solutions transforms transparent specimens into visible wonders. Proper staining isn't just about color. It is the bridge between frustration and clarity in your microscopy journey. And just as importantly, how you organize and use these tools affects your comfort during those long discovery sessions.
Why does staining matter for my microscopy experience?
Many biological specimens appear nearly transparent under standard illumination, making features impossible to distinguish. Biological staining enhances contrast by binding to specific cellular components through chemical interactions. You can further improve clarity by tuning your condenser with our condenser light control guide for brightfield specimens. Different stains adhere to particular structures based on their molecular properties:
- Nucleic acids (like DNA) often bind to basic dyes such as methylene blue
- Proteins respond to stains like Coomassie Blue
- Carbohydrates can be highlighted with iodine solutions
- Lipids show up with Sudan III
Think of staining as creating a roadmap for your eyes (without it, you're navigating featureless terrain). When specimens clearly reveal their structures, you reduce eye strain and mental fatigue, allowing for gentler pacing during observation sessions.
How do I choose the right stain for my specimen?
The key is matching your cell type-specific stains to the biological material you're examining. Here's a practical reference checklist:
- Plant cells: Iodine (for starch), Toluidine Blue (for mitosis visualization)
- Animal cells: Methylene Blue (for nuclei), Eosin Y (for cytoplasm)
- Bacteria: Crystal Violet (Gram-positive), Carbol Fuchsin (acid-fast bacteria)
- Fungi: Lactophenol Cotton Blue
- Blood cells: Wright's stain (for differentiation)
Remember: Your comfort is a performance spec. When you eliminate the squinting and frustration of poorly stained specimens, your observation sessions become more productive and enjoyable.
I once spent two hours photographing pond algae (time that felt like twenty minutes) after properly selecting and applying the right stains. To capture those details reliably, follow our microscope photography guide for stable shots and clean contrast. The images improved dramatically because I wasn't rushing or straining to see details. That afternoon reframed how I approach microscopy: comfort isn't indulgence; it's throughput and joy.
Can I use household items for basic staining?
Absolutely. Many hobbyists start with accessible options that demonstrate basic staining principles:
- Iodine solution (from first aid kits) for plant starch
- Food coloring for gross visualization of larger structures
- Blue kitchen dye for basic cell membrane visualization
These makeshift solutions work for introductory exploration but lack the precision of proper microscope stain kits. When you're ready to advance, professional biological staining solutions provide consistent results and chemical stability that household alternatives can't match.
What are common challenges with microscopy staining?
Many enthusiasts face these hurdles when starting with staining:
- Over-staining: Too much dye obscures detail rather than enhancing it
- Under-staining: Insufficient contrast makes structures invisible
- Incompatible protocols: Some stains require specific preparation steps
- Storage issues: Many stains degrade when exposed to light or air
- Safety concerns: Some chemicals require proper handling procedures
The solution often lies in adopting specialized staining protocols that match your specimen type. For example, Gram staining requires a specific sequence of crystal violet, iodine, decolorizer, and safranin application. Deviating from this sequence yields unreliable results.
How does staining relate to my ergonomic workflow?
Your staining setup directly impacts physical comfort during microscopy. Poor organization creates unnecessary movements that lead to fatigue:
- Position stains at elbow height to avoid reaching
- Keep frequently used items within a 15-inch radius
- Use non-slip mats to prevent bottle tipping
- Label all solutions clearly to avoid confusion during use
- Store chemicals according to safety requirements (away from direct light)
This organization practice transforms your workspace from a potential source of frustration to a smooth extension of your workflow. For comfort beyond layout, consider ergonomic microscope accessories that support posture and reduce fatigue. When you're not fumbling for supplies or straining to see poorly stained specimens, your session becomes sustainable for hours rather than minutes.
What about microbiology-specific staining needs?
If you're exploring bacterial worlds, you'll need dedicated microbiology stain kits that include:
- Gram staining components (Crystal Violet, Iodine, Decolorizer, Safranin)
- Acid-fast staining solutions (Carbol Fuchsin, Acid-Alcohol, Methylene Blue)
- Endospore staining reagents (Malachite Green, Safranin)
- Capsule staining materials
These specialized staining protocols require precise timing and sequence, something you'll master with practice. Many comprehensive kits include detailed instructions that walk you through each step, reducing the cognitive load as you focus on specimen observation.
How can I organize my staining supplies for maximum efficiency?
Create a dedicated staining station with these ergonomic considerations:
- Height adjustment: Work at a surface where your elbows rest comfortably at 90 degrees
- Layout: Arrange items in order of use (left to right for right-handed users)
- Lighting: Use adjustable task lighting that doesn't create glare on glass slides
- Storage: Keep frequently used stains in easily accessible containers with clear labels
- Waste management: Have designated containers for used solutions within arm's reach
This organization reduces unnecessary movements that cause fatigue during extended sessions, turning what could be a frustrating process into a soothing, methodical ritual.
When should I consider histology stain sets?
Histology stain sets become valuable when you're working with tissue sections rather than whole organisms. Pair these with proper microtomes and cryostats to prepare thin sections that take stains evenly. These specialized kits typically include combinations like:
- Hematoxylin and Eosin (H&E) for general tissue structure
- Periodic Acid-Schiff (PAS) for carbohydrates
- Trichrome stains for connective tissue differentiation
These advanced biological staining solutions require more precise application but reveal incredible detail in tissue architecture. If you're moving beyond basic cell observation into tissue analysis, these sets provide the necessary tools for deeper exploration.
What's my next step for improving my staining practice?
Start with a single, well-defined project that matches your current interests. Perhaps examine onion root tips with Toluidine Blue to observe mitosis, or prepare a cheek cell slide with methylene blue. Document your process and results. This creates valuable reference material for future sessions.
Take five minutes before your next microscopy session to assess your staining setup: Are your most frequently used items within comfortable reach? Is your lighting optimal for slide preparation? Small workspace adjustments compound into significant comfort gains during extended observation.
Your microscope stain kits aren't just chemical solutions. They are the foundation of sustainable, enjoyable microscopy. When matched correctly to your specimens and organized thoughtfully in your workspace, they transform frustrating sessions into hours of comfortable discovery. Remember, in microscopy as in all focused work, your comfort is a performance spec.
Related Articles