Microtome to Cryostat: Comfort-Centric Sample Prep Equipment Guide
By Mei Lin • 29th Oct
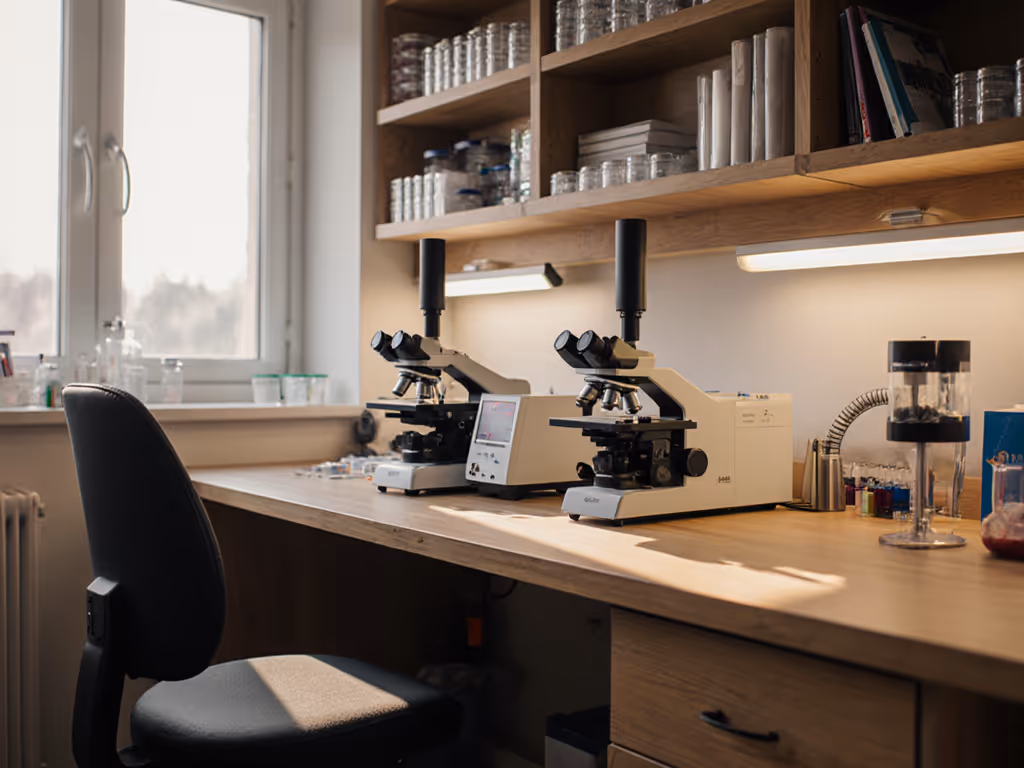
When you're preparing specimens for microscopy, selecting the right sample preparation equipment can transform your experience from frustrating to fulfilling. Whether you're sectioning tissue with a microtome or using cryostat equipment to handle frozen samples, the process demands precision and patience. For hobbyist microscopists who spend hours at the bench, understanding how microscopy sample processing affects your physical comfort is just as important as the technical specifications. After all, if you're squinting, hunched over, or constantly adjusting your position, your focus (and your results) will suffer. To reduce eye strain, compare wide-field vs standard eyepieces and choose an eyepiece that matches your comfort and workflow. Your comfort is a performance spec.
Why Comfort Matters in Sample Preparation
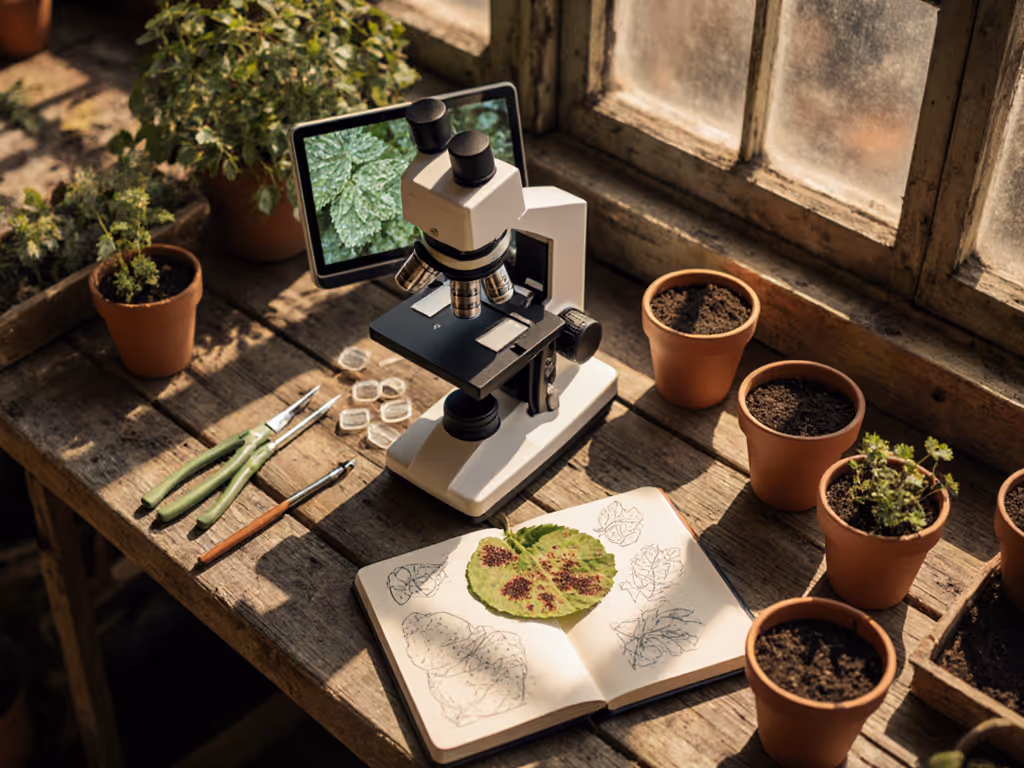
As someone who's spent countless hours at the microscope, I've learned that fatigue doesn't just make you uncomfortable; it directly impacts your work quality. When I first started photographing pond algae, I struggled with blurry images and inconsistent results. Then I raised my scope to elbow height, softened the glare with proper lighting, and added a wrist rest. Two hours suddenly felt like twenty minutes, and my images improved dramatically, not because I had better equipment, but because I was no longer fighting my own discomfort. Gentle pacing and thoughtful setup aren't just niceties; they're essential for sustained focus and better outcomes.
Common Questions About Comfort-Centric Sample Prep
Q: What's the key difference between microtomes and cryostats for hobbyists?
A microtome is a precision cutting instrument that sections tissue at room temperature, typically after tissue embedding in paraffin or resin. These work well for prepared specimens you want to examine in detail. A cryostat, however, combines a microtome with a temperature-controlled chamber (usually -15°C to -30°C) specifically for sectioning frozen tissue.
For hobbyists, this distinction matters for both your samples and your comfort. Cryostats require more physical engagement: you're working in a cold environment with gloves that reduce dexterity, which means your hands tire faster. The cold air can also cause eye strain as you move between the warm room and cold chamber. If fog or residue persists, follow our microscope maintenance guide for safe lens cleaning and storage practices. Microtome systems generally offer more comfortable working conditions since they operate at room temperature.
Q: Can hobbyists realistically use cryostat equipment?
Absolutely, but with ergonomic considerations. While professional labs use cryostats for rapid sectioning of fresh tissue, home enthusiasts might use them for specialized projects like frozen plant sections or ice crystal studies. However, the cold environment of cryostat equipment presents unique comfort challenges:
- Hand fatigue: Cold temperatures reduce blood flow to fingers, making fine motor tasks difficult
- Condensation: Moving between temperature zones creates fog on eyepieces and specimens
- Restricted movement: Working through a small chamber opening limits natural posture
If you're working with a cryostat, consider these comfort adjustments:
- Wear thin, flexible gloves underneath insulated outer gloves
- Position your secondary microscope (for examining sections) at the same height as your cryostat window
- Allow brief warm-up breaks between cutting sessions
- Keep a microfiber cloth nearby for quick lens cleaning
Q: How can I make tissue embedding more comfortable for extended sessions?
Tissue embedding requires steady hands and excellent lighting, both of which deteriorate when you're uncomfortable. For specimen quality fundamentals, see our slide preparation guide before you start embedding. Follow this simple checklist for ergonomic embedding:
Your comfort is a performance spec: when you prioritize your physical well-being, your sample quality improves.
- Adjust your chair height so your elbows rest at 90 degrees when working
- Position light sources from the side to reduce glare on embedding media
- Use a padded wrist rest when handling fine instruments
- Take micro-breaks every 15 minutes to shake out tension
- Store frequently used tools within easy reach to minimize twisting
Many hobbyists don't realize that embedding wax fumes can cause eye irritation over time. Proper ventilation isn't just about air quality; it directly affects your ability to maintain focus during delicate work.
Q: What ergonomic considerations apply specifically to histology processing?
Histology processing involves multiple steps that strain different parts of your body. If you're equipping a home lab, our budget histology accessories guide highlights ergonomic tools that reduce strain. The repetitive motions of sectioning, staining, and mounting can lead to cumulative stress injuries if you're not careful. Consider these often-overlooked factors:
- Visual fatigue: Alternating between close work at the microtome and reading instructions on a screen causes eye strain
- Neck strain: Looking down at a microtome for extended periods compresses cervical vertebrae
- Shoulder tension: Reaching for tools placed too far away creates subtle but damaging strain
A simple adjustment that dramatically improved my workflow was creating a "triangle of operation": keeping my microtome, tools, and specimen within a 12-inch radius directly in front of me. This reduced unnecessary movements by 70%, according to informal timing I conducted across multiple sessions. The change felt small, but the impact was huge.
Q: How do I balance cost with ergonomic needs on a hobbyist budget?
Many hobbyists feel stuck between expensive professional equipment and cheap accessories that compromise comfort. The truth is, thoughtful adjustments often cost little to nothing:
- Raise your work surface with inexpensive wooden blocks to proper elbow height
- Repurpose household items like jewelry trays for organized tool storage
- Use a smartphone clamp as an affordable document holder for protocols
- Reposition existing lighting with flexible desk lamps rather than buying specialized equipment
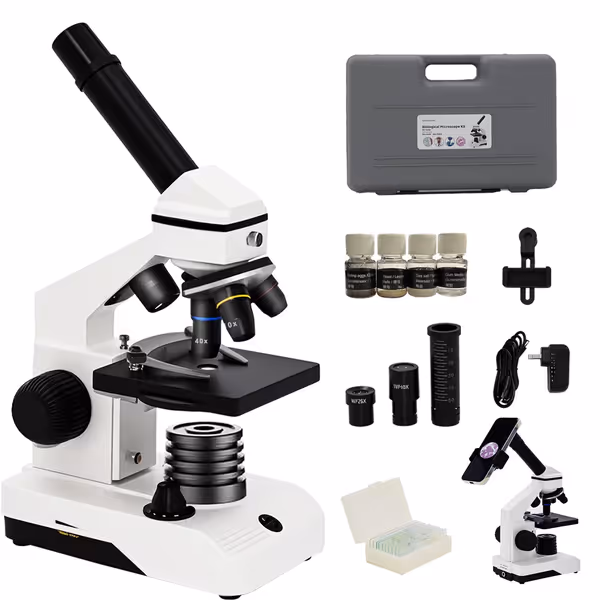
Dual Power Compound Monocular Microscope Kit
Explore the micro-world with clear images and incredible versatility.
$69.99
Magnification Range40X-2000X
Magnification Range40X-2000X
Pros
Captures sharp, high-resolution microscopic images and videos.
All-inclusive kit with slides and accessories for instant exploration.
Cons
Beginners may need time to master advanced magnification settings.
Customers find the microscope's build quality solid and appreciate its crisp, bright images. They consider it excellent value for money.
Customers find the microscope's build quality solid and appreciate its crisp, bright images. They consider it excellent value for money.
Creating Your Comfort-Centric Workflow
The most effective sample preparation equipment setup aligns with your natural movements rather than forcing you to adapt to the equipment. When I organized my home lab, I started by observing where I naturally reached, where I squinted, and when I paused to adjust my position. These observations revealed more about my ergonomic needs than any product specification sheet.
Consider documenting your own workflow with a simple checklist:
- Posture check: Every 20 minutes, note if you're leaning forward or holding tension
- Tool accessibility: Mark how often you twist or reach beyond your immediate workspace
- Visual transitions: Count how many times you shift focus between close work and reference materials
- Comfort milestones: Identify specific points in your process where discomfort begins
These observations will reveal personalized opportunities for improvement that generic advice might miss. Small, targeted tweaks add up.
Your Actionable Next Step
This week, dedicate just 15 minutes to optimizing one aspect of your sample prep setup for comfort. Start with your seating position: sit with your back against the chair, feet flat on the floor, and adjust your work surface so your elbows rest comfortably at 90 degrees. Then, test this setup while performing a simple microscopy sample processing task. Notice how long you can maintain focus before feeling fatigued. Track your results over three sessions, and you'll quickly identify whether this small change improves both your comfort and your outcomes.
Remember: comfort isn't indulgence; it's throughput and joy. When you design your workspace around your body's needs, every slice becomes more precise, every observation more detailed, and every session more rewarding. That afternoon photographing pond algae taught me this truth: when you're comfortable, you're not just working harder; you're working smarter.
Related Articles