Aquatic Microscopy Essentials: Your Accessory Checklist
By Mei Lin • 8th Nov
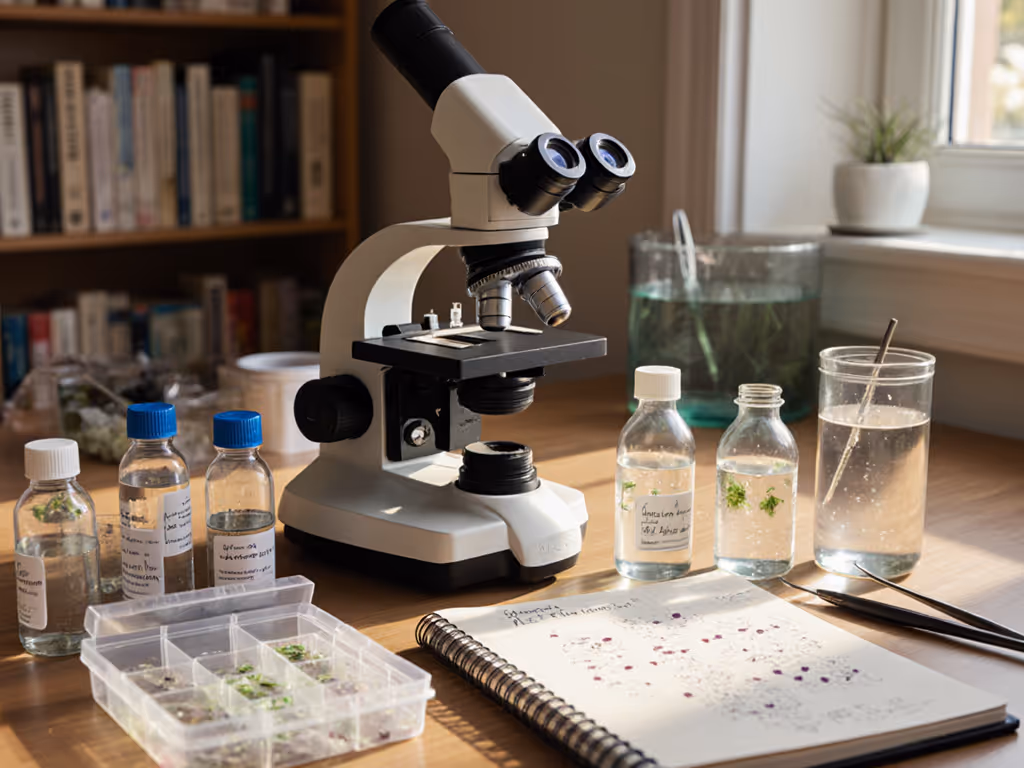
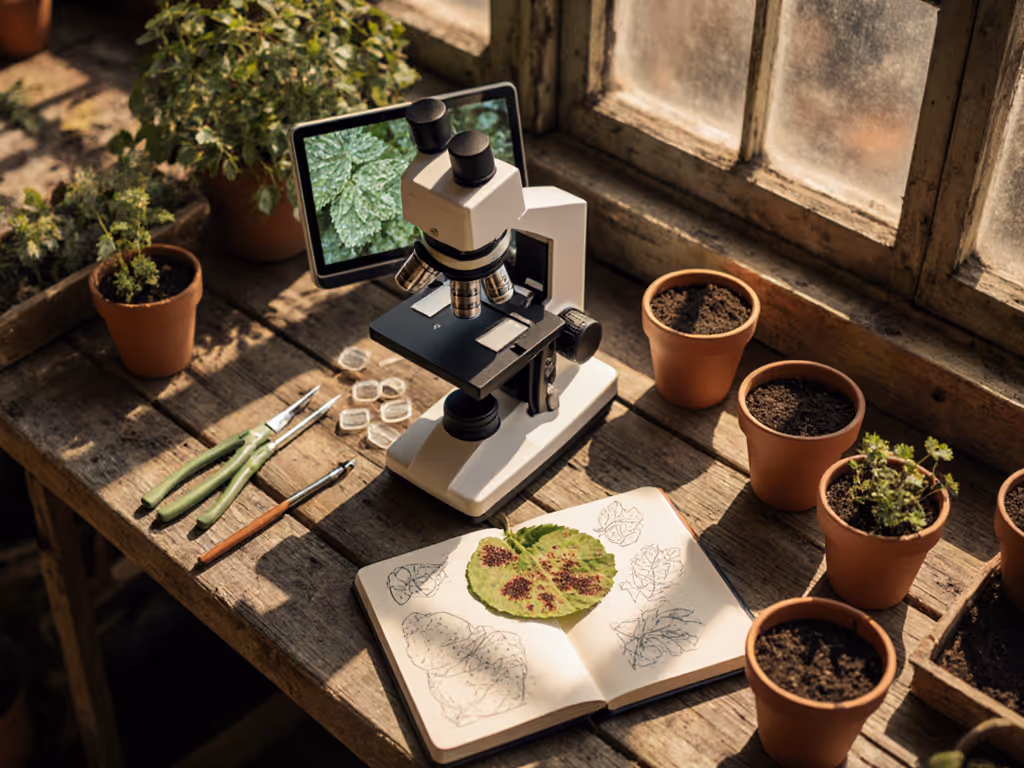
For those captivated by the hidden worlds in a drop of pond water, mastering aquatic microscopy starts with having the right water specimen accessories at your fingertips. Whether you're examining algae blooms or tracking tardigrades, the right tools transform frustrating sessions into discoveries that hold your attention for hours. As someone who's spent countless afternoons at the eyepiece, I've learned that comfort and organization aren't just nice-to-haves, they are essential for seeing what others miss. Let's make long sessions feel short.
Why does my pond water microscopy keep giving me blurry images?
This is the most common frustration I hear from hobbyists. Blurry images usually stem from one of three issues: poor lighting, improper slide preparation, or microscope misalignment. Many beginners don't realize how much ambient light affects their view. For a deeper walkthrough of light sources and placement, our microscope illumination guide explains LED vs halogen and how each affects clarity. Direct sunlight creates glare that masks detail, while insufficient light forces you to squint and strain.
For microorganism observation, gentle, diffused lighting from a 360-degree LED ring often works better than harsh top-down illumination. Position your microscope perpendicular to windows, not facing them directly. Keep a small notebook to track which light settings work best for different specimen types.
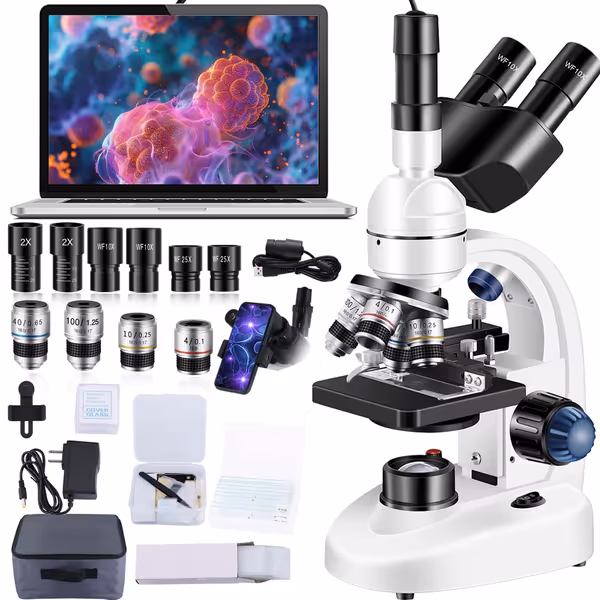
Trinocular Compound LED Microscope
High-magnification trinocular microscope for detailed exploration and imaging.
$229.99
Magnification40X-5000X
Magnification40X-5000X
Pros
Versatile 40X-5000X magnification for diverse samples.
Integrated trinocular port for effortless imaging.
Cons
Image quality can be inconsistent for some users.
Customers find the microscope to be of good quality. However, the image quality receives mixed feedback, with several customers reporting poor results. Customers also have mixed opinions about the value for money.
Customers find the microscope to be of good quality. However, the image quality receives mixed feedback, with several customers reporting poor results. Customers also have mixed opinions about the value for money.
What's the simplest way to prepare slides for aquatic specimens?
Aquatic slide preparation requires a different approach than standard biology slides because water samples move and shift. Here's my streamlined process that prevents specimen loss:
- Place a single drop of pond water on a clean slide
- Gently lower a coverslip at a 45-degree angle to avoid bubbles
- For larger specimens like daphnia, add a tiny smear of methylcellulose (a safe, non-toxic thickener) to slow movement
- Use lens paper to wick away excess water around the edges
This technique, which I refined after one particularly frustrating session photographing pond algae, lets you observe specimens without constant refocusing. If you're new to aquatic wet mount slides, start with our step-by-step guide to prevent bubbles and specimen loss. That afternoon reframed my understanding. When I stopped fighting my equipment, my images improved dramatically because I wasn't rushing or squinting.
How do I keep track of moving organisms under high magnification?
Microscopic life doesn't stay still, making microorganism observation challenging. Instead of chasing specimens across your field of view:
- Use depression slides for pond samples (they create a small "well" that contains specimens)
- For particularly active samples, try a plankton counting chamber with grid lines
- Position your microscope so you can comfortably adjust the fine focus knob with your non-dominant hand while observing
A simple but often overlooked accessory: a wrist rest. Proper wrist support prevents micro-tremors that make tracking small organisms difficult during extended sessions. Comfort is performance when the session runs long.
I'm overwhelmed by accessory compatibility: how do I know what fits my microscope?
This compatibility confusion is completely understandable. Before purchasing anything, note these three measurements from your existing microscope:
- Objective thread size (usually RMS standard: 0.800-36)
- Eyepiece diameter (typically 23.2mm or 30mm)
- Focus knob type (coaxial vs. separate coarse/fine)
Keep a small notebook by your microscope with these specs written down. When shopping online, search using these exact specifications rather than your microscope's model name. For a brand-by-brand checklist, see our accessory compatibility guide. Many affordable accessories work across brands if the mechanical specifications match.
What are the most cost-effective accessories for beginners?
You don't need expensive professional gear to start meaningful aquatic microscopy. Focus your limited budget on these transformative, but affordable, items:
- Basic slide kit ($15-25): Includes blank slides, coverslips, and basic staining materials
- Portable LED ring light ($20-40): Provides consistent illumination without glare
- Dropper set with graduated tubes ($10): For precise sample collection and measurement
- Microscope calibration slide ($12): Helps you understand your actual magnification levels
These essentials address the most common pain points while leaving room in your budget for specimen-specific tools as your interests develop. Remember, ergonomic accessories that reduce strain often provide better value than higher-powered objectives you can't comfortably use for more than a few minutes.
How can I document my pond water microscopy findings without expensive equipment?
You don't need professional photography gear to capture your discoveries. Here's a gentle pacing approach that works with most microscopes:
- Start with your smartphone camera. Many modern phones have macro modes that work surprisingly well held against the eyepiece
- Use a simple phone microscope adapter ($8-15) for stable positioning
- Take multiple shots at slightly different focus points
- In free software like ImageJ, use the "Z-stacking" feature to combine your best shots
This method produces surprisingly clear documentation of your specimens. For moving organisms, film short video clips rather than trying to capture still images. The resulting footage often reveals behaviors still photos miss.
When should I consider specialized tools like a plankton counting chamber?
These grid-patterned slides become essential when you move beyond casual observation to systematic study. They're worth the investment ($35-60) if you find yourself:
- Comparing specimen densities between samples
- Tracking population changes over time
- Sharing findings with others who need standardized measurements
Until then, a simple hemocytometer (often included in beginner kits) serves most hobbyists well. To quantify sizes accurately alongside counts, see our microscope measurement tools guide. The key is matching your equipment to your actual needs, not what you think you "should" have based on professional labs.
Making Your Setup Work for You
The most sophisticated water specimen accessories in the world won't help if you're uncomfortable at the eyepiece. Set up your workspace with these ergonomic fundamentals:
- Chair height adjusted so your eyes meet the eyepiece without bending your neck
- Work surface at elbow height when seated
- Secondary monitor positioned slightly below eye level for digital documentation
- A dedicated spot for each tool using labeled containers
I once timed a session photographing pond algae: two hours felt like twenty minutes after I raised the scope, softened glare, and added a wrist rest. The key isn't to endure discomfort. It is to arrange your workspace so curiosity can last.
Your Next Step
Choose just one accessory from this checklist that addresses your most frustrating pain point right now. Master its use before adding another. This focused approach builds competence without overwhelm. As you set up your microscope tonight, take thirty seconds to adjust your chair height and lighting before inserting your first slide. Notice how this small adjustment changes your entire experience. Comfort isn't indulgence, it is the foundation of sustained discovery.
Related Articles